
Britive
Britive is a privileged access management platform that offers just-in-time access provisioning, permission visibility, and identity governance across cloud infrastructure and SaaS environments.
Use Cases the Adapter Solves
- Review privileged access: Bring Britive users and their administrative roles into Axonius to support access reviews.
- Improve identity governance: Use Britive group and role information to investigate access relationships across cloud infrastructure and SaaS environments.
Asset Types Fetched
- Users
- Groups
- Roles
Data Retrieved through the Adapter
Users - fields such as: Username, Email, Account Disabled, Last Logon
Groups - fields such as: Name, Description, Members Count, Status
Security Roles - fields such as: Name, Authority, Remote ID, Administrative role ID
Before You Begin
Required Ports
- TCP port 443 (HTTPS)
Authentication Methods
API Token authentication
APIs
Axonius uses the Britive API. The following endpoint is called:
GET /api/users- Retrieves users, including user tags when the includeTags parameter is set to true.
Required Permissions
API token generated by a Britive admin (Admin → Security → API Tokens → CREATE TOKEN). The token inherits the generating user's privileges — the token owner must have read access to users, tags, and roles.
Supported From Version
Supported from Axonius version 10.0.0
Connecting the Adapter in Axonius
- Navigate to the Adapter Catalog, search for Britive, and select the adapter.
- Click Add Connection.
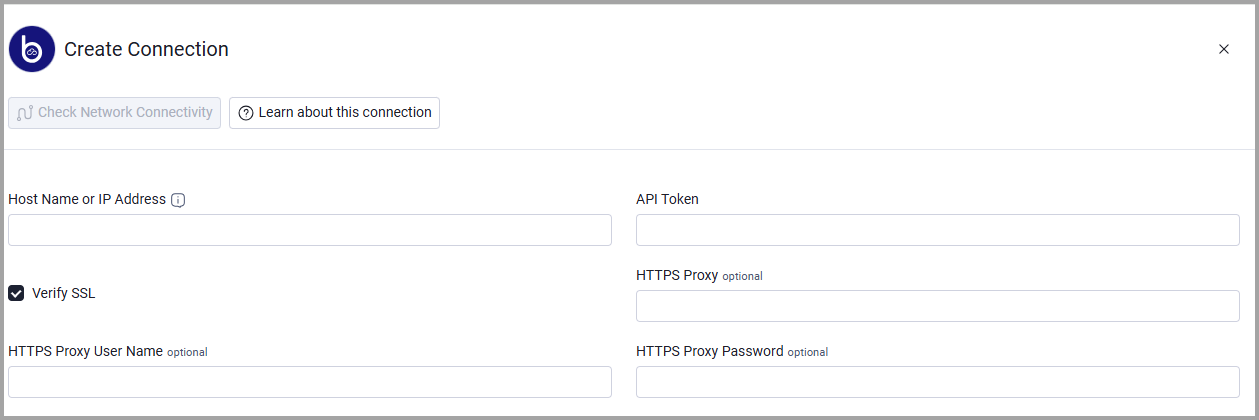
- Provide the following parameters.
Required Parameters
- Host Name or IP Address - Enter the base domain for the Britive API, including the http:// or https:// prefix and without a specific endpoint. Example:
https://{tenant}.britive-app.com - API Token - Enter the Britive API token that the adapter sends as a Bearer token.
Optional Parameters
- Verify SSL - Select whether to verify the SSL certificate of the server against the CA database inside of Axonius. For more details, see SSL Trust & CA Settings.
- HTTPS Proxy - Connect the adapter to a proxy instead of directly connecting to the value supplied in Host Name or IP Address.
- HTTPS Proxy User Name - Enter the user name to use when connecting through HTTPS Proxy.
- HTTPS Proxy Password - Enter the password to use when connecting through HTTPS Proxy.
To learn more about common adapter connection parameters and buttons, see Adding a New Adapter Connection.
Updated about 2 hours ago