
Text Widget
Use the Text widget to display static text in a tile on the dashboard. You can also select use standard formatting (size, color, bold, italics, alignment, etc.) on the text to create visually appealing texts to display on your Dashboards. This can be used to add titles or section dividers to your dashboards. You can also add clickable hyperlinks to navigate to other platform pages or external sources. The widget also supports Markdown syntax.
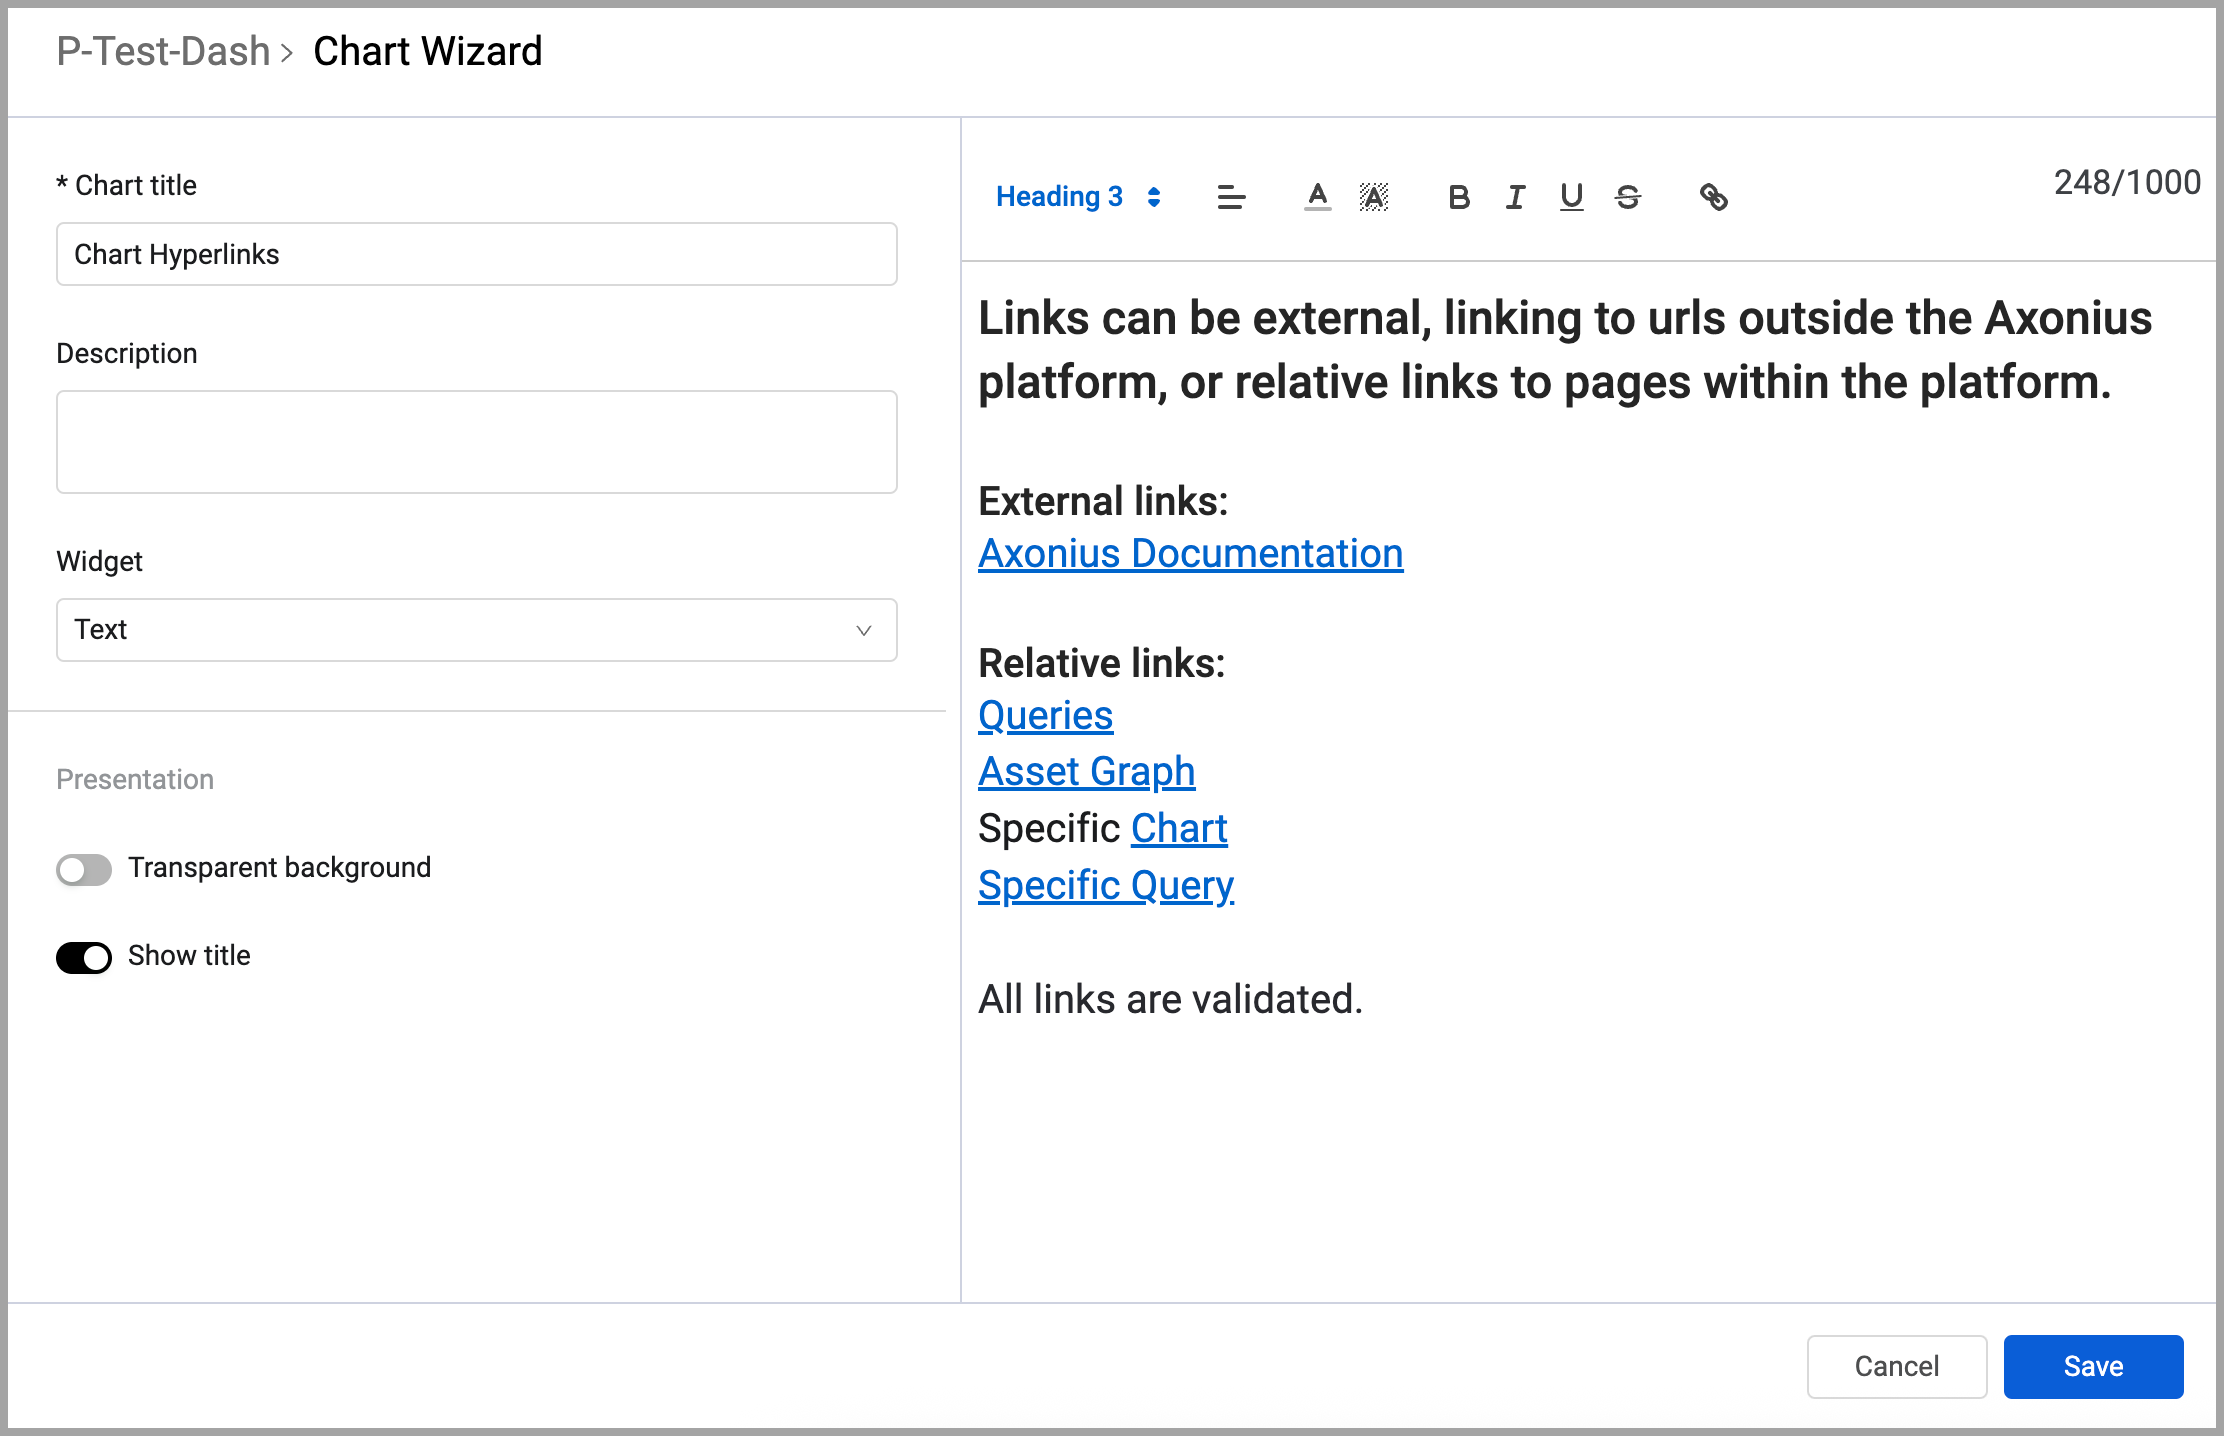
To configure a text widget
- In the Chart title text box, enter a title for the chart.
- In the Description text box, you can add an optional description.
- From the Widget drop-down, select Text.
- In the right pane, enter the message you want displayed.
- Use the options on the Formatting toolbar to apply any formatting you want to the text.
- Select if you want to display the chart title in the dashboard and if you want the text displayed against a transparent background.
- Click Save. The widget is added to the Dashboard.
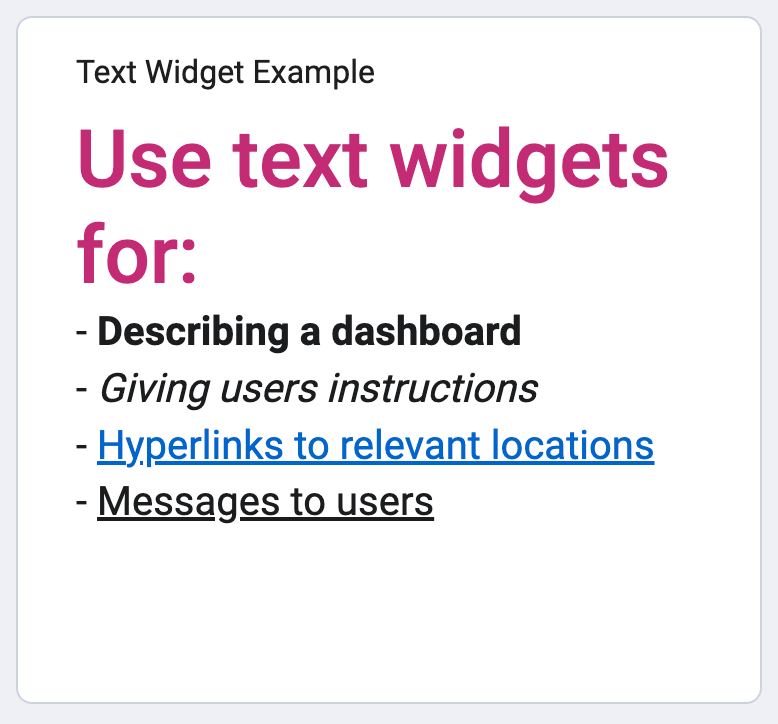
Entering Text in Markdown Syntax
The Text widget supports Markdown syntax. As you type, the widget automatically converts recognized Markdown patterns into formatted text.
Example Markdown syntax
| Syntax | Result |
|---|---|
# through ###### | Heading 1–6 |
**text** | Bold |
*text* | Italic |
~~text~~ | Strikethrough |
To apply a heading, type the # characters followed by a space at the beginning of a line. The widget converts the syntax to the corresponding heading level as soon as you type a space. For inline formatting (bold, italic, strikethrough), wrap the text with the appropriate markers, and the formatting is applied when you close the pattern.
Using Markdown when pasting content
When you paste text containing Markdown syntax, the widget automatically detects and converts it. In addition to the inline and heading patterns above, pasted content also supports:
- Bullet lists — lines beginning with
-or* - Ordered lists — lines beginning with a number followed by
.(for example,1.)
Note
Markdown shortcuts are an input convenience — they are not a separate mode. You can freely mix Markdown input with the formatting toolbar controls in the same widget.
Using Hyperlinks in Text Charts
Use hyperlinks in Text widgets to include external references or internal navigation directly within dashboard content.
Supported Link Types There are two types of links: external paths and relative paths.
-
External Path - A hyperlink is treated as external if it begins with
http://orhttps://. These links open in a new browser tab. For example:[https://www.google.com](https://www.google.com/) -
Relative Path - A hyperlink that does not begin with
http://orhttps://is treated as a relative path. This type of link is interpreted relative to the Axonius instance URL and is useful for linking to internal pages within the platform. Examples:/dashboard/657aDESHE75f1dES#%^a0?chartId=682cADFE5b10143adDD33e981— directs the user to a specific dashboard and highlights a chart./case_management— navigates the user to the Case Management page.
Relative paths are helpful for creating guided workflows or cross-linking different areas within the Axonius platform. However, they should not be used for linking to external websites.Best Practices for Adding Links
Notes
To ensure hyperlinks work as intended:
Use
https://orhttp://when linking to external websites.Use relative paths (starting with
/) to link to specific pages within the Axonius interface.Avoid entering partial domains like
[www.example.com](http://www.example.com/)— they are treated as relative paths and may not work as expected.
To insert a hyperlink into a text widget:
- When in edit mode of a text widget, enter the text of the hyperlink and then select that text.
- Click the hyperlink icon
 in the formatting toolbar.
 - In the link box, enter the link according to the rules described above and click Save.
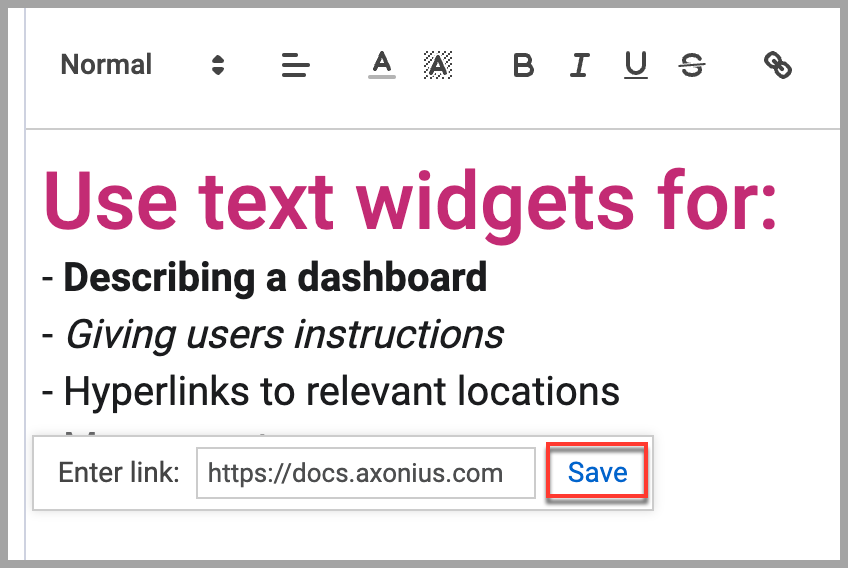
Hyperlinks are formatted in customary blue and underlined.
- When you are finished configuring the widget, click Save at the bottom of the chart edit window. 5. To remove a link, click in the link text. Then, in the link window, click Remove. 6. To edit a link, click in the link text. Then, in the link window, click Edit. Enter the correct link and click Save.
Updated 3 months ago