
Interact Software
Overview
Interact Software is an intranet and employee engagement platform used for internal communication, content publishing, and collaboration.
Types of Assets Fetched
 Users
Users
Before you begin
Version
- Supported from Axonius v8.0.9.
Required Ports
- 443 (HTTPS)
APIs
- Axonius uses the Interact Software REST API.
Required Permissions
- No special permissions are required, except for a username and password for authentication.
Configuring the Interact Software Adapter Credentials
You must log in to Interact as an Application Administrator or a Power User with access to the Control Panel to perform these steps.
-
Log in to your Interact account.
-
Navigate to the Control Panel (usually found in the top-right menu under your profile or a cog icon).
-
Under the System or Security section, look for Manage Security or API Keys.
Note
In some versions, this is located under Integrations > Developer Resources.
-
Click New API Key (or Add Key).
-
Enter a name for the key (e.g., "Internal HR Integration") to help you identify it later.
-
Assign the necessary User or Permissions to this key.
Interact API keys often act on behalf of a specific user context. You may need to associate the key with a "Service User" account rather than your own personal account to ensure the integration keeps working if you leave the company.
-
Click Save/Generate. The system will display an API Key and a Secret.
IMMEDIATELY COPY THE SECRET.
Important
The Secret is displayed only once. If you close the window without saving it, you will have to generate a new key.
Deploying the Interact Software Adapter
To deploy the adapter:
- Navigate to the Adapters page, search for
Interact Software, and click on the adapter tile. - Click Add Connection.
- Configure the parameters.
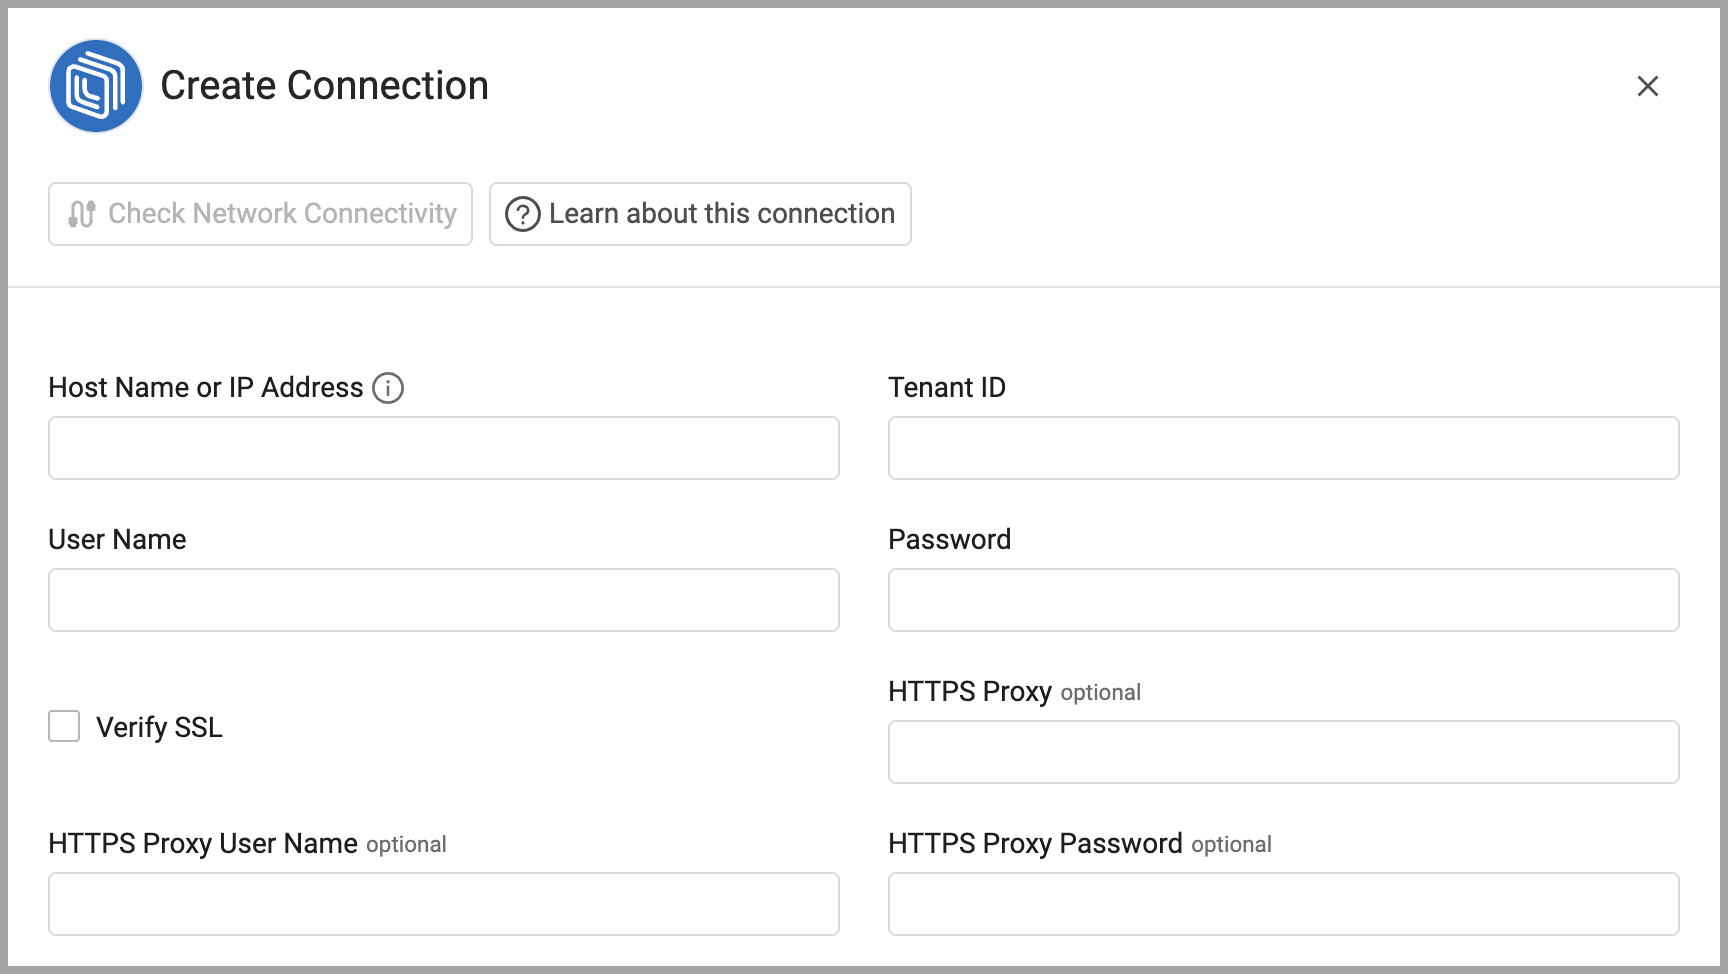
Required Parameters
- Host Name or IP Address - The hostname or IP address of the Interact server.
- Tenant ID and Password - The credentials for a user account that has the permissions to fetch assets.
Optional Fields
- Verify SSL - Select whether to verify the SSL certificate of the server against the CA database inside of Axonius. For more details, see SSL Trust & CA Settings.
- HTTPS Proxy - Connect the adapter to a proxy instead of directly connecting it to the domain.
- HTTPS Proxy User Name - The user name to use when connecting to the value supplied in Host Name or IP Address via the value supplied in HTTPS Proxy.
- HTTPS Proxy Password - The password to use when connecting to the server using the HTTPS Proxy.
- Connection Label - A friendly name for this connection in Axonius.
-
Select Gateway – Select the Axonius Gateway to use when connecting adapters whose sources are only accessible by an internal network and not from the primary Axonius instance, which may be an Axonius-hosted (SaaS) instance or Customer-hosted (on-premises / private cloud). To use this option, you need to set up an Axonius Gateway.
Updated 6 months ago