
LogicMonitor
LogicMonitor is an automated infrastructure monitoring platform for enterprise IT and managed service providers.
Asset Types Fetched
- Devices, Network Devices
Before You Begin
Ports
- TCP port 443
Authentication Method
- Access ID/Key
APIs
Axonius uses the LogicMonitor REST API V1.
Permissions
The values supplied in Access ID and Access Key API token parameters require a user with read access to devices.
To generate an API token:
- Login as an administrator
- Create a user and to assign that user privileges to use the API and which endpoints that user can access. The user must have 'Read Only access to Device permissions.
- Generates an Access ID and an Access Key, which are used to perform the API authentication.
For more details on generating API token in LogicMonitor, see API Tokens.
Connecting the Adapter in Axonius
To connect the adapter in Axonius, provide the following parameters:
Required Parameters
- Hostname or IP Address - The hostname or IP address of the LogicMonitor server.
- Access ID and Access Key - The API token for a user account that has the Required Permissions to fetch assets.
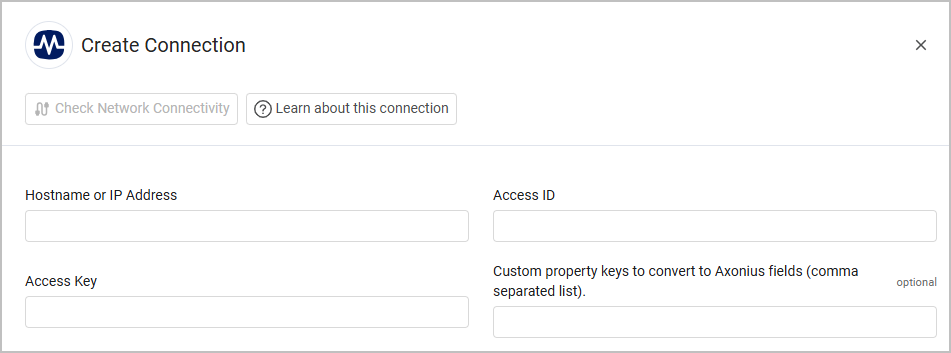
Optional Parameters
-
Custom property keys to convert to Axonius fields (comma separated list) - Enter a list of LogicMonitor custom property keys to convert to fields in Axonius.
-
Verify SSL - Select whether to verify the SSL certificate of the server against the CA database inside of Axonius. For more details, see SSL Trust & CA Settings.
-
HTTPS Proxy - Connect the adapter to a proxy instead of directly connecting it to the domain.
To learn more about common adapter connection parameters and buttons, see Adding a New Adapter Connection.
Advanced Settings
Note
Advanced settings can either apply to all connections for this adapter, or to a specific connection. Refer to Advanced Configuration for Adapters.
-
Hostname Source Priority - Select the source from which the Host Name field will be parsed. The options are:
displayNamesystemProperties -> system.hostnamesystemProperties -> system.azure.resourcenamesystemProperties -> system.sysname
-
Add hostname source - Click to add a source to parse the Host Name field from, as detailed above. The system prioritizes sources based on the order that you add them. For example, if you add Azure as your first source and displayName as your second source, the system prioritizes the value from Azure over the display name; if the value in the Azure field is empty, the value from the display name is taken.
-
Parse Wild Value as IP Address - Enable this to parse the wildValue field as an IPv4 address if no other IP addresses are found.
-
Auto properties to parse dynamically - Enter fields from the
autoPropertiesfield in the device's JSON to dynamically parse them into queryable fields (both common and specific). Each string should adhere to the following format:title_of_the_field_in_axonius | name_of_the_field_in_autoProperties.
Example
Device Manufacturer Serial | auto.bios.serial_numberIf the title the customer gave does not exist, a new field is created in Axonius to accommodate that.
The fields are parsed in the order they are listed in the configuration. In cases where the same field is inserted multiple times with different raw values, the value from the first occurrence in the configuration takes precedence.For example, if both of the following values are in the configuration
Asset Name | auto.cmdb.name
Asset Name | auto.cmdb.hostnamethe system first checks if
auto.cmdb.namehas a value. If it does, that value is used. Otherwise, it checksauto.cmdb.hostnameas a fallback.
- Parse OS information from system.collectorplatform - Select this option to parse OS information from
system.collectorplatformif "hp" appears insystem.sysinfo. - Fetch instances - Select this option to fetch device instances.
Note
To learn more about Adapter Configuration tab advanced settings, see Adapter Advanced Settings.
Updated 4 months ago