
Configuring Login Settings
Use this page to configure how Axonius Login will look for your users.
To open the Login Settings:
- From the top right corner of any page, click
.png) . The System Settings page opens.
. The System Settings page opens. - In the Categories/Subcategories pane of the System Settings page, expand GUI, and select Login.
-
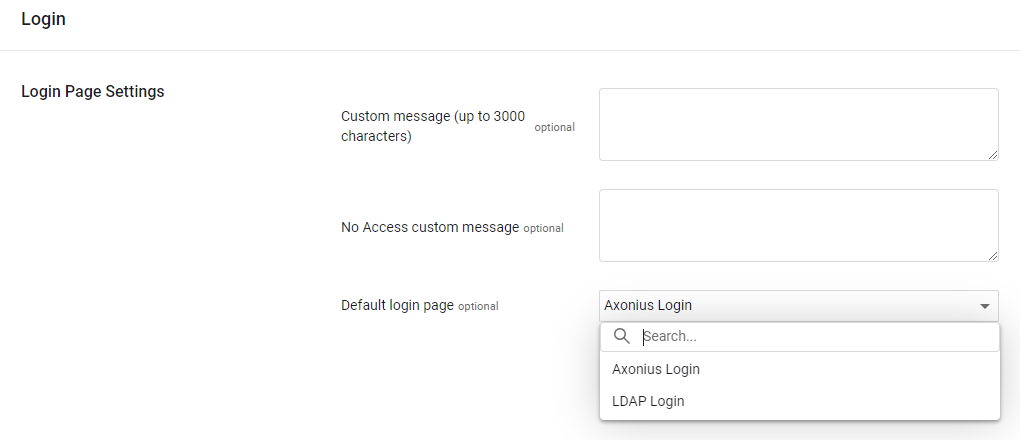
Custom message (optional, default: empty) - This setting lets you define a custom message that appears on the Login page.
- A custom message can display a maximum of 3000 characters.
-
No Access custom message (optional, default: empty) - This setting lets you define a custom message that appears when an unauthorized person tries to log into Axonius. An example of a message is: 'You are not authorized to access this application'
-
Default login page - Set the default login page to one of the following:
- Axonius Login - default
- LDAP Login - If you toggled on Allow LDAP login in Identity Provider settings, you can set which login page appears as default for LDAP users.
-
To set SAML-Based Login Settings as default, select Automatically redirect all logins to the identity provider in SAML-Based Login Settings.
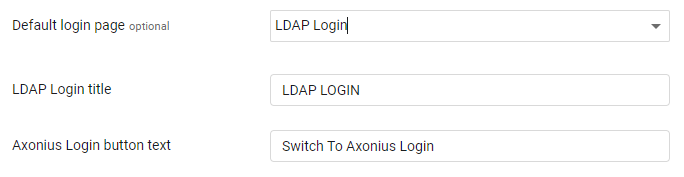
- LDAP Login title - Use this setting to set a custom title to display for the LDAP login message.
- If not supplied, the LDAP Login title displays 'LDAP LOGIN'.
- A custom title can display a maximum of 26 characters.
- Axonius Login button text - Use this setting to set a custom name for the Axonius link button on the LDAP login page.
- If supplied, this is the name of the Axonius link button on the LDAP login page.
- If not supplied, the Axonius link button is named 'Switch to Axonius Login'.
- The custom link button can display a maximum of 25 characters.

Updated 9 months ago
Did this page help you?