
Deploying the Salesforce Adapter in Axonius
1. Salesforce Initial Setup
1.1. Create a User Account and User Profile
Having a Salesforce User Account and User Profile is a mandatory requirement to successfully deploy the adapter in Axonius. To create these, follow these steps in Salesforce:
User Account/Profile Setup
Create a User Account
-
Navigate to Users
>Users. -
Click New User.
-
Fill in information for the new user, in the email field enter an email that you have access to.
-
Click Save.
-
Copy the user's username.
-
Set Password:
- Open the email you receive from Salesforce.
- Click Verify Account.
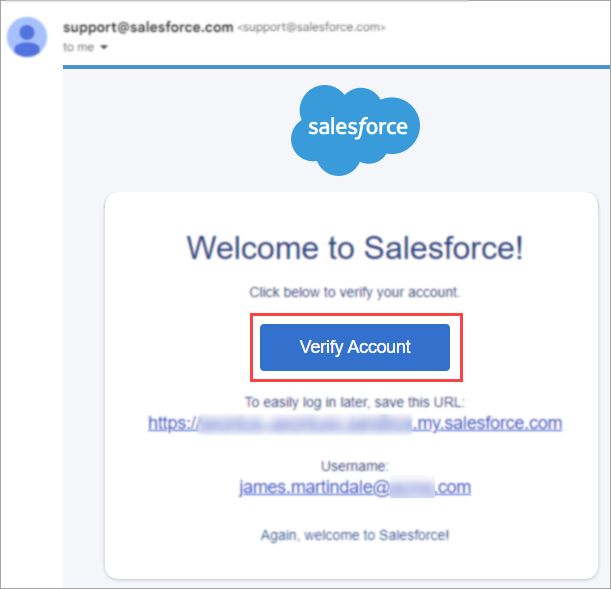
- Enter a password for the user.
- Copy the password. It's best practice for the password to contain 32 characters.
- Enter a security question and answer.
- Click Change Password.
.png)
-
Connect the new user to the user profile you created earlier:
- In Salesforce, from the Administration menu, navigate to Users
>Users. - Select the user you just created.
- From the User License drop-down list, select Salesforce.
- From the profile drop-down list, select the profile you created earlier.
- Click Save.
- In Salesforce, from the Administration menu, navigate to Users
-
To verify that the user you created has the correct permissions, make sure it has access to the following URLs. There is no need to modify any of the configurations on these pages.
- https://
{account}.lightning.force.com/lightning/setup/EnhancedProfiles/home - https://
{account}.lightning.force.com/lightning/setup/SecuritySession/home - https://
{account}.lightning.force.com/lightning/setup/SecurityPolicies/home - https://
{account}.lightning.force.com/lightning/setup/LoginAccessPolicies/home - https://
{account}.lightning.force.com/lightning/setup/IdentityVerification/home - https://
{account}.lightning.force.com/lightning/setup/FileTypeSetting/home - https://
{account}.lightning.force.com/lightning/setup/OrgDomain/home
- https://
Create a User Profile
Create a user profile to configure the right permissions and password policies in your user account.
-
In Salesforce, navigate to Users > Profiles.
-
Locate the System Administrator profile and in that row, click Clone.
-
Enter a profile name (for example, Axonius).
-
Click Save.
-
Set permissions for the profile: a.
-
From the profile page, click Edit.
-
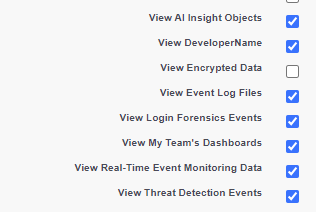
Configure the permissions so that the following permissions are selected:
- Every permission from the General User section starting with the word "View" except for View Encrypted Data.
- Lightning Experience User
- API Enabled
- Manage IP addresses
- Manage Login Access Policies
- Manage Password Policies
- Manage Profiles and Permissions Sets
- Manage Roles
- Manage Sharing
- View All Profiles
- View All Users
- Apex REST Services
- Manage Users
- Manage Connected Apps
- Modify Metadata Through Metadata API Functions
- Customize Application
- Is Single Sign-On Enabled
c. In the Connected App Access section, select the application you created earlier.
- Every permission from the General User section starting with the word "View" except for View Encrypted Data.
-
-
Set the password policy:
- Locate the Password Policies section.
- From the User Passwords Expire in drop-down list, select Never Expires.
- Select Don't immediately expire links in forgot password emails.
- Click Save.
Note
Before performing the following steps, contact Axonius support for the list of trusted IP ranges to include. If you do not have such list, and you want to authenticate with the Username-Password flow, you must generate a user secret.
-
Configure access to trusted IPs:
-
From the left hand menu, navigate to Security
>Network Access. -
Click New.
.png)
-
Add the Axonius IP ranges and click Save.
Note
The IP ranges you provide here are trusted for all apps connected to this user profile. Alternatively, you can provide trusted IP ranges for a specific app.
-
-
Navigate to Users > Users. Select the user you created above.
-
From the Profile drop-down list, find the profile you just created to continue working.
1.2. Generate a User Secret (Optional)
This part is mandatory only if:
- You are authenticating with the Username-Password flow.
- You didn't provide a list of trusted IP ranges.
For more information, see Reset Your Security Token.
Generating a User Secret
To generate a user secret:
- Log into Salesforce with an admin account with an email address that you have access to.
- Open the Profile menu and select Settings.
- Select My Personal Information
>Reset My Security Token. - Click Reset Security Token.
- Access the account's email and copy the new token from the Salesforce email.
- When creating an adapter connection in Axonius, paste the token into the User Secret field.
2. Setting Axonius as a Salesforce's External Client App
After creating a User Account and User Profile, the next step is to configure the Axonius app as an external app integration in Salesforce. This is mandatory for retrieving the Consumer Key and Consumer Secret connection parameters.
Creating a New External Client App
-
In Salesforce, navigate to Setup.
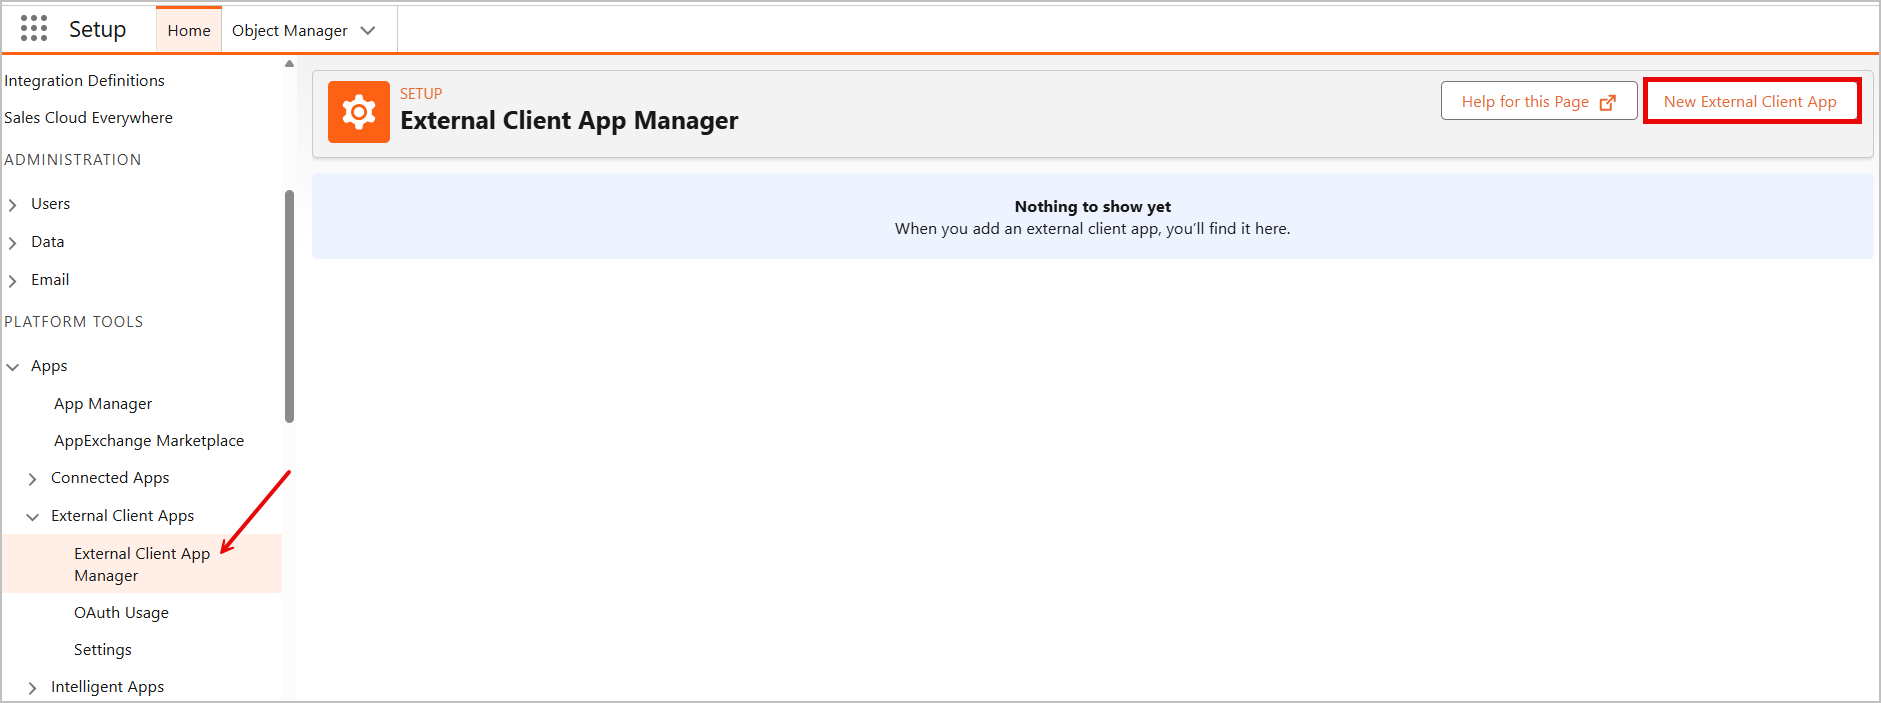
-
From the left hand menu, select External Client App Manager, then click New External Client App.
-
Under Basic Information, fill in the required parameters:
- External Client App Name - For example,
Axonius_integration. - API Name - This is created automatically based on the App Name you provided.
- Contact Email - It is recommended to use an email address of an Administrator user.
- Distribution State - Leave the default value (Local).
- External Client App Name - For example,
-
Under API (Enable OAuth Settings), check Enable OAuth. Two new sections appear:
-
App Settings - Provide a Callback URL here. This is the URL to which the created access token will be sent. It is recommended to use the Axonius default callback URL:
https://localhost/adapters/salesforce -
OAuth Scopes - Add scopes from the Available OAuth Scopes list to the Selected OAuth Scopes list. To enable fetch of all asset types by the adapter, add the following scopes:
- Access the Identity URL service (id, profile, email, address, phone)
- Manage user data via APIs (api)
- Perform requests at any time (refresh_token, offline_access)
- Access unique user identifiers (openid)
- Access Lightning Applications (Lightning)
- Access content resources (content)
- Access Interaction API resources (interaction_api)
-
-
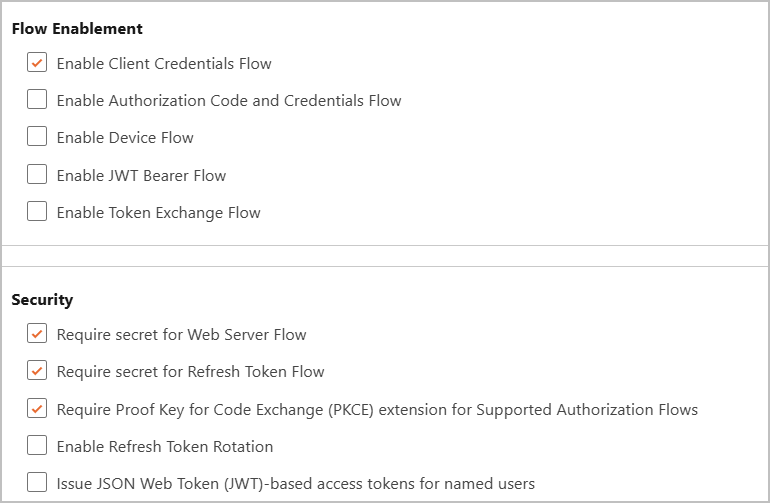
Under Flow Enablement, check Enable Client Credentials Flow.
-
Under Security, check the following:
- Require secret for Web Server Flow
- Require secret for Refresh Token Flow
- Require Proof Key for Code Exchange (PKCE) extension for Supported Authorization Flows
-
Click Create.
Now you can see the newly created app in the External Client App Manager page:

Defining Policies
In the External Client App Manager page:
-
Select the Policies tab and click the Edit button on the left.
-
Expand the OAuth Policies section.
-
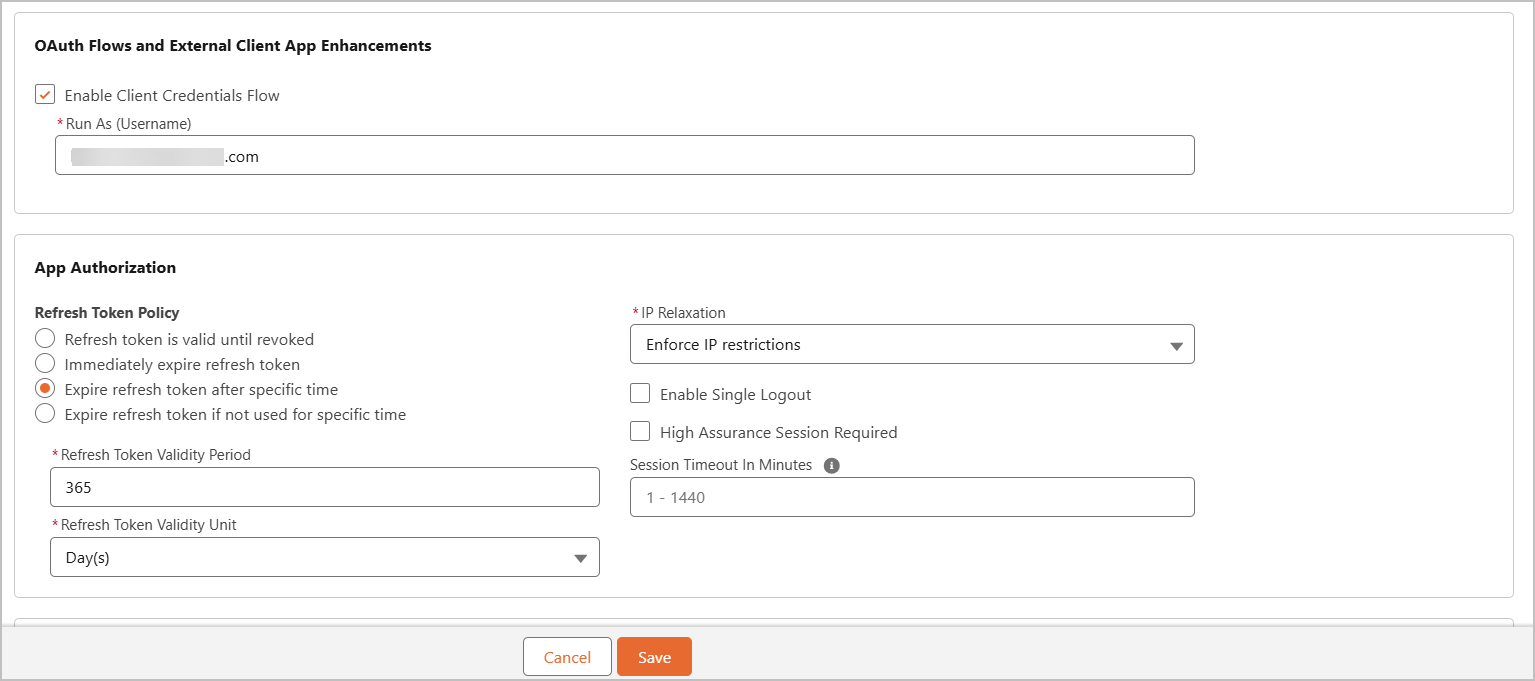
Check Enable Client Credentials Flow.
-
Under Run As (Username), enter the Email address defined for this app.
-
Under App Authorization
>IP Relaxation:-
If you provided a list of trusted IP ranges when creating a User Account and Profile, select Enforce IP restrictions.
-
If you did not provide such a list, select Relax IP restrictions.
Note
If you didn't provide a list of trusted IP ranges and your organization's security policy doesn't allow to relax IP restrictions, contact your security team for guidance.
Alternatively, you can add trusted IP ranges for this specific app. To do so:
Go to Settings
>Click Edit>under the Trusted IP Ranges for OAuth Web Server Flow, click+to add a range.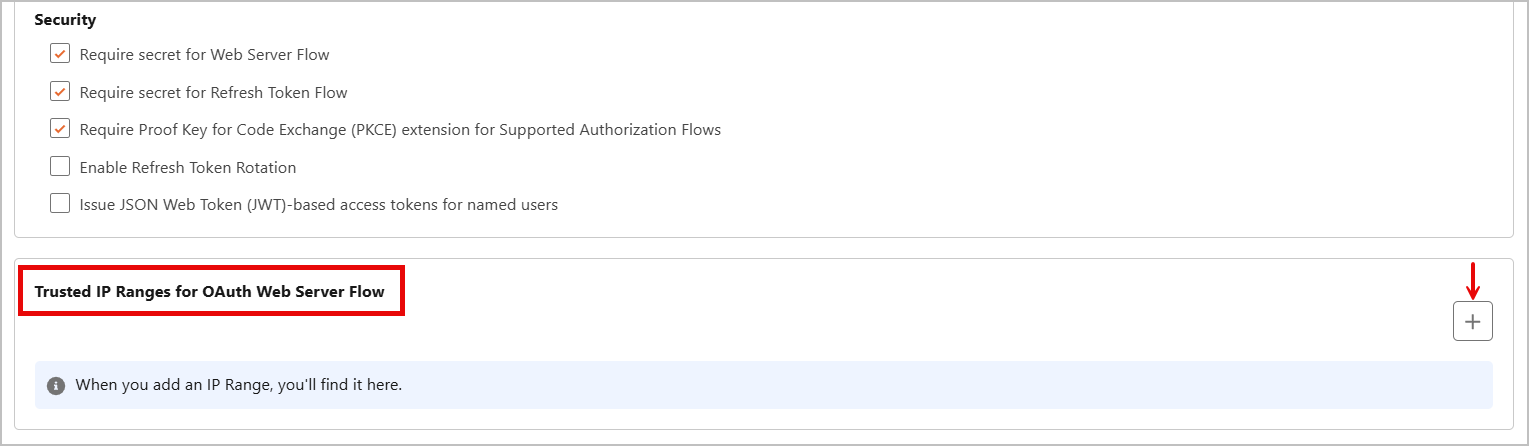
-
-
Under Refresh Token Validity Period, leave the default value of 365 days (the maximum).
-
Click Save.
If you want to edit the basic app settings, select the Settings tab (left of the Policies tab) click Edit and make the necessary changes.
Retrieving the Consumer Key and Secret
-
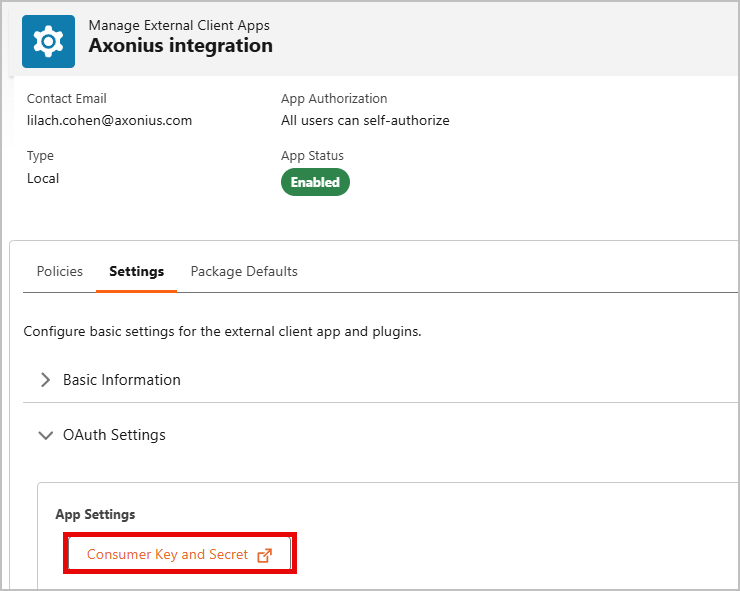
In the same page, select the Settings tab.
-
Expand OAuth Settings.
-
Under App Settings, click Consumer Key and Secret.
-
A Verify Your Identity page opens in a new tab. Enter the verification code you received via email and click Verify.
-
If the verification is successful, the Consumer Key and Consumer Secret are displayed. Click Copy under each of these parameters and paste them into the corresponding fields in Axonius.
3. Adding a New Salesforce Adapter Connection in Axonius
After making all necessary configurations in Salesforce, you're ready to set up the adapter in your Axonius instance.
3.1. Create a Salesforce Adapter Connection
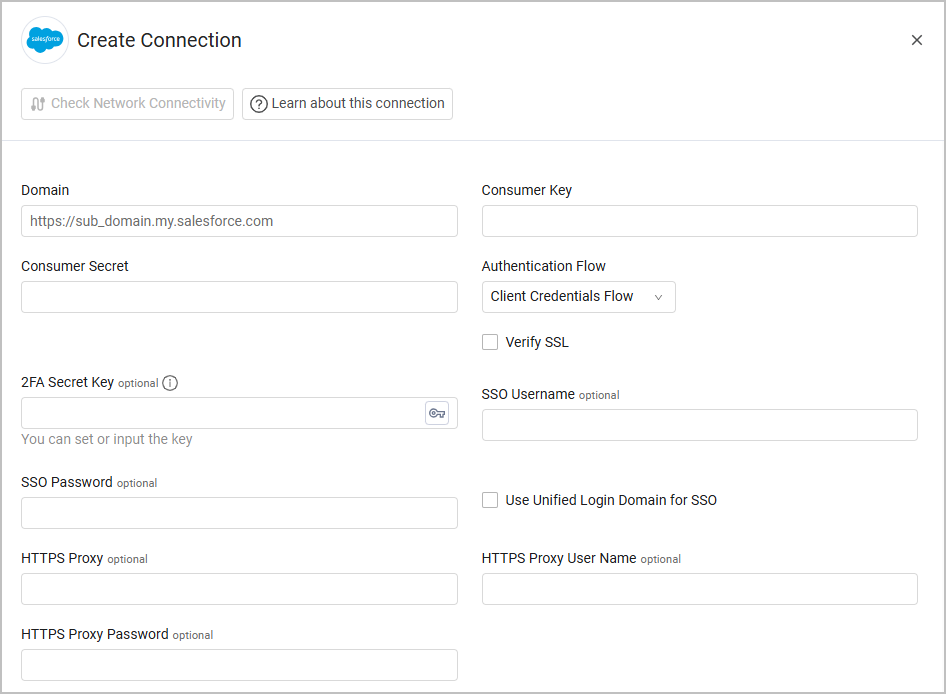
Connection Parameters
Create the adapter connection in Axonius. Based on the authentication method you're using (Client Credentials Flow or Username-Password flow), fill out the specific required fields, and configure optional settings.
-
Navigate to the Adapters page → search for
Salesforce→ click on the adapter tile.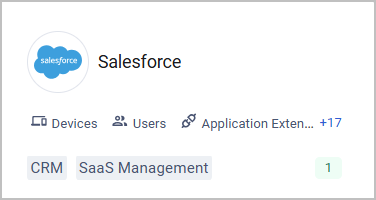
-
On the top right side, click on Add Connection. The Add Connection drawer opens.
Required Fields
- Domain - The full URL of the Salesforce server.
-
Consumer Key
-
Consumer Secret
-
Required Fields When Fetching Application Settings and Licenses
When fetching these asset types, in addition to one of the authentication flows listed above, you must also provide the following parameters:
- 2FA Secret Key - The secret generated in Salesforce when setting up 2-factor authentication for the Salesforce user created for collecting Application Settings and Licenses. For more information on how to generate this secret key, expand the following section:
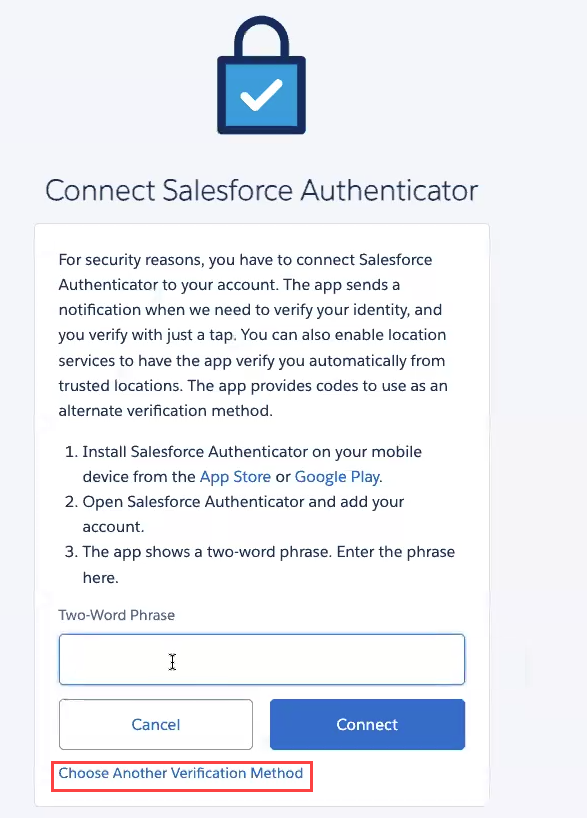
Setting Up Two-Factor Authentication
If your Salesforce login process requires 2-factor authentication, follow these steps to generate a secret key. Then, use the generated key to populate the 2FA Secret Key parameter in Axonius.
In Salesforce:
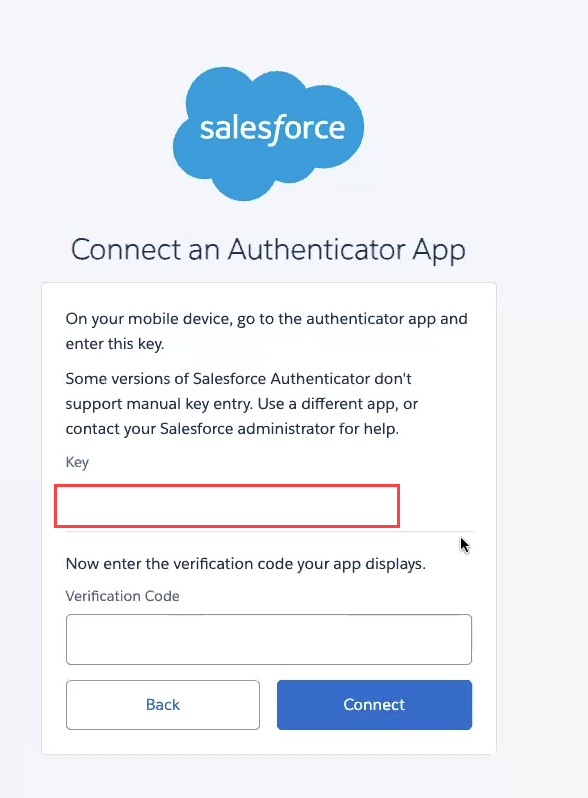
- On the Connect Salesforce Authenticator screen, select Choose Another Verification Method.
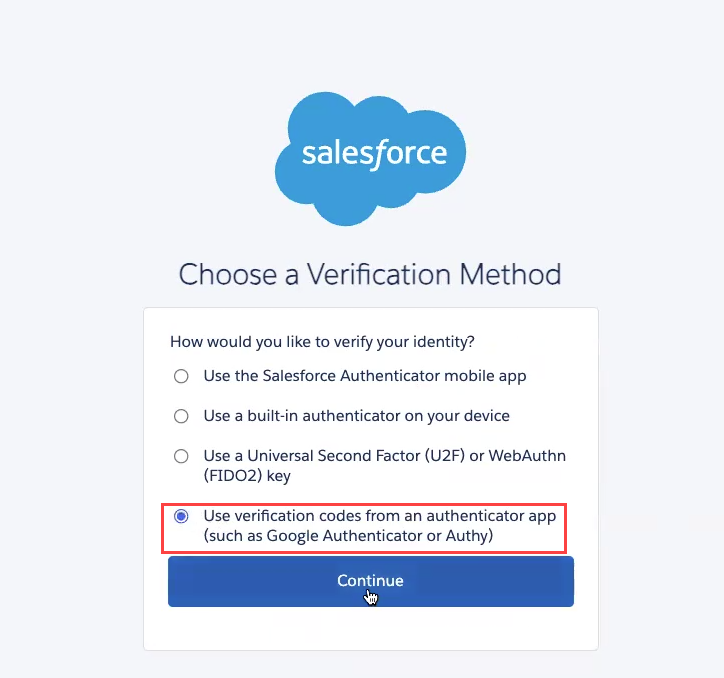
-
Select Use verification codes from an authenticator app.
-
Click Continue.
-
Click I can’t Scan the QR Code.
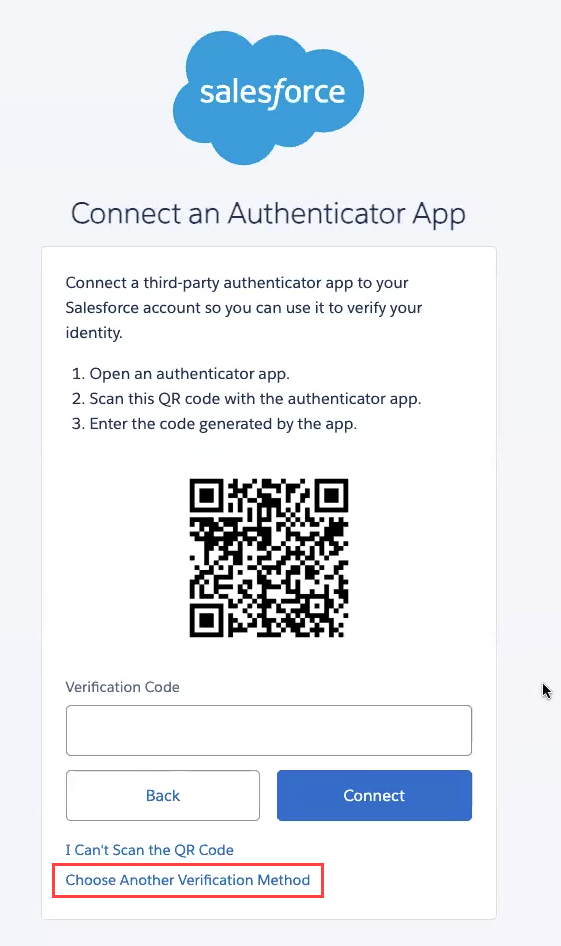
-
The next screen displays a one-time secret key. Copy this key to a safe place (your password vault is recommended if you use one) for later use.
From here, you can complete the process with either the built-in Axonius 2FA Authenticator, or with an external Authenticator app.
To complete the process with Axonius 2FA Authenticator:
-
On the adapter's Create Connection screen, click the Generate Secret Key icon. The Set 2FA Secret Key screen opens.
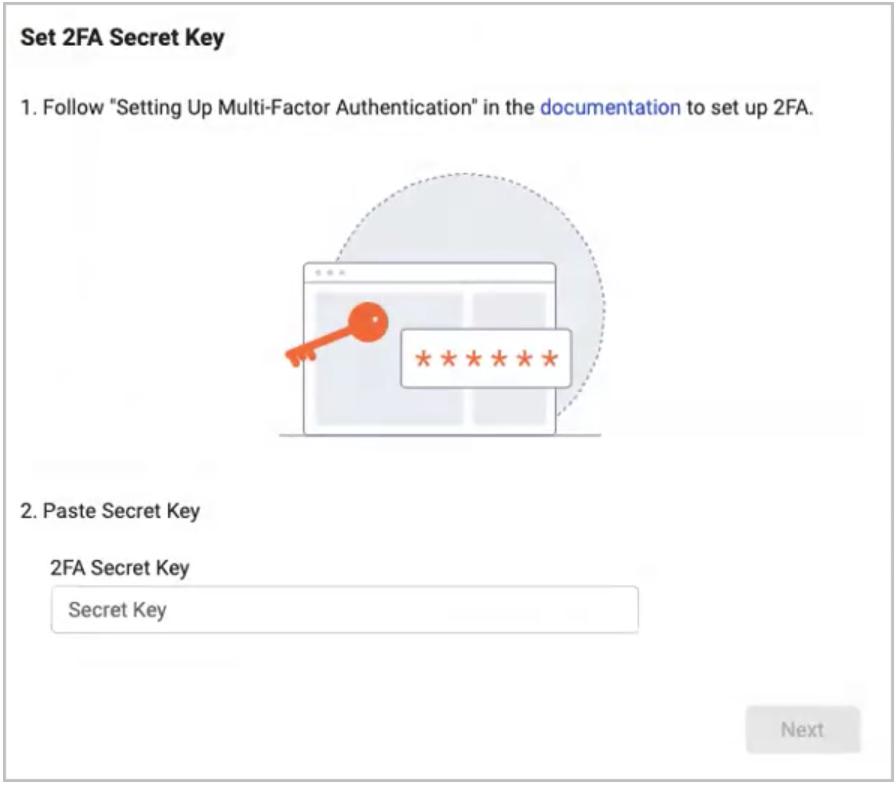
-
Enter the secret key you copied in step 5 above into the 2FA Secret Key field and click Next.
-
The system displays a 6-digit code for you to copy.
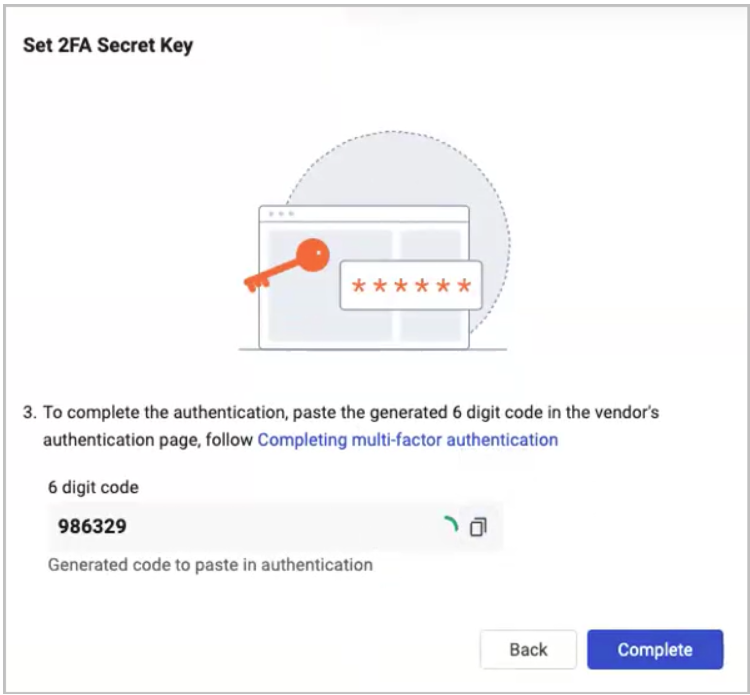
-
Back in Axonius, paste the 6-digit code in the 2FA Secret Key field to get a verification code.
-
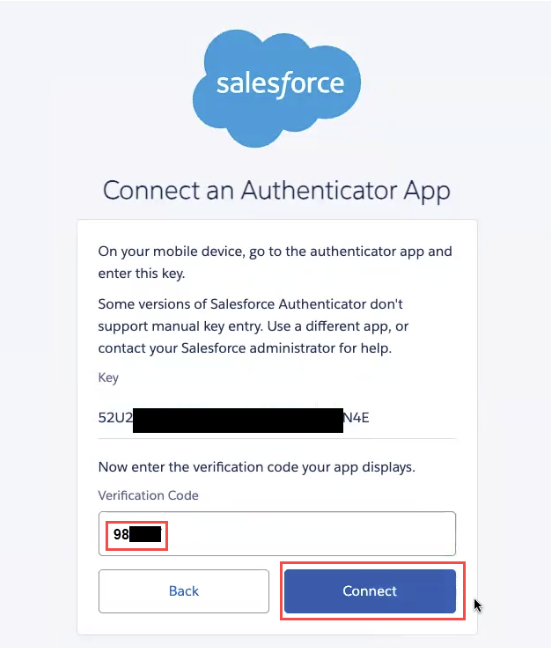
Back in Salesforce, paste the verification code and click Connect.
To complete the process with an external Authenticator app (such as Google Authenticator):
- Back in Axonius, paste the one-time secret key you copied from Salesforce in the 2FA Secret Key field.
- In your authenticator app, paste the same key and copy the one-time verification code.
- Back in Salesforce, paste the verification code and click Connect.
- SSO Username and SSO Password - If your organization accesses Salesforce with an SSO provider (such as Google, Microsoft 365, Okta, etc.). enter your credentials for the SSO platform here.
- Use Unified Login Domain - An alternative to using SSO credentials. Enable this option to use the
http://login.salesforce.comURL for logging in instead ofsub-domain.salesforce.com(if the main domain is a sandbox, the URL will betest.salesforce.com). This allows you to directly login with Salesforce credentials instead of using an external SSO.
Optional Parameters
- Verify SSL - Select whether to verify the SSL certificate of the server against the CA database inside of Axonius. For more details, see SSL Trust and CA Settings.
- HTTPS Proxy - A proxy to use when connecting to the value supplied in Host Name or IP Address.
- HTTPS Proxy User Name - The user name to use when connecting to the value supplied in Host Name or IP Address via the value supplied in HTTPS Proxy.
- HTTPS Proxy Password - The password to use when connecting to the value supplied in Host Name or IP Address via the value supplied in HTTPS Proxy.
3.2. Test the New Connection
It is recommended to use Curl commands to check the credentials you defined in the previous steps, to make sure they work for fetching Salesforce data with this adapter.
Testing
- Open a terminal window.
- Enter the following command and replace the variables in angled brackets with the client credentials you generated in the adapter setup process:
consumer_key='<consumer_key>'
consumer_secret='<consumer_secret>'
domain='https://.salesforce.com'
curl -X POST -u "$consumer_key":"$consumer_secret" "$domain/services/oauth2/token?grant_type=client_credentials"
The command’s output indicates if the credentials are valid. - Enter the following command and replace the variables in the angled brackets with the Salesforce username and password you are associating with this adapter:
username='<username>'
password='<password>'
user_secret='<user_secret>'
consumer_key='<consumer_key>'
consumer_secret='<consumer_secret>'
domain='https://.salesforce.com'
curl -X POST "$domain/services/oauth2/token" -d "grant_type=password&username=$username&password=$password$user_secret&client_id=$consumer_key&client_secret=$consumer_secret"
The command’s output indicates if the username and password are valid.
Troubleshooting
Here’s how you can troubleshoot some of the common error messages that are output by the curl commands in the previous section.
- Client credentials flow not enabled - Make sure that the Enable Client Credentials Flow check box is checked for the application you are using for this adapter.
- No client credentials user enabled - Make sure that there is a value selected for ‘Run As’ in the app’s Client Credentials Flow section.
- Client identifier invalid - Indicates that the consumer key or consumer secret is not right. Check to make sure the consumer key and consumer secret values were copied correctly.
- Authentication failure - Check to make sure that the correct username and password were entered.
4. (Optional) Configure Advanced Settings
Refer to Salesforce Advanced Settings.