
Symantec Endpoint Detection and Response (EDR)
Symantec Endpoint Detection and Response (EDR) detects, protects, and responds to threats to the organization's network.
Types of Assets Fetched
This adapter fetches the following types of assets:
- Devices
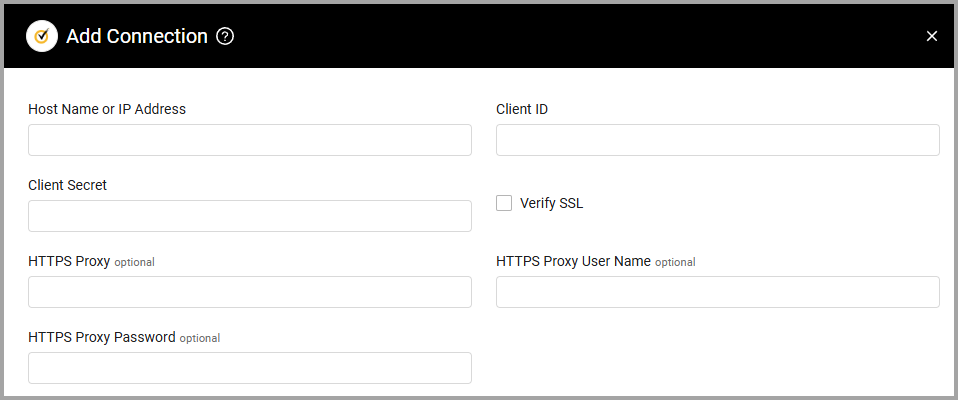
Parameters
-
Host Name or IP Address (required) - The hostname or IP address of the Symantec EDR server that Axonius can communicate with via the Required Ports.
-
Client ID and Client Secret (required) - The credentials for a user account that has the Required Permissions to fetch assets.
-
Verify SSL - Select whether to verify the SSL certificate of the server against the CA database inside of Axonius. For more details, see SSL Trust & CA Settings.
-
HTTPS Proxy (optional) - Connect the adapter to a proxy instead of directly connecting it to the domain.
-
HTTPS Proxy User Name (optional) - The user name to use when connecting to the value supplied in Host Name or IP Address via the value supplied in HTTPS Proxy.
-
HTTPS Proxy Password (optional) - The password to use when connecting to the server using the HTTPS Proxy.
To learn more about common adapter connection parameters and buttons, see Adding a New Adapter Connection.
APIs
Axonius uses the EDR Entities Resource API.
Required Ports
Axonius must be able to communicate with the value supplied in Host Name or IP Address via the following ports:
- TCP port 443
Required Permissions
The value supplied in Client ID and Client Secret must by associated to a user that have read access to devices.
The user must have atp_view_entities permission (Included under User privileges).
To generate an OAuth client:
Note
You must have Admin rights to generate an OAuth client. Only users with the Admin role that created the OAuth client can view the Client ID and Client Secret. Other Admin roles can only view the Client ID.
- Do one of the following:
- In the EDR cloud console, click Settings.
- Under Environment, select an appliance and then click Data Sharing.
- In the EDR appliance console, click Settings > Data Sharing.
- In the EDR cloud console, click Settings.
- In the OAuth Clients section, click Add Application.
- In the App Name field, type the name of the application that you want to register.
- Select the API version that you intend to use.
- The default setting is version 2.
- Select to enable version 2 APIs.
- A Role option appears.
- Click the drop-down menu and select the user role for the app.
- Click Generate. The client ID and client secret appear.
Updated 9 months ago