Example: SAML Based Authentication with Okta
The following example describes how to enable SAML-based authentication in Axonius with Okta.
See Okta Documentation for more about creating SAML app integrations.
Note
Okta updates their UI from time to time. The location of fields on the Okta pages may be different than described here.
Do the following in Okta:
- Log in to your Okta admin panel.
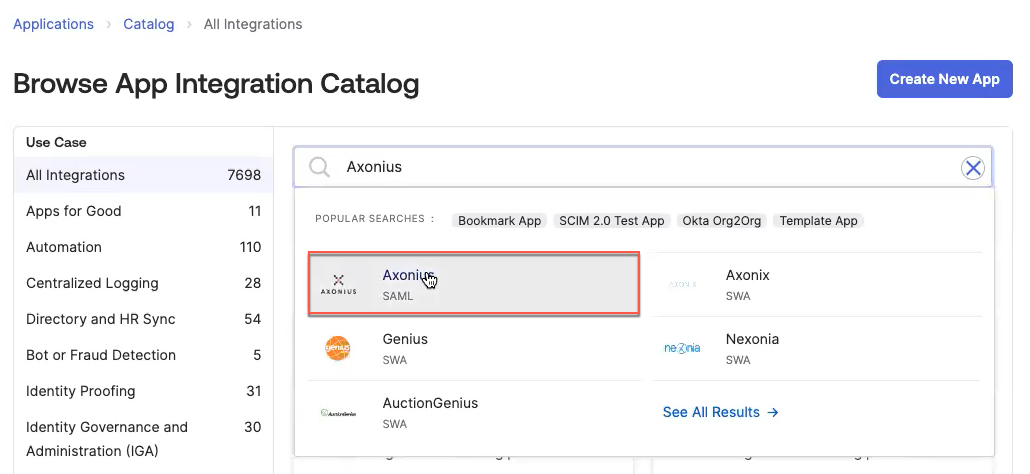
- In the left pane, click Applications and under that, click Applications. Click Browse App Catalog and use the Search box to find "Axonius" and select it.

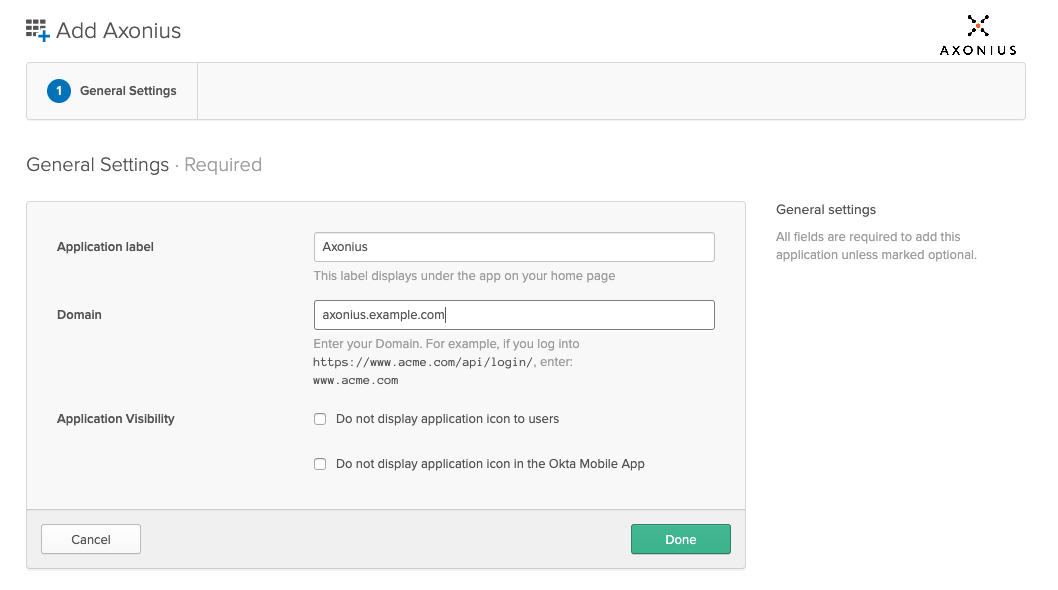
- Click Add Integration.
- Set the Domain to match the IP or domain name of your Axonius instance, and then click Done. You can change the Application label to a custom value.

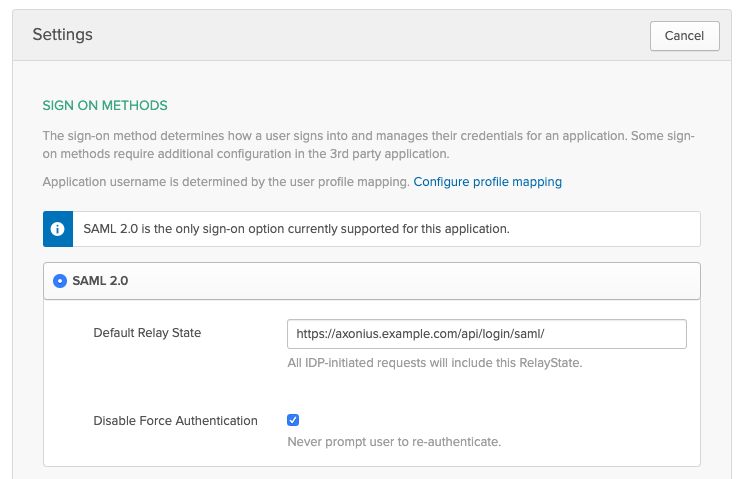
- Under Sign On, click Edit in the upper right-hand corner. Set the Default Relay State value to https://[[domain]]/api/login/saml?idp=XX, replacing [[domain]] with the value used in Step 3 and XX with the unique IDP name for the SAML configuration using this Okta application (see Do the following in Axonius below). Then click the green Save button in the bottom right-hand corner.

- Once the application is created, on the Sign on tab, under Metadata Details:
- Append saml?idp=XX to the end of the metadata URL: https://[[domain]]/api/login/saml?idp=XX
- Copy the URL in the field Metadata URL.
.png)
- Under More Details:
- In Sign On URL and Sign Out URL,
- On the Assignments tab, click Assign and configure the users (people) / groups you want to assign to this app.
Do the following in Axonius:
-
Log into Axonius as an admin. Go to Settings
>Access Management>LDAP & SAML>SAML-Based Login Settings. Then fill in the following details:- Name of the Identity Provider - A custom string of your choosing that identifies this connection.
- Unique name of IDP - Enter a unique name for this specific SAML integration. This value is for when there are multiple SAML integrations from the same identity provider (in this case Okta) and must be entered now before saving the configuration. Once saved, this value cannot be changed. If not provided and you want to add a SAML integration later, you will need to delete this configuration and recreate it with an IDP value.
- Metadata URL - The URL you have copied in step #5 above under In Okta. If you do not want to use the metadata URL, fill in the following fields (the correct values can be found in Okta):
- Single sign-on service URL
- Entity ID
- Single logout service URL
- IdP Signing certificate - Download the certificate from Okta and upload it to Axonius by clicking Upload File.
- Axonius External URL - The URL that is used to access Axonius. If the instance is not behind a proxy, this can be left empty.
-
Under User Assignment Settings:
- In Default role for new SAML user only user, select a default role. This role is assigned when there is no matching assignment rule.
- In Default Data Scope for new SAML user only, select the Data Scope to assign to new users. This Data Scope is assigned when there is no matching assignment rule.
- In Evaluate user assignment on, select to which users the role assignment setting will apply.
- New users - The selected role is assigned to new users logging in with SAML for the first time.
- New and existing users - The selected role is assigned to all users when they log in with SAML.
-
Click Save to save the SAML configuration. You can now Log in to Axonius with Okta.
Updated 4 months ago
