Example: SAML Based Authentication with Microsoft Entra ID
The following example describes how to enable SAML-based authentication in Axonius with Microsoft Entra ID (formerly Azure AD).
Note
Microsoft updates their UI from time to time. The location of fields on their pages may be different than described here.
Configuring a SAML Instance Using Metadata Files
Microsoft Entra ID allows the use of metadata files that make SAML instance configuration easy. The metadata file contains the specific URLs used to connect between Axonius and Entra ID. This process requires moving between Axonius and Entra ID, so keep both open in separate tabs.
Do the following in Axonius:
See SAML-Based Login Settings for descriptions of these fields.
- Log in to Axonius as an administrator, then go to Settings -> Access Management -> LDAP & SAML, and toggle on Allow SAML-based logins.
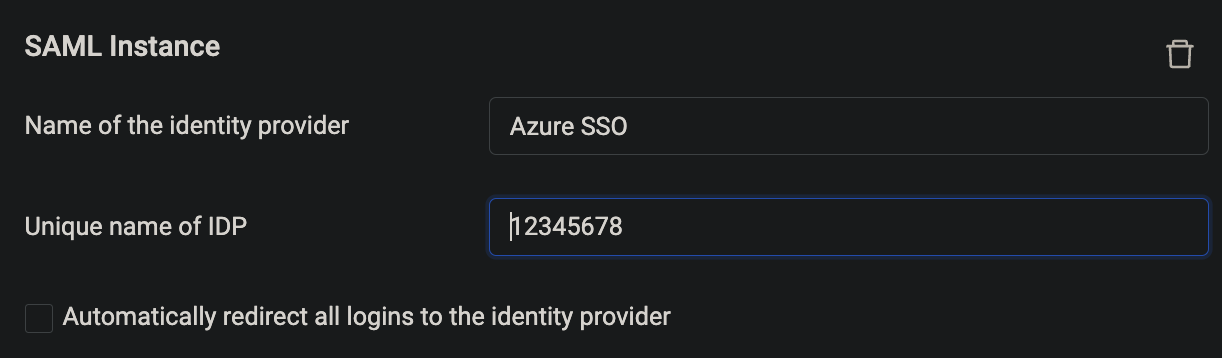
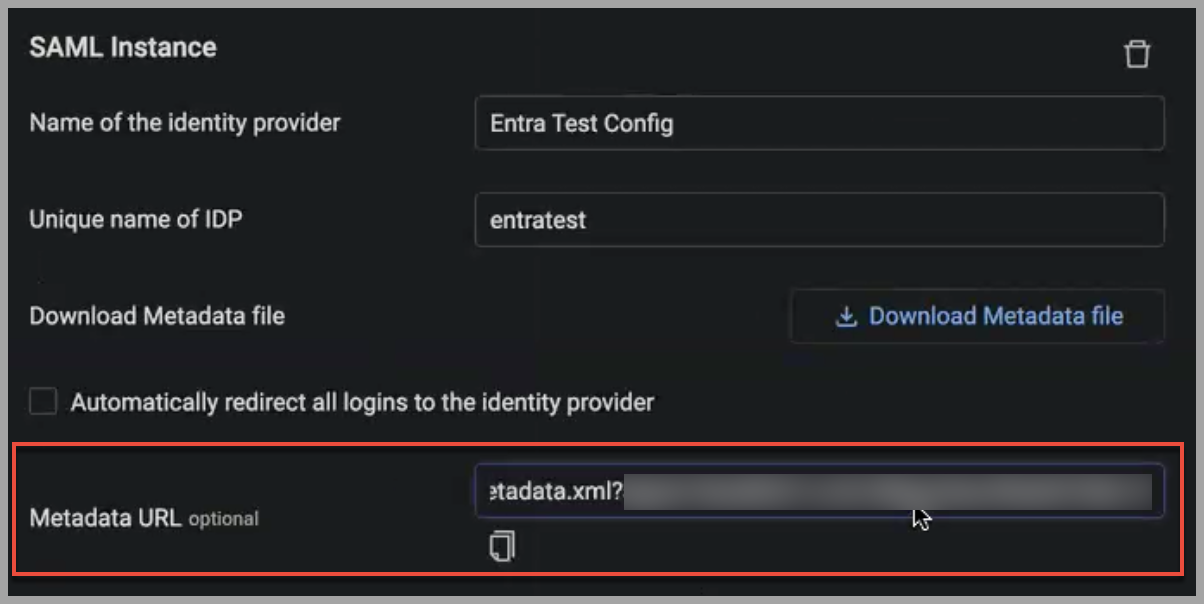
- Under SAML Instance, in Name of the identity provider enter a name for the SAML instance. This name will appear on the Axonius Log-in page after the instance is created.
- In Unique name of IDP, enter a unique name for this SAML configuration. The IDP can be up to 10 lower case characters (a-z) or numbers (0-9). Save this name so that you can refer to it later. Once the instance is saved this value cannot be changed. See Unique Name of IDP below.
- Click Save.
- Click Download Metadata file.
- Keep this page open in Axonius.
- Go to Entra ID.
Do the following in Microsoft Entra ID:
- Log in to the Entra ID portal, go to Azure Active Directory, and click Enterprise Applications.

- On the top toolbar, click New application to create an application for Axonius.

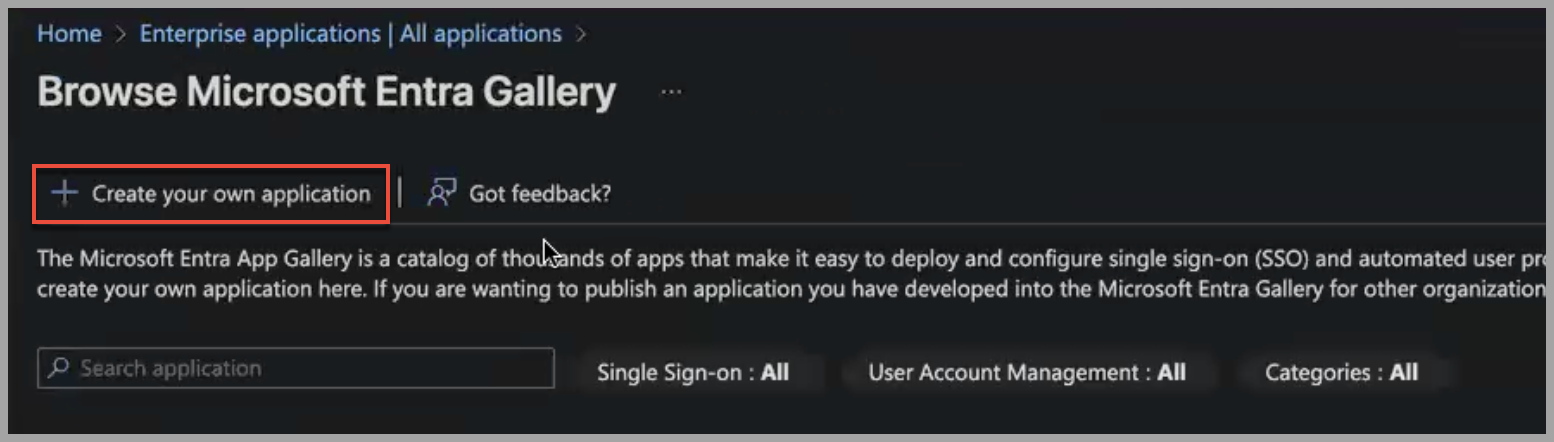
The Cloud application gallery is displayed.
- Click Create your own application.
A 'Create your own application' pane opens on the right.
- In What's the name of your app?, enter a name for your application. This name does not have to be the same name as you used in Axonius.

-
Select Integrate with any other application you don’t find in the gallery (Non-gallery).
-
Click Create.
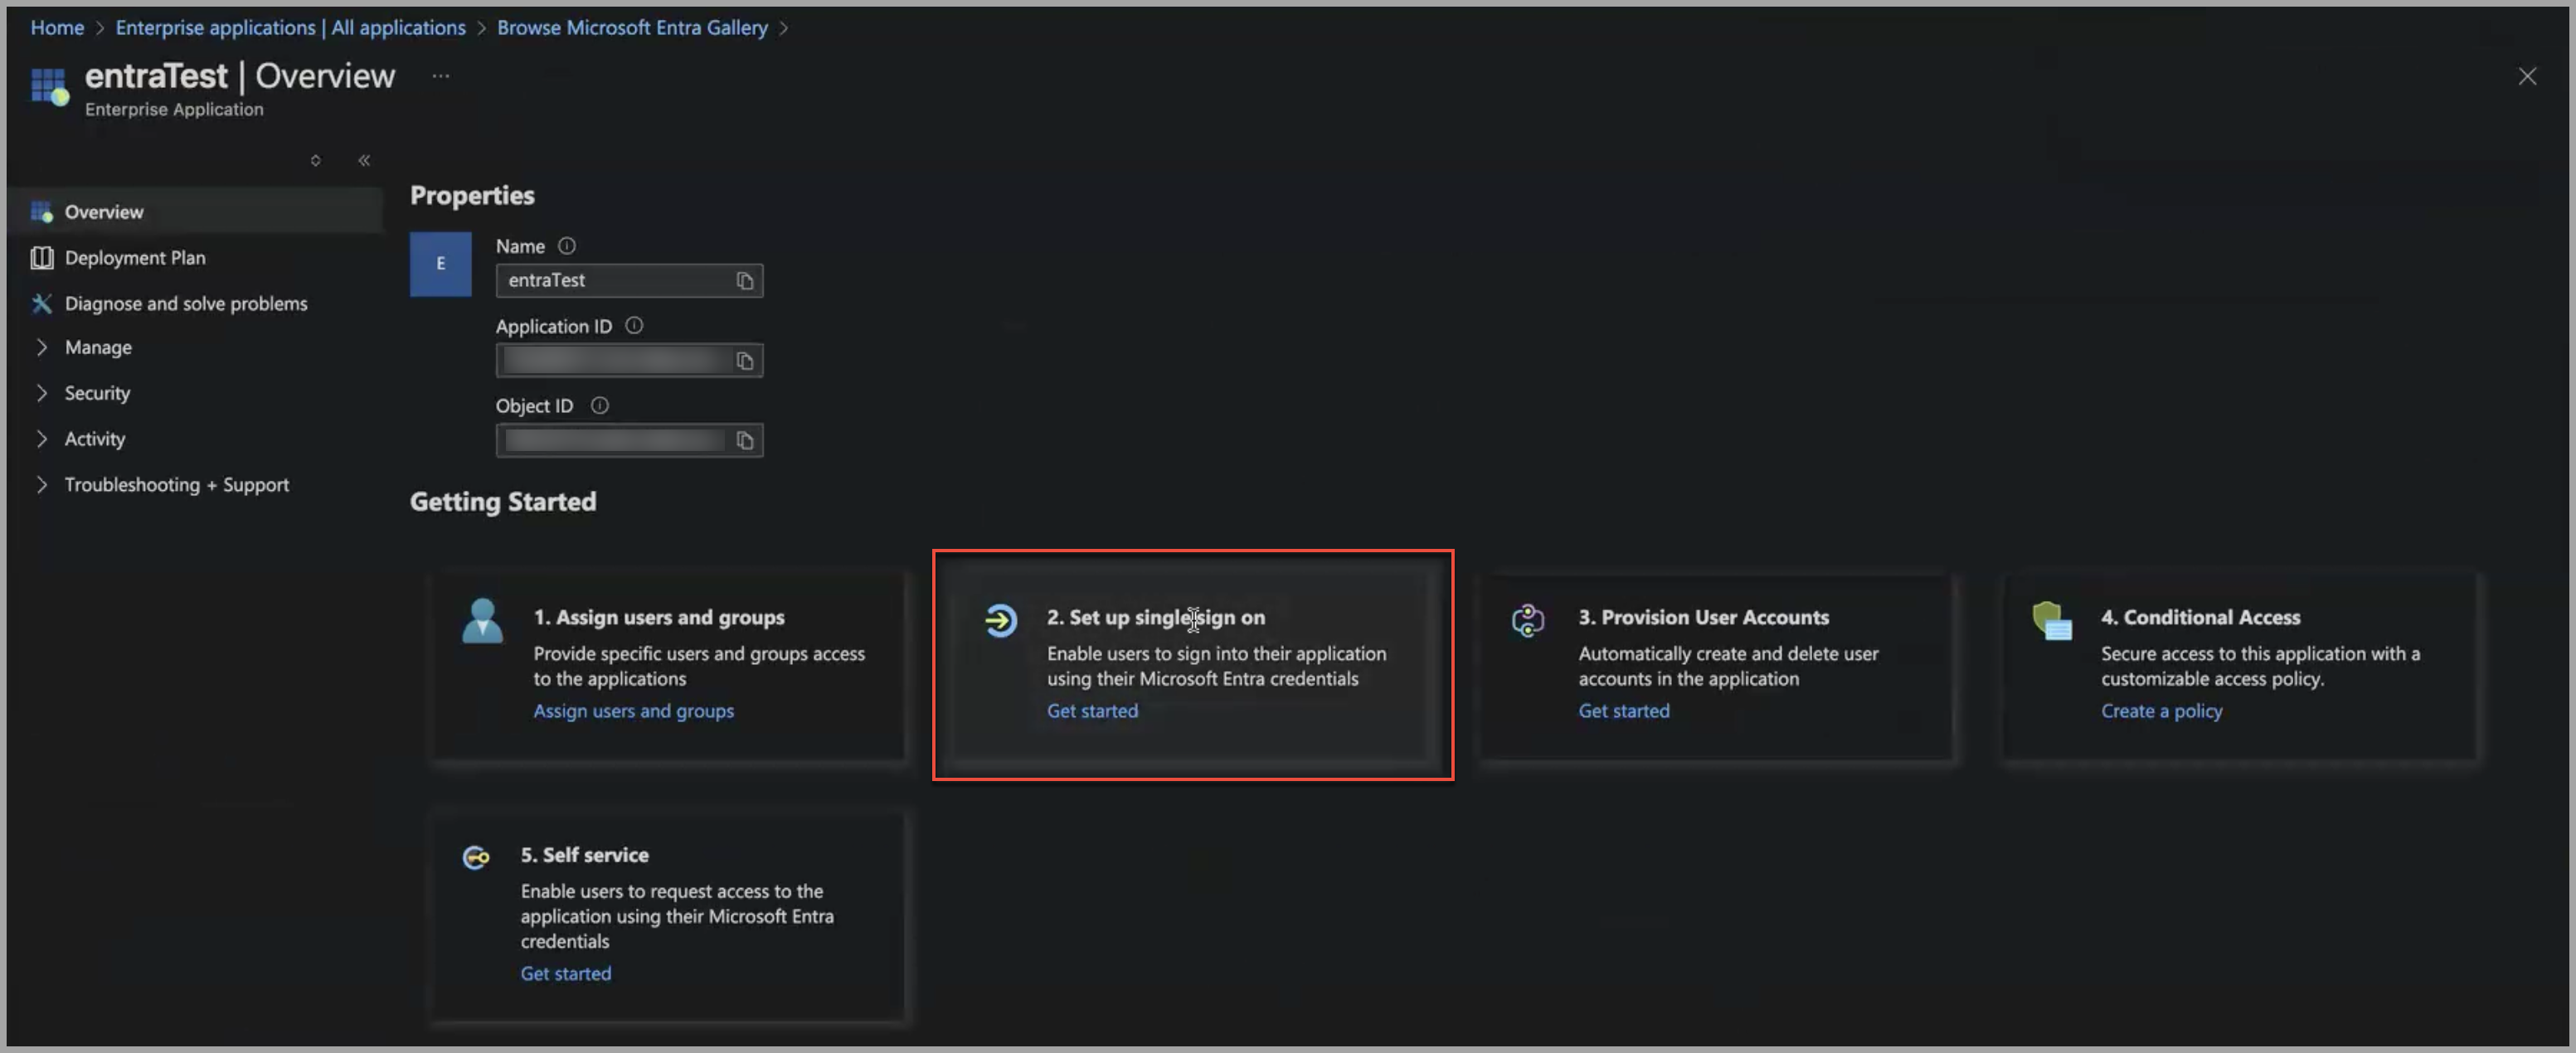
After your application is created, the Overview page of the new app is displayed.
-
Under Getting Started, click Set up single sign on.
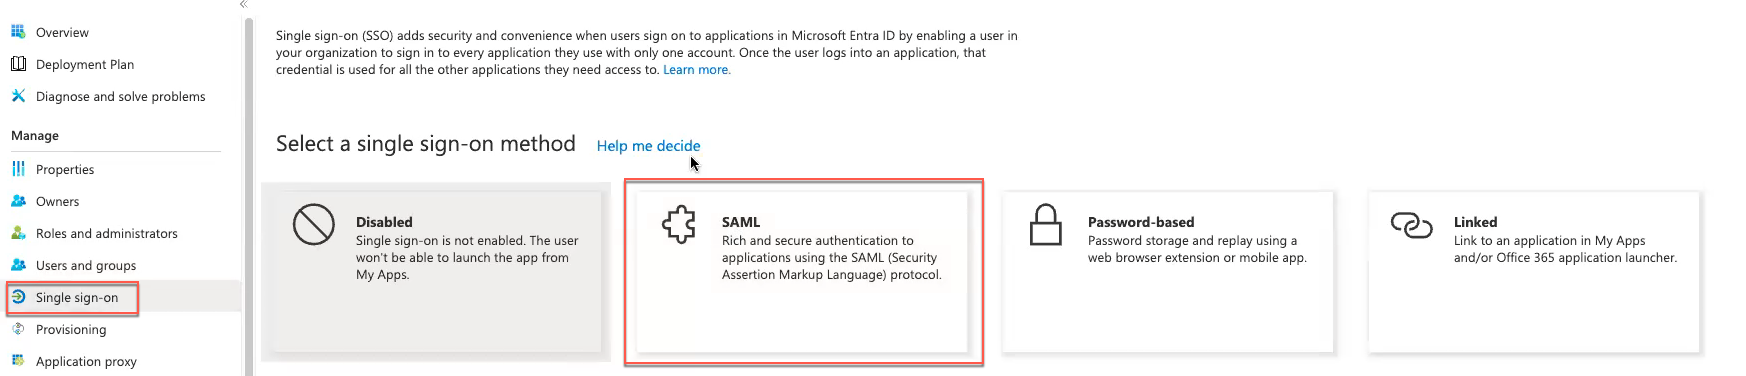
The Single sign-on page is displayed.
- Under Single sign-on method, click SAML.
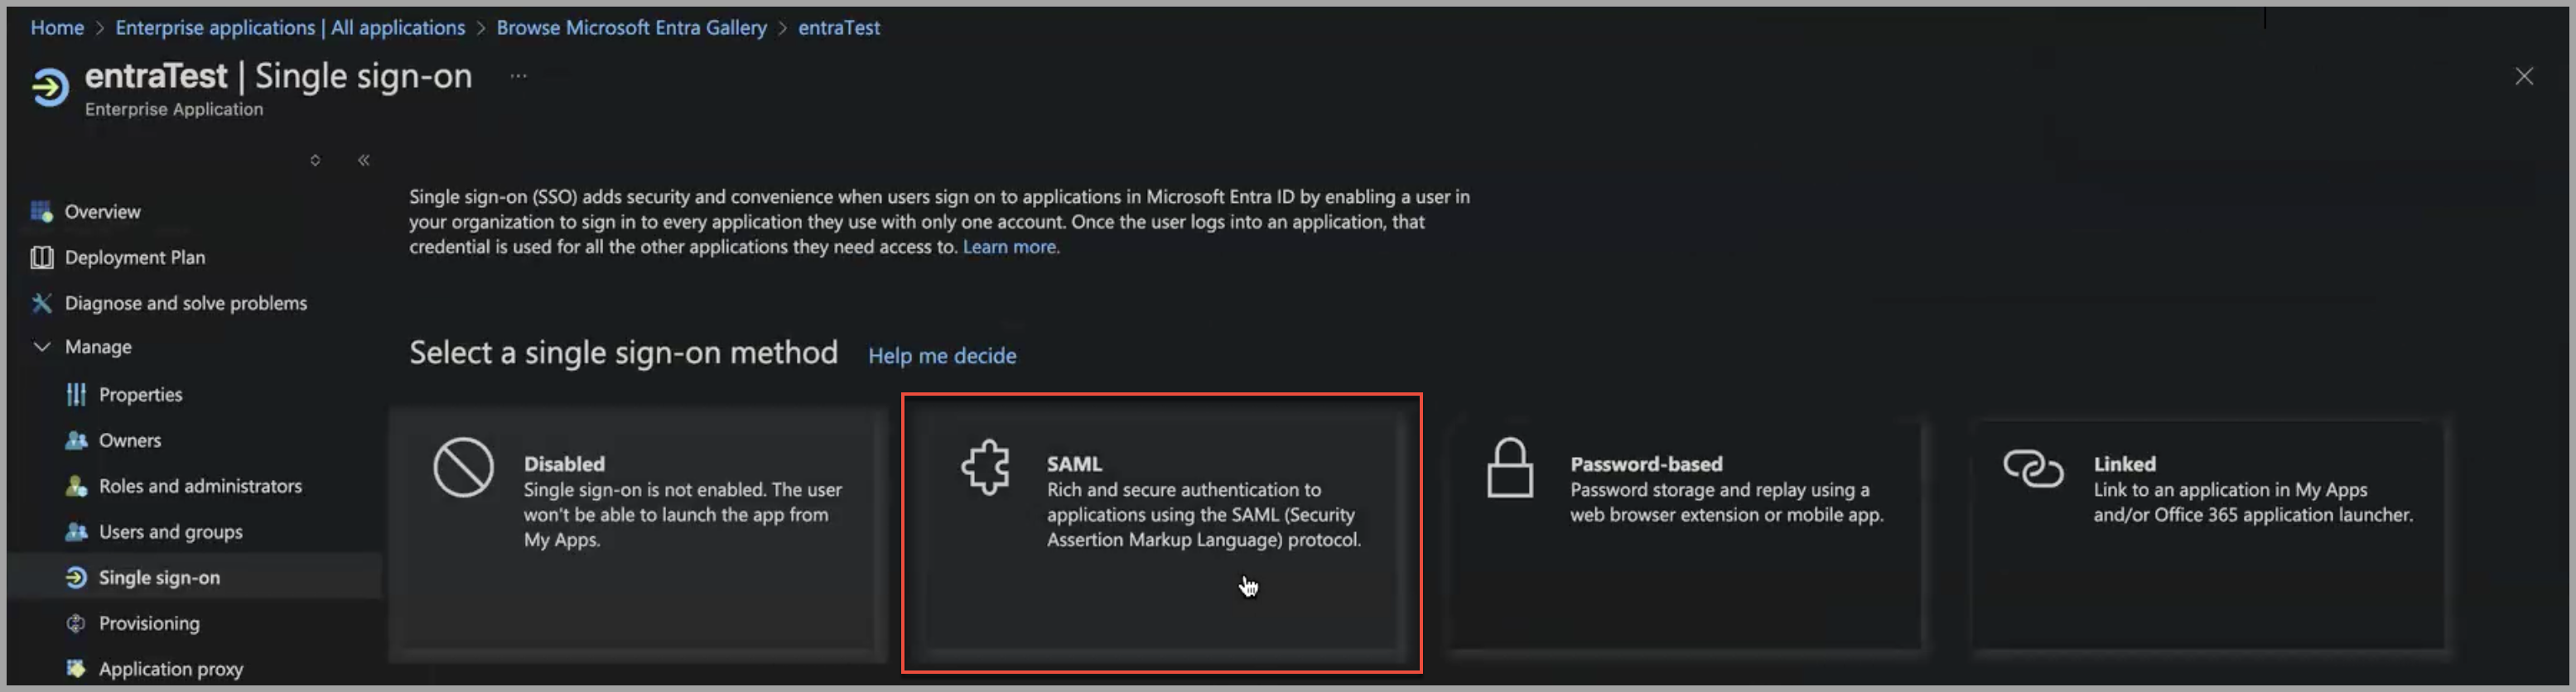
The SAML-based Sign-on page is displayed.
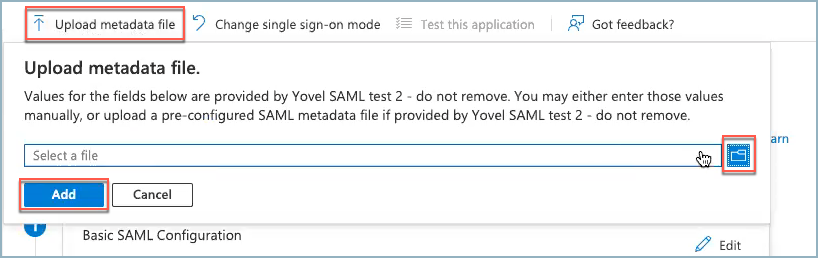
- Click Upload metadata file. To the right of the file name box, click the file icon to upload the metadata file.
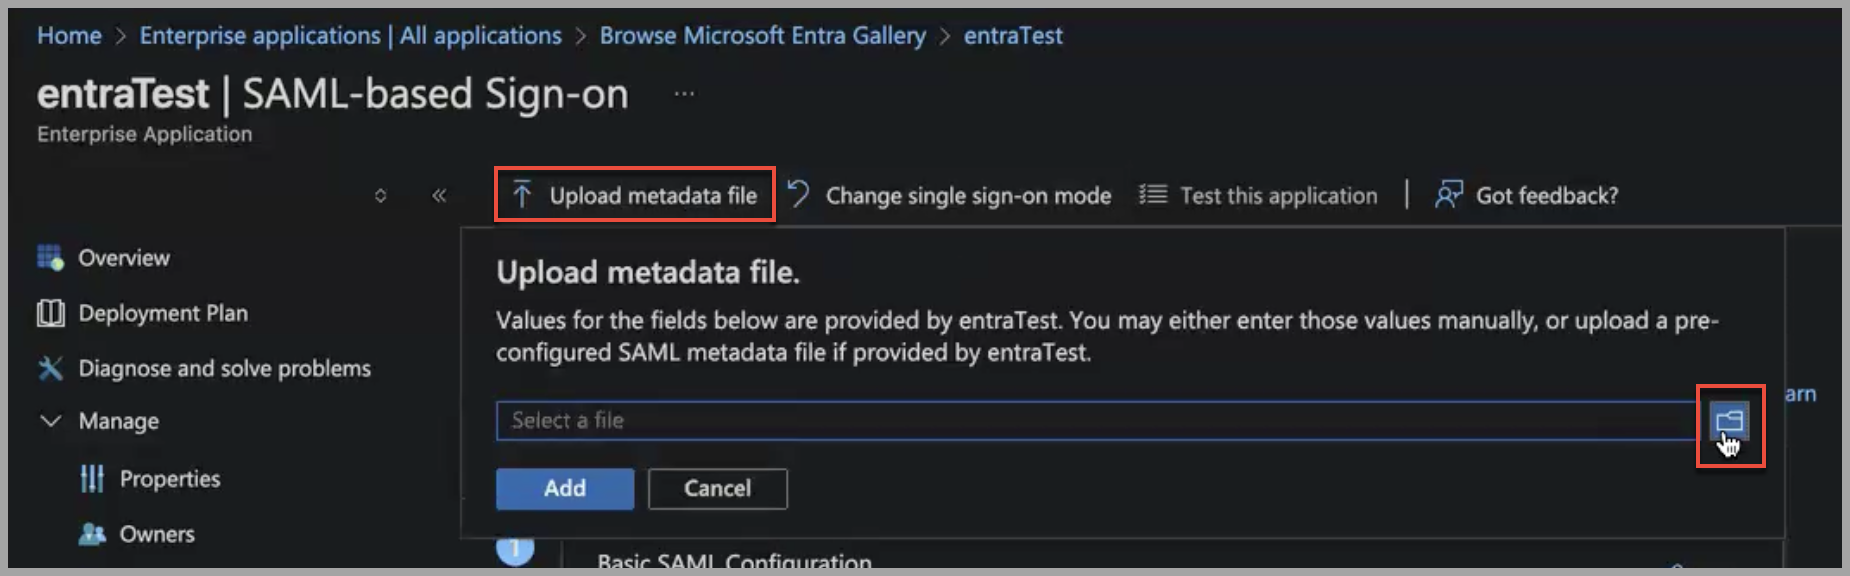
- Navigate to the metadata file on your system, select it, and click Add.
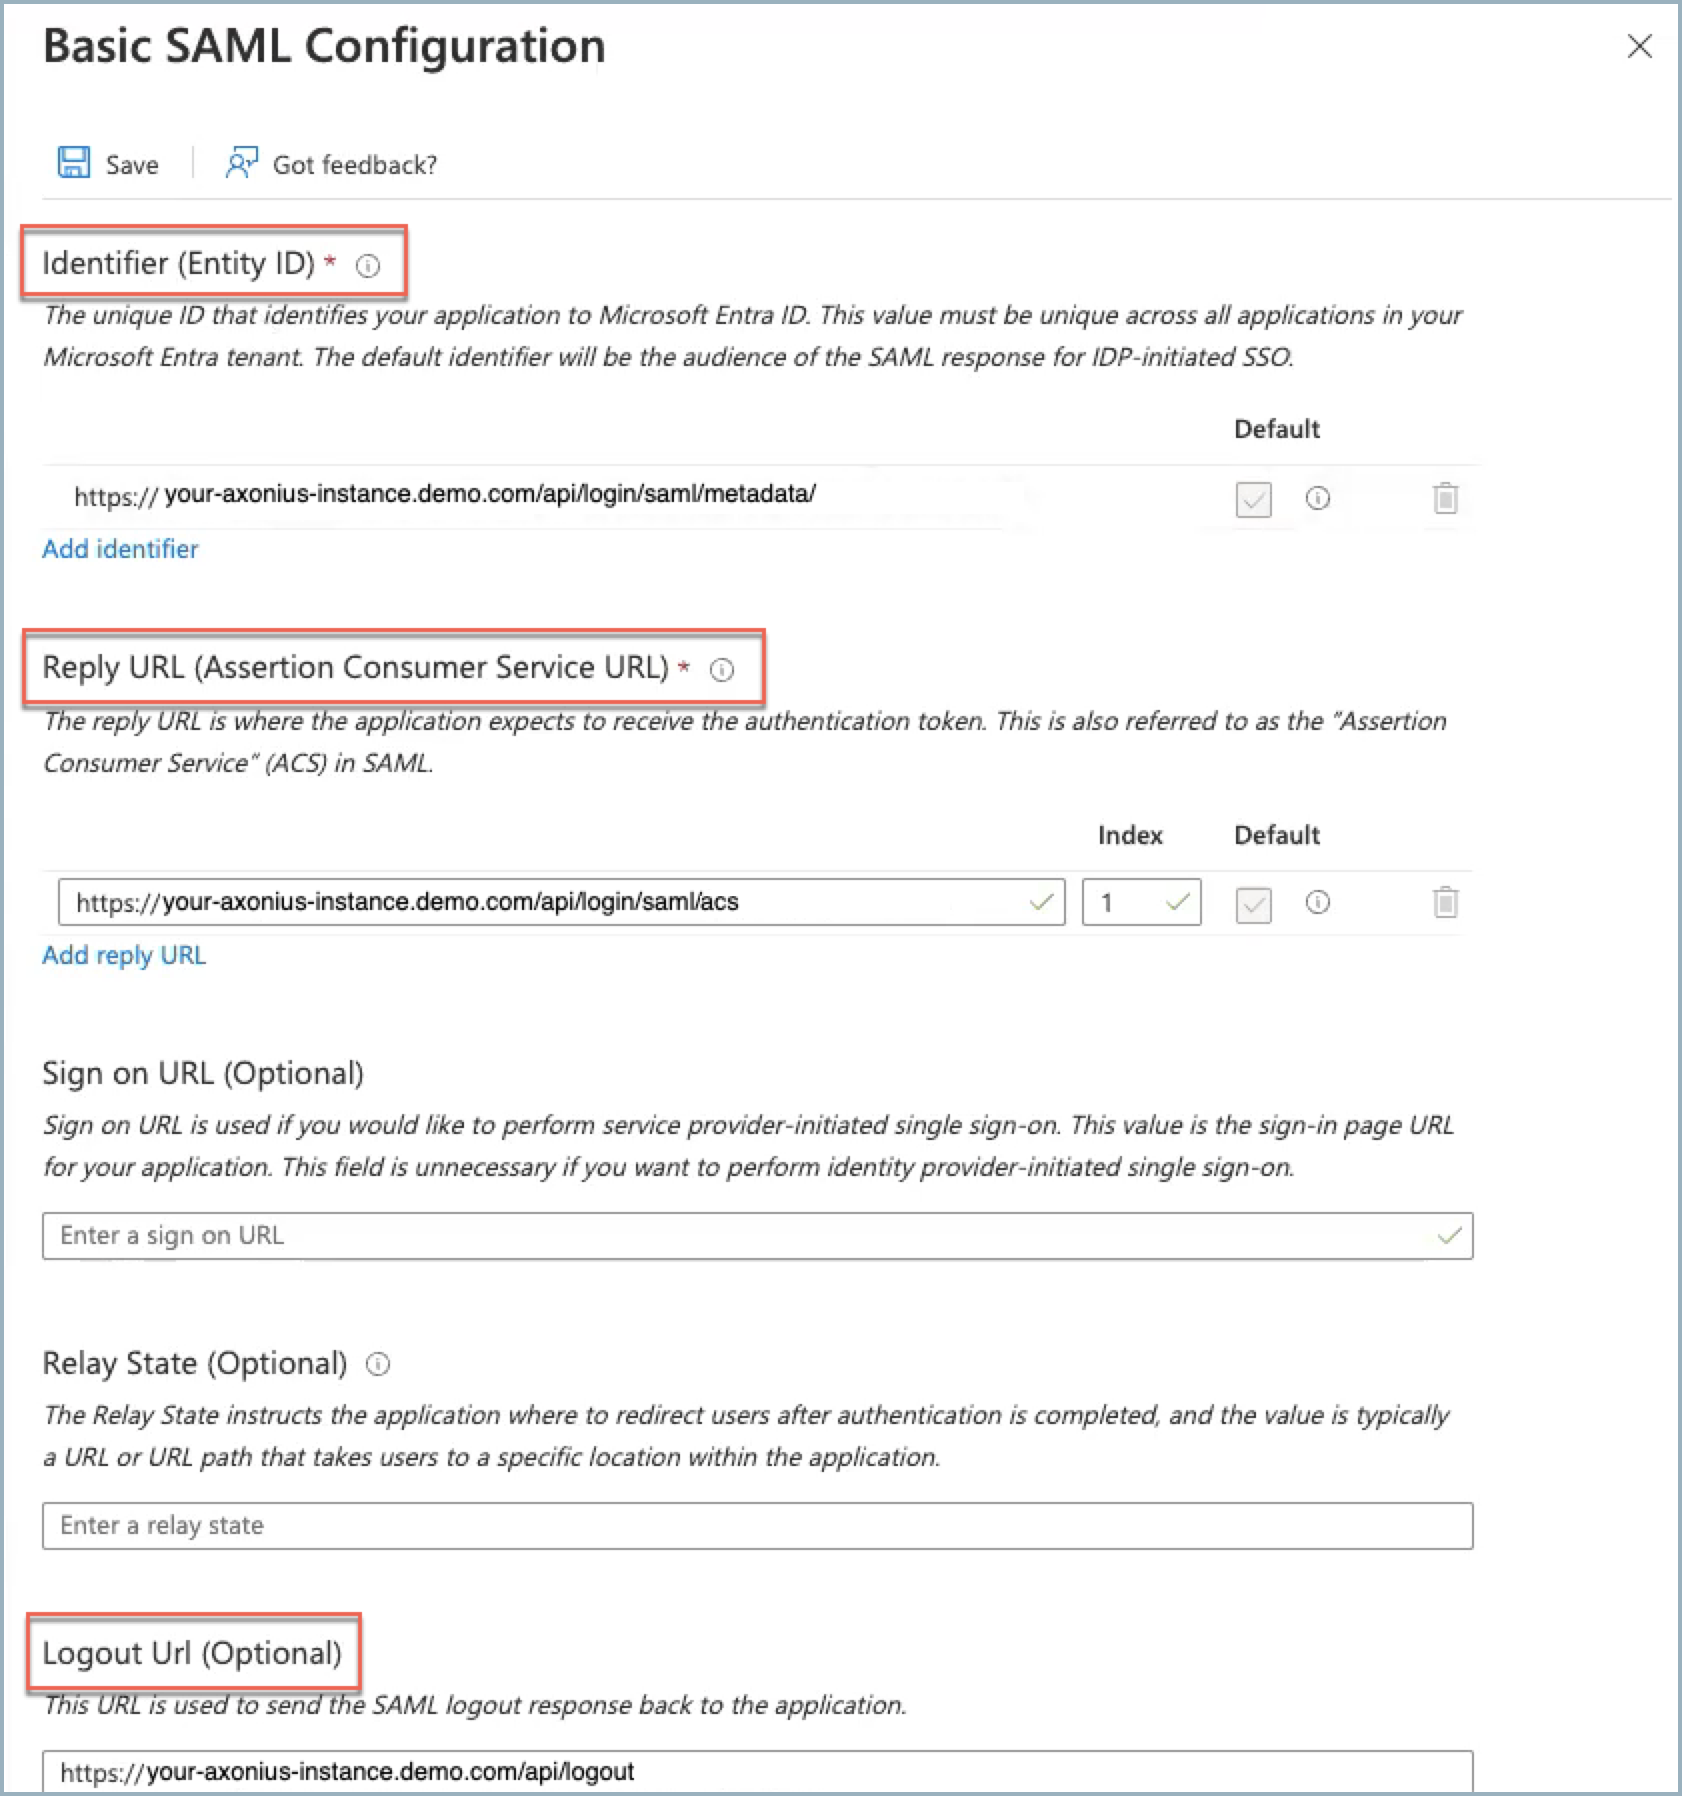
The Basic SAML Configuration pane opens to the right with the Identifier, Reply URL, and Logout Url fields populated with URLs from the metadata file.
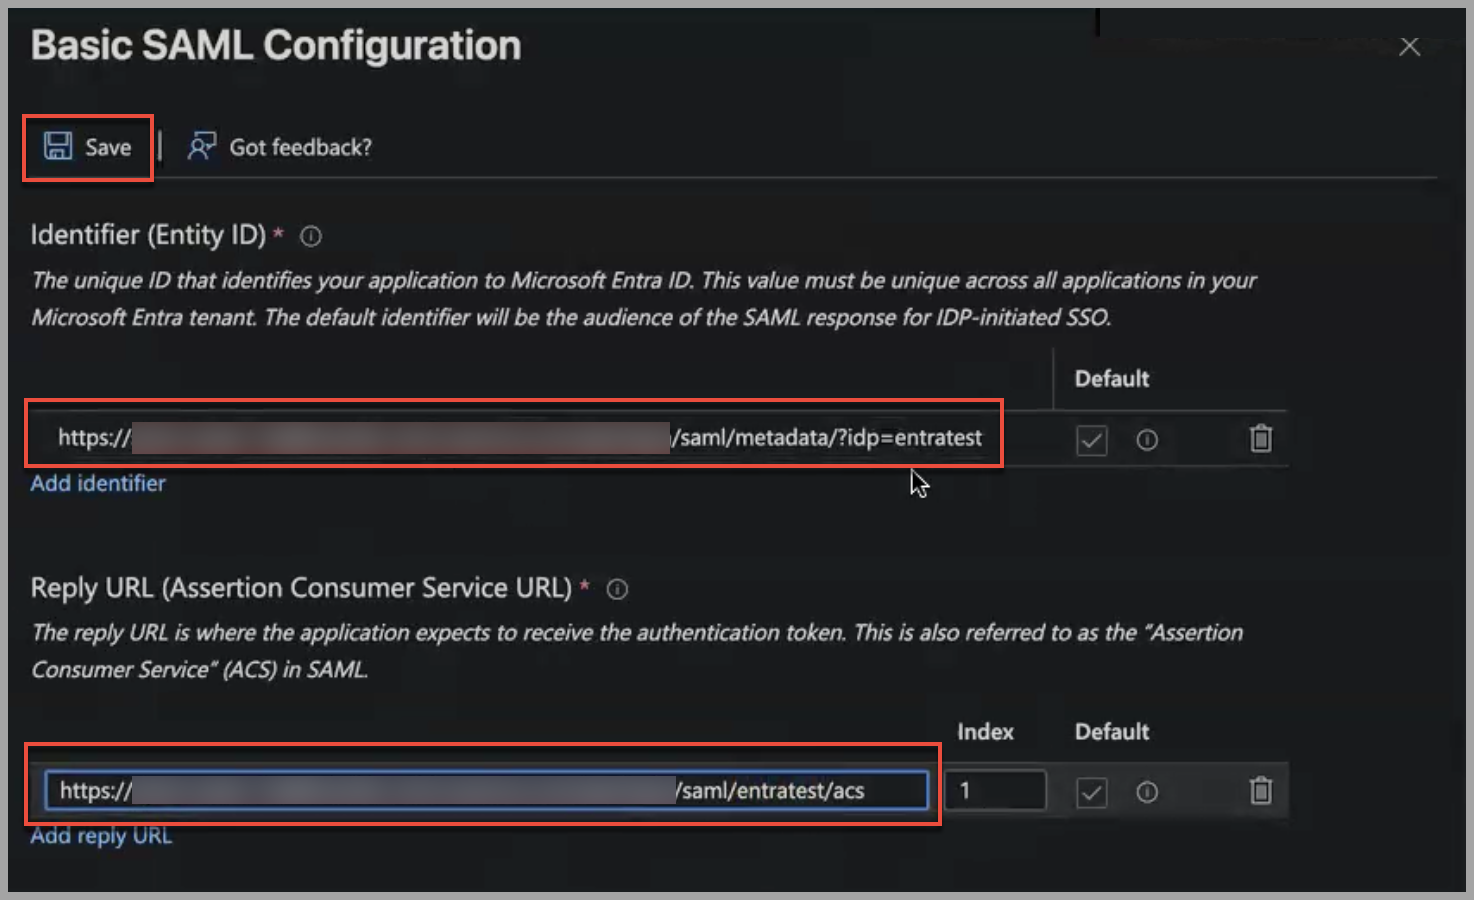
- Click Save.
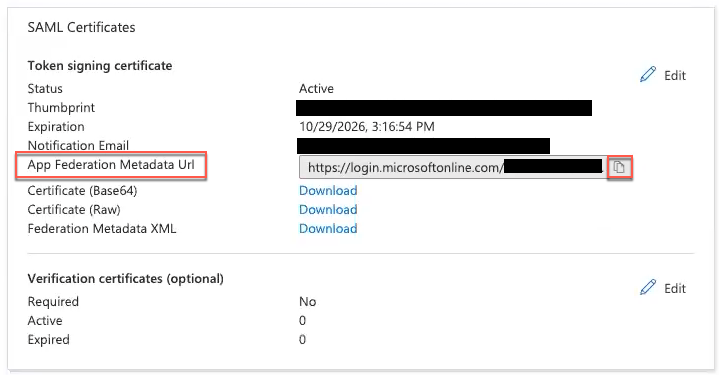
- In the SAML Certificates section, copy the App Federation Metadata Url.
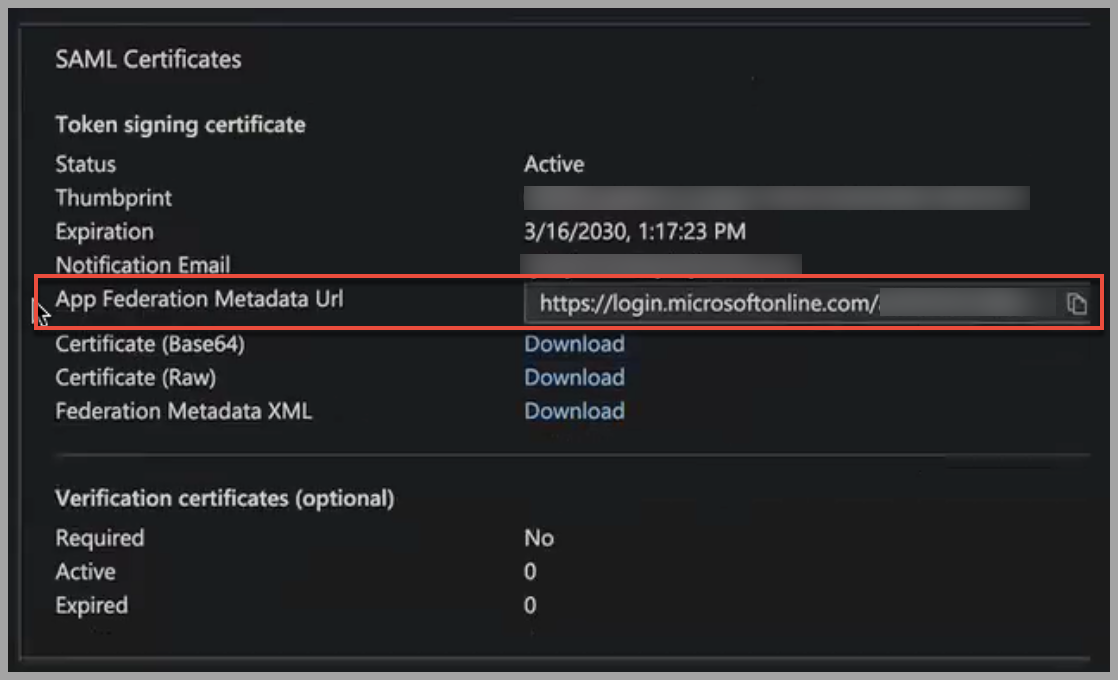
- Keep this page open in Entra ID.
- Go back to Axonius.
Do the following in Axonius:
- Paste the metadata URL from Entra ID into the Metadata URL field.
The following fields are populated behind the scenes:
- Single sign-on service URL
- Entity ID
- Single logout service URL
- Click Save.
Testing the single sign-on
Entra ID may ask if you want to test the single sign-on with entraTest.
- In Entra ID, click Yes.
- In the Test single sign-on with entraTest panel, click Test sign in.
You can also test it by logging out of Axonius and using the new log in with button on the Axonius Log-in page.
Configuring a SAML Instance Without Using the Metadata File
Use this procedure to configure a SAML instance without using the metadata file.
Do the following in Axonius:
See SAML-Based Login Settings for descriptions of these fields.
- Log in to Axonius as an administrator, then go to Settings -> Access Management -> LDAP & SAML, and toggle on Allow SAML-based logins.
- Under SAML Instance, in Name of the identity provider enter a name for the SAML instance. This name will appear on the Axonius Log-in page after the instance is created.
- In Unique name of IDP, enter a unique name for this SAML configuration. The IDP can be up to 10 lower case characters (a-z) or numbers (0-9). Once the instance is saved this value cannot be changed. See Unique Name of IDP below.
- Click Save.
- Click Download Metadata file.
- Keep this page open in Axonius.
- Go to Entra ID.
Do the following in Microsoft Entra ID:
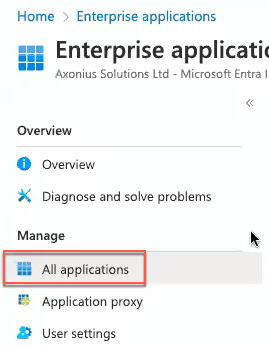
- Log in to the Entra ID portal, go to Azure Active Directory, and click Enterprise Applications.
- Click All applications.
- On the top toolbar, click New application to create an application for Axonius.
The Cloud application gallery is displayed.
- Click Create your own application.
-
Enter a name for your application.
-
Select Integrate with any other application you don’t find in the gallery (Non-gallery)
-
Click Create.
-
Under Manage click Single sign-on and then SAML.
- Click Upload metadata file and then the file folder
 to the right. Select the metadata file you downloaded from Axonius in the first step above and click Add.
The URLs are populated into the Identifier, Reply URL, and Logout URL fields.
- Click Save.
- Copy the App Federation Metadata Url in SAML Signing Certificate.
:::
Do the following in Axonius:
- Under User Assignment Settings:
- In Default role for new SAML user only user, select a default role. This role is assigned when there is no matching assignment rule.
- In Default Data Scope for new SAML user only, select the Data Scope to assign to new users. This Data Scope is assigned when there is no matching assignment rule.
- In Evaluate user assignment on, select to which users the role assignment setting will apply.
- New users - The selected role is assigned to new users logging in with SAML for the first time.
- New and existing users - The selected role is assigned to all users when they log in with SAML.
- Click Save.
Do the following in Microsoft Entra ID:
The user should now be able to log in to Axonius with Entra ID.
Verify the configuration works both ways - Axonius to Entra ID and Entra ID to Axonius
- Log in to Axonius using Entra ID and log out just to confirm it works.
- In Entra ID, under Manage, click Properties.
- Copy the User access URL and paste it into a new browser tab to confirm it takes you to Axonius.
Unique Name of IDP
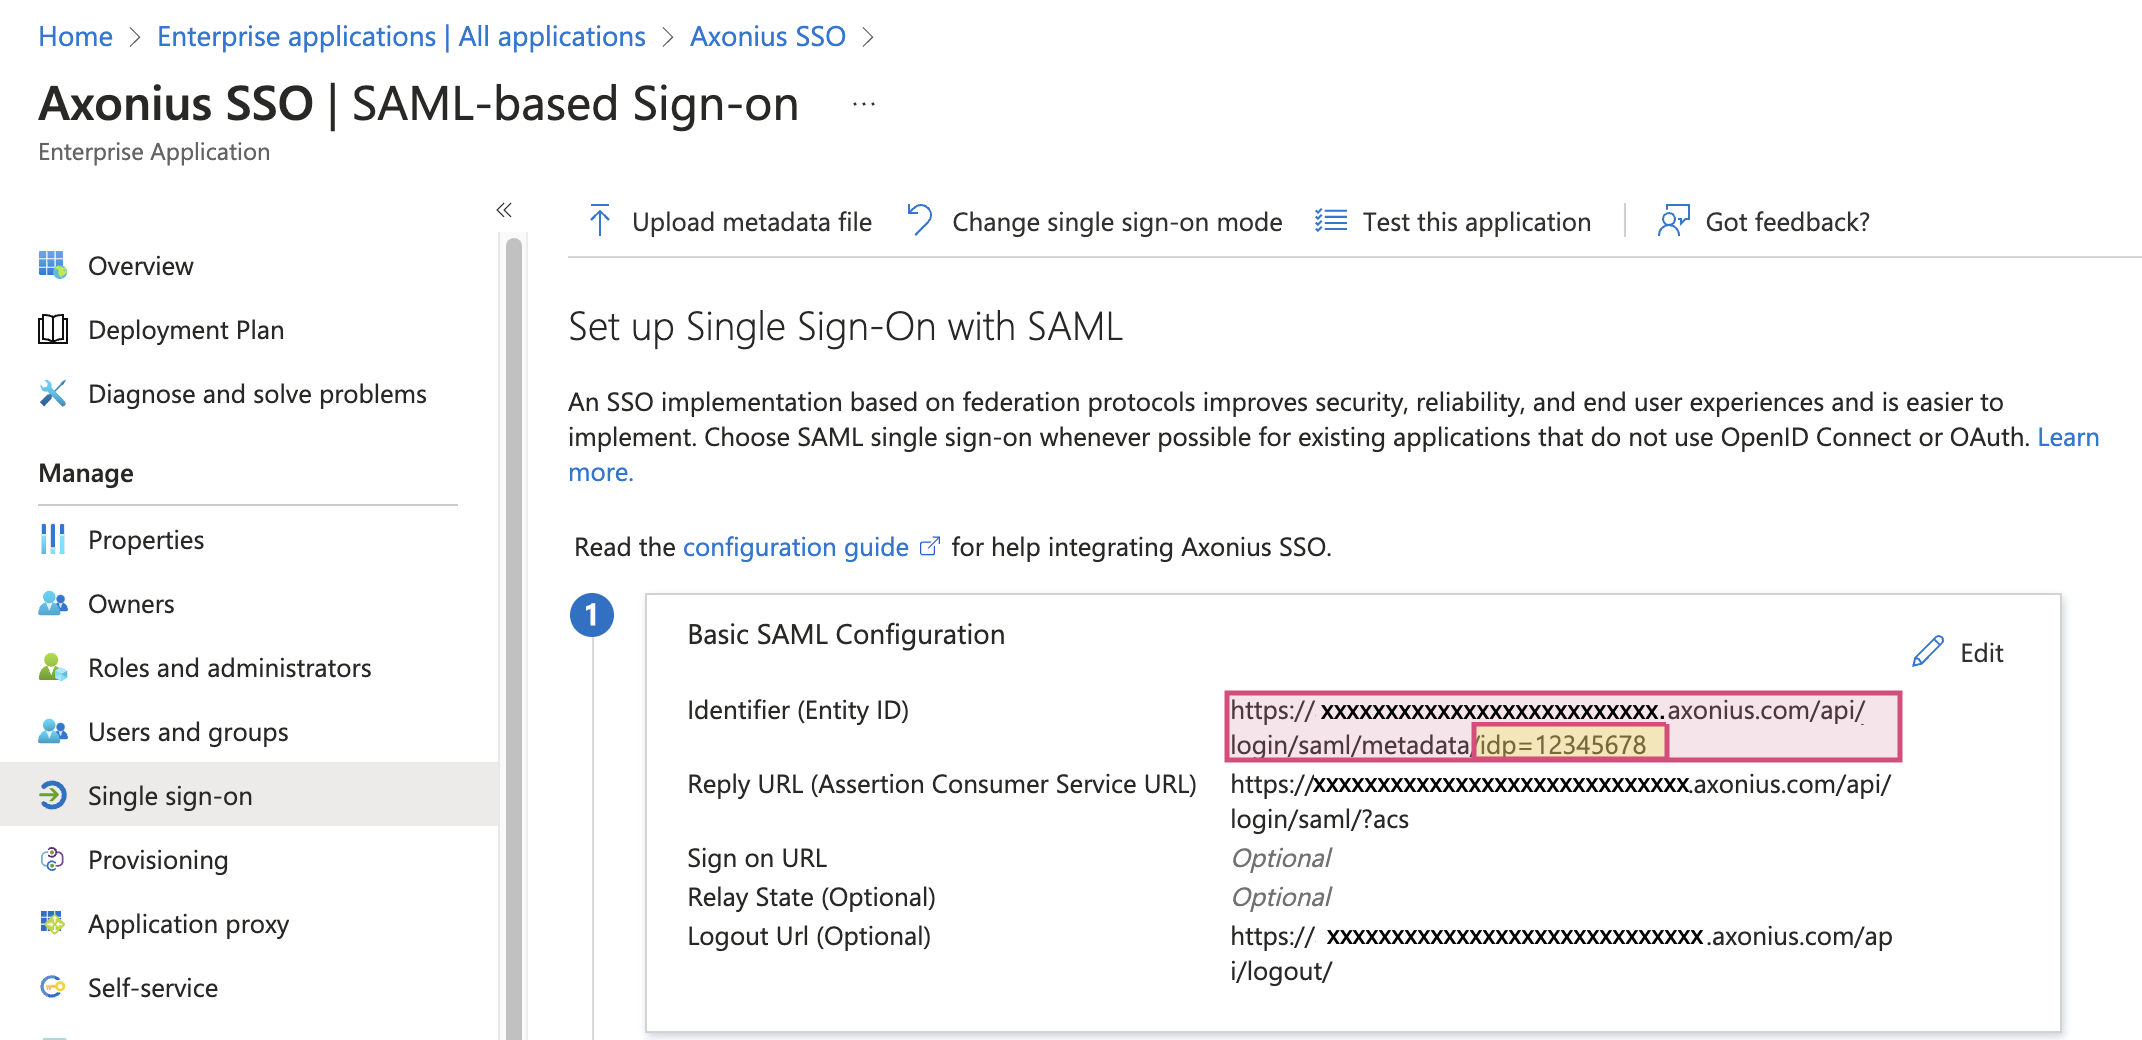
When configuring a SAML instance within Axonius without using the metadata file process, you may be asked to provide a "Unique name of IDP" value. This is an arbitrary value that is used to maintain IDP uniqueness in environments that use more than one SAML configuration. If a "Unique name of IDP" value is provided, it must also be appended with a leading ?idp= to the URL in the Entra ID SSO Application configuration under the "Identifier (Entity ID)" field.
In the example screenshots, an IDP value of "12345678" has been configured.