Configuring an S3 Bucket to use with Axonius
To save files on AWS S3 buckets you must first create an S3 bucket. This section outlines the basic steps to configure an AWS S3 bucket to be used by the Axonius system for the purposes of backups, data synchronization and EC action support. This is not intended to be an exhaustive process for configuring the bucket or for setting security controls on the bucket. Refer to AWS Buckets overview for more extensive information.
Creating a Bucket in S3
-
Login to the AWS Console.
.png)
-
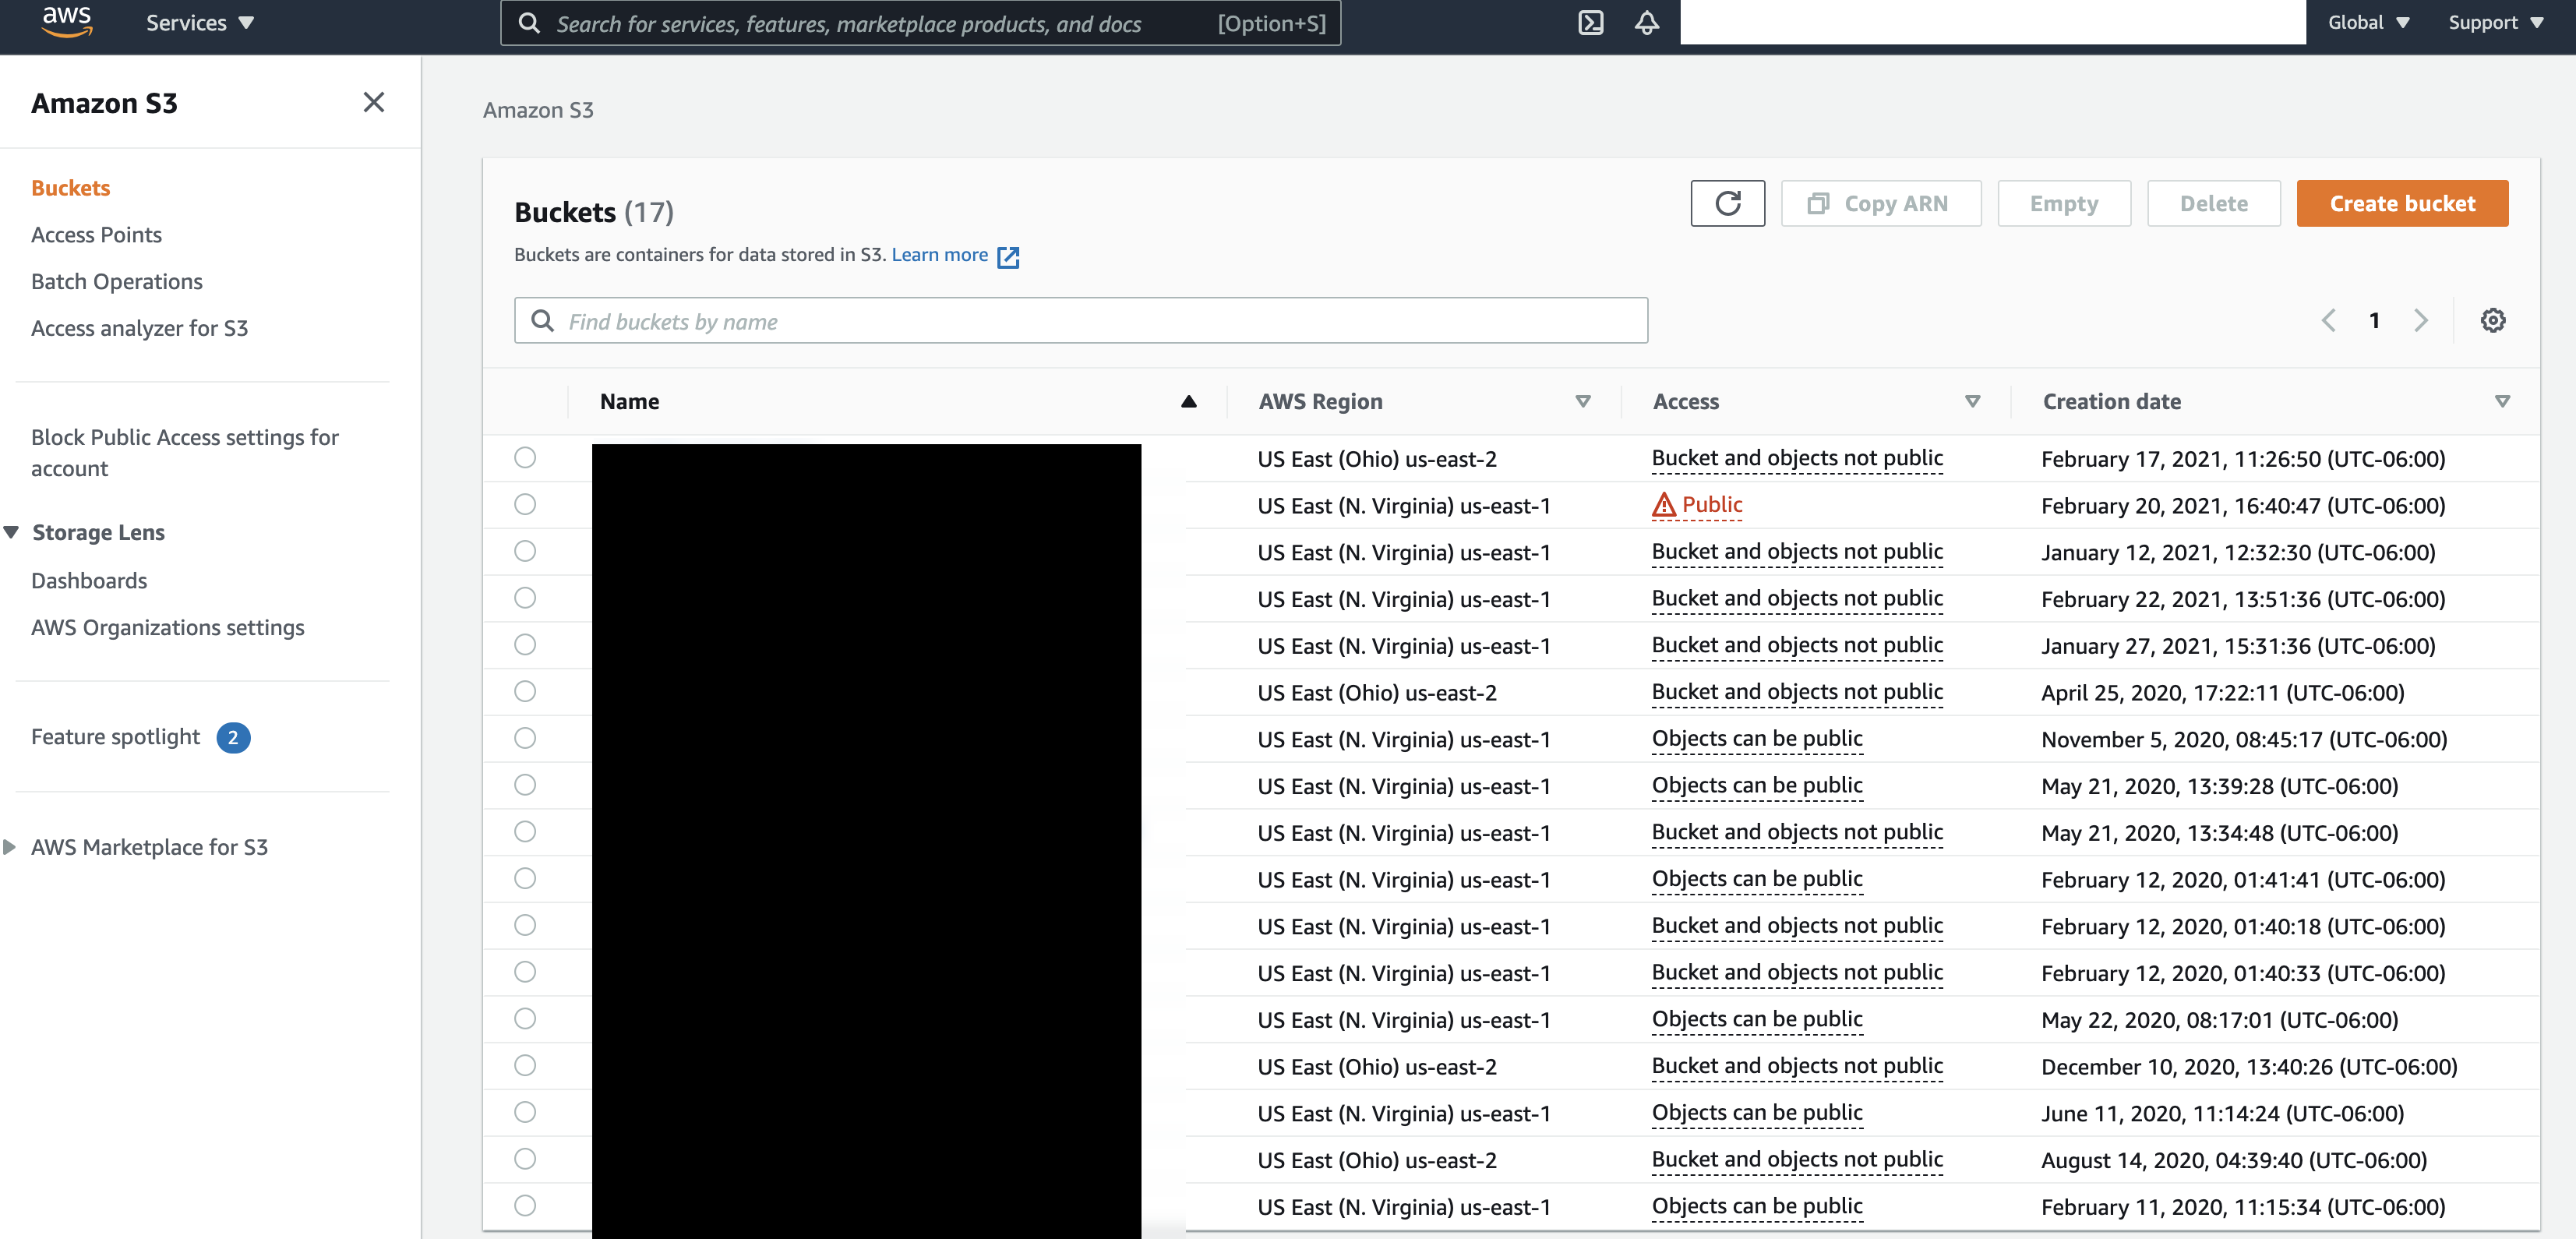
Open the AWS Management Console and go to the S3 service.
.png)
-
Click Create Bucket.

-
Supply a name for the bucket. Note that S3 bucket names must be unique across AWS.
-
Select the appropriate AWS Region.
.png)
-
Configure the appropriate settings in the Bucket Creation page.
.png)
-
Click Create Bucket to complete the bucket creation process.
-
Gather the S3 bucket ARN: a. Locate the bucket you just created in the S3 Bucket Listing page. b. Click the bucket. c. Click the Properties tab. d. Copy the S3 bucket Amazon resource name (ARN) for use later in this process.
.png)
-
Continue the setup in the IAM section.
Setting the IAM Policy for the S3 Bucket
There are two flows in this process. The flow to use will be determined by the presence or absence of an existing Axonius IAM policy. If no IAM policy exists in AWS to support Axonius, follow the instructions in 'No Existing IAM Policy.' In most cases, an IAM policy will already exist to support the system's operation. If this is the case, follow the instructions in 'IAM Policy Exists'.
No Existing IAM Policy
- At the top of the AWS S3 Administration page, type IAM (or choose IAM from the Services dropdown menu) to go to the IAM administration page.
- Click on the link for Policies on the left side of the window.
- Click Create policy at the top of the page to create a dedicated Axonius Adapter policy.
- On the Create Policy page, do the following: a. Click the JSON tab. b. Copy and paste the policy presented below into the window that opens.
{
  "Version": "2012-10-17",
 "Statement": [
    {
     "Action": [
        "s3:GetObject",
        "s3:ListBucket",
        "s3:PutObject",
        "s3:PutObjectTagging",
        "s3:DeleteObject"
    ],
     "Effect": "Allow",
     "Resource": "["Enter_S3_Bucket_ARN_Here", "Enter_S3_Bucket_ARN_Here/*"]",
     "Sid": "AxoniusS3BucketAccess"
   }
 ]
}
c. In the policy, locate the "Resource" element.
d. Replace ["Enter_S3_Bucket_ARN_Here", "Enter_S3_Bucket_ARN_Here/*"] with the S3 bucket ARN you captured in the S3 section above.
e. Click the "Next: Tags" button to continue.
f. Add tags, if needed.
g. Click the "Next: Review" button to continue.
h. Give the policy a name.
i. Click the "Create policy" button.
IAM Policy Exists
- If you have an existing Axonius Adapter policy, locate it and click it to open the Policy Summary page.
- Click JSON to display the existing policy as JSON.
- Click Edit policy.
- Add a new section to the policy as follows:
    {
      "Action": [
        "s3:GetObject",
        "s3:ListBucket",
        "s3:PutObject",
        "s3:PutObjectTagging",
        "s3:DeleteObject"
      ],
      "Effect": "Allow",
      "Resource": "["Enter_S3_Bucket_ARN_Here", "Enter_S3_Bucket_ARN_Here/*"]",
      "Sid": "AxoniusS3BucketAccess"
    },
}- In the policy, locate the "Resource" element.
- Replace
["Enter_S3_Bucket_ARN_Here", "Enter_S3_Bucket_ARN_Here/*"]with the S3 bucket ARN you captured above in the S3 section. - Click Review policy.
- Click Save changes.
IAM User/Role
Similar to the IAM Policy section, there are two flows in this process. If Axonius is already running in AWS, then use the "IAM User/Role Exists" flow. If Axonius isn't running in AWS, complete IAM User/Role Does Not Exist.
IAM User/Role Does Not Exist
Refer to the Axonius documentation to configure the user/role.
IAM User/Role Exists
IAM User
-
Login to the AWS Console, if you are not already logged in.
-
Open the AWS Management Console and go to the IAM service.
.png)
-
While you are still in the IAM administration page, click on the Users link on the left side of the window.
-
Locate the Axonius user and click it.
-
Click Add permissions.
-
Click Attach existing policies directly.
-
Locate the IAM policy that you created or updated above.
-
Click the radio button to the left of the policy name to select it.
-
Click Next: Review to continue.
-
Click Add permissions to continue.
IAM Role
- While you are still in the IAM administration page, click on the Roles link on the left side of the window.
- Locate the Axonius role and click on it.
- Click Attach policies.
- Locate the IAM policy that you created or updated above.
- Click the radio button to the left of the policy name to select it.
- Click Attach policy to continue.
Updated about 1 month ago
