
Deploying the ServiceNow Adapter
To deploy the ServiceNow Adapter, Perform the following steps:
1. Create ServiceNow credentials with the appropriate permissions
Axonius supports two authentication methods for connecting to ServiceNow:
Username/Password
-
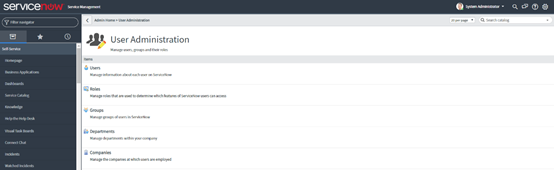
Navigate to User Administration → Users and click New.
- User ID:
axonius_integration - Password: Set a strong password.
- User ID:
-
Save the new user, then search for it in the Users list.
- Click the user record to open it.
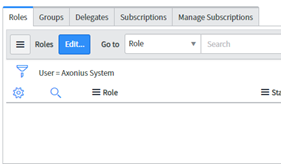
- Click Edit in the Roles section to modify the user’s assigned roles.
-
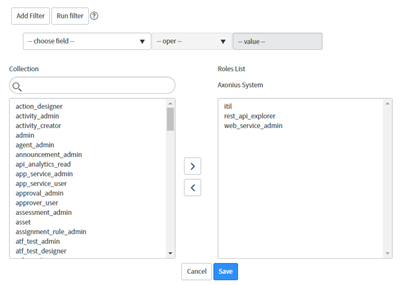
Assign the required roles for Cyber & Software Assets fetching.
- Refer toRequired Permissions for the complete list.
-
Click Save and then Update to apply the changes to the user’s settings.
OAuth ID/Secret
-
Navigate to User Administration → Users and click New.
- User ID:
axonius_integration - Password: Set a strong password.
- Save the user.
- User ID:
-
Navigate to User Administration → Roles and click New.
- Name:
x_axonius_read - Description:
Read-only access for Axonius integration - Save the role.
- Name:
-
Navigate to System Security → Access Control (ACL) and for each table below, create a record ACL with Operation: read:
sysevent_script_action sys_email_filter sys_dictionary sys_properties password_policy syslog_transaction v_plugins sys_user- Set Requires role to
x_axonius_read. - Set the script to
answer = true;. - Save each ACL.
- Set Requires role to
-
Assign the role to the service account:
- Open
axonius_integrationuser. - Under Roles, add
x_axonius_read. - Assign the required roles for Assets fetching and Enforcement Actions.
- Refer to the Required Permissions documentation for the complete list.
- Save.
- Open
-
Configure OAuth:
- Navigate to System OAuth → Application Registry → New → Create an OAuth API endpoint for external clients.
- Name:
Axonius - Enable Client Credentials grant type.
- Save and copy Client ID and Client Secret.
- Name:
- Navigate to System OAuth → Entity Profiles → New:
- Application Registry:
Axonius - User:
axonius_integration - Save.
- Application Registry:
- Navigate to System OAuth → Application Registry → New → Create an OAuth API endpoint for external clients.
2. Set up the ServiceNow adapter in Axonius
Create the Adapter connection in Axonius. Based on the authentication method (Username/Password or OAuth ID/Secret), fill out the specific fields, and configure optional settings.
Add a New Connection
-
Navigate to the Adapters page → search for
ServiceNow→ click on the adapter tile.
-
On the top right side, click on Add Connection.
-
The Add Connection drawer opens.
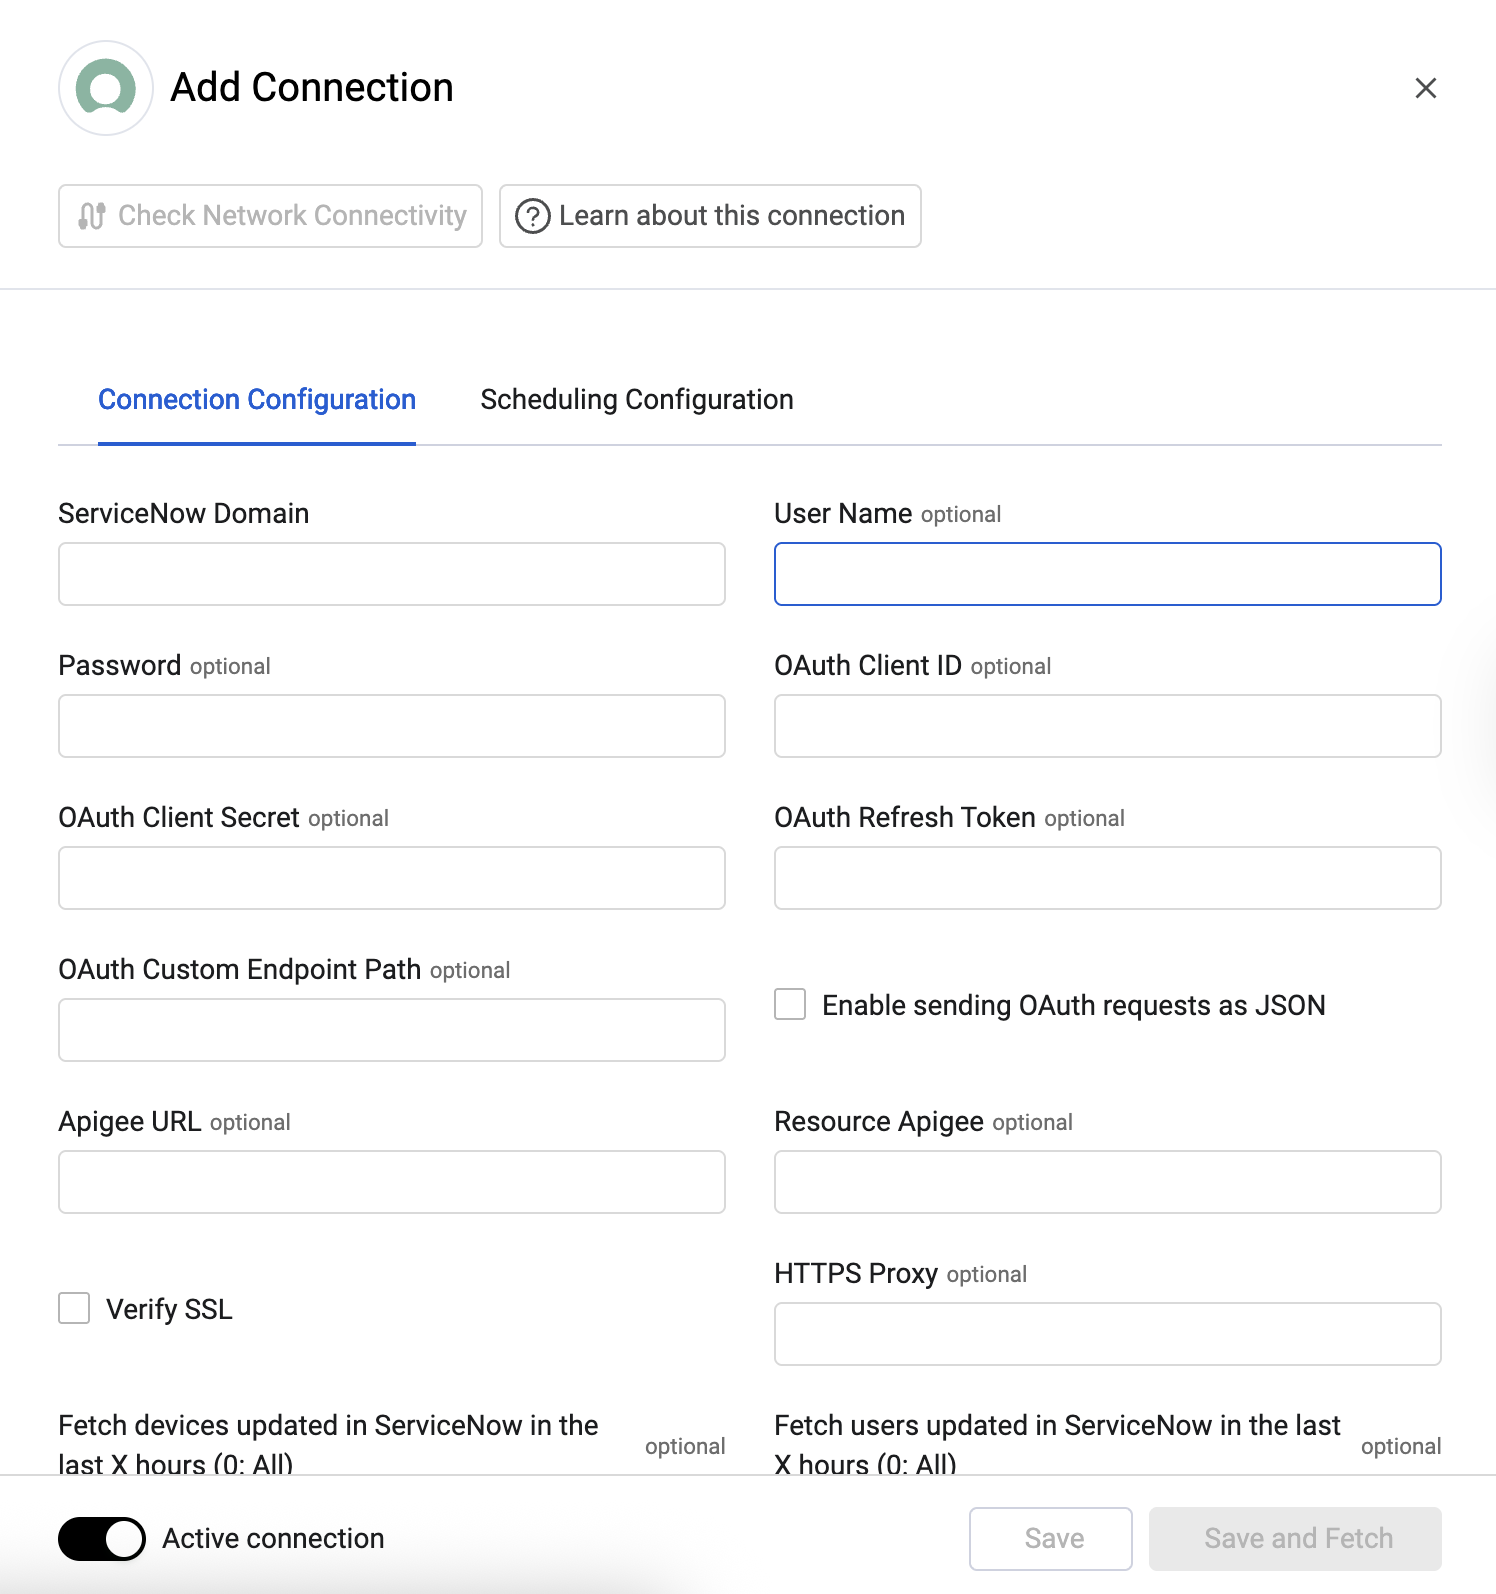
Required Fields
-
ServiceNow Domain - The hostname or IP address of the ServiceNow server. This field format is
https://[instance].service-now.com. -
Authentication Method
- User Name and Password - The credentials for the user account that you created in the previous step, or that has the Required Permissions to fetch assets.
- Connection Label - Friendly name for your new adapter connection.
Optional Fields
Expand/Collapse
-
Fetch devices updated in ServiceNow in the last X hours (0: All) (Cyber Assets only, default: 0) - Enter an amount of hours to fetch only devices that were updated in ServiceNow in the last specified number of hours.
-
Fetch users updated in ServiceNow in the last X hours (0: All) (default: 0) - Enter an amount of hours to fetch only users that were updated in ServiceNow in the last specified number of hours.
-
Fetch users created in ServiceNow in the last X hours (0: All) (default: 0) - Enter an amount of hours to fetch only users that were created in ServiceNow in the last specified number of hours.
-
OAuth Custom Endpoint Path - Specify a custom endpoint path to be used instead of the default
oauth_token.do. -
Enable sending OAuth requests as JSON - Enable to to send the request in JSON format instead of the standard
www-form-urlencodedformat. -
Apigee URL - The URL of the domain that the get request is sent to for acquiring the APIgee token.
-
Resource Apigee - The resources you want the APIgee to access.
-
Verify SSL - Select to verify the SSL certificate offered by the value supplied in ServiceNow Domain. For more details, see SSL Trust & CA Settings.
-
HTTPS Proxy - A proxy to use when connecting to the value supplied in ServiceNow Domain.
-
Advanced configuration file - Upload an advanced configuration JSON file.
-
Use specific version of API - Select the API version you want to use in the fetch: V1, V2, or latest version. You can also use the Search box that opens to type a different version and click create new to add this option.
-
Enable Client Side Certificate - Select to enable Axonius to send requests using the certificates uploaded to allow Mutual TLS configuration for this adapter. When you select this option, 2 more fields are displayed:
-
Client Certificate File (.pem) - Adds a client side certificate to the connection.
-
Client Private Key File (.pem) - Adds a private key to the connection (if the API/proxy requires identification).
- Click Upload File next to Client Private Key File to upload a client private key file in PEM format
- Click Upload File next to Client Certificate File to upload a public key file in PEM format
3. (Optional) Configure Advanced Settings
Refer to ServiceNow Advanced Settings.
Updated 3 days ago