IBM Tivoli Application Dependency Discovery Manager (TADDM)
IBM Tivoli Application Dependency Discovery Manager (TADDM) is a configuration management tool that helps IT operations personnel ensure and improve application availability in application environments.
Types of Assets Fetched
This adapter fetches the following types of assets:
- Devices
- Software
- SaaS Applications
Parameters
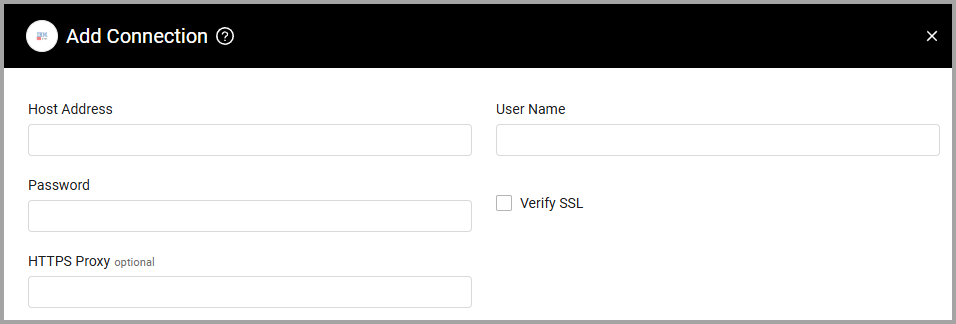
- Host Address (required) - The hostname or IP address of the IBM Tivoli Application Dependency Discovery Manager (TADDM) server.
- Username and Password (required) - The credentials for a user account that has the Required Permissions to fetch assets.
- Verify SSL - Select whether to verify the SSL certificate of the server against the CA database inside of Axonius. For more details, see SSL Trust & CA Settings.
- HTTPS Proxy (optional) - Connect the adapter to a proxy instead of directly connecting it to the domain.
To learn more about common adapter connection parameters and buttons, see Adding a New Adapter Connection.

Required Permissions
The value supplied in User Name must have read access to devices.
To create a read-only user through the IBM Tivoli TADDM portal:
- Sign in as an administrator to the data management portal of IBM Tivoli TADDM, then go to Administration -> Roles.
.png)
- Click Create Role, and select the Read permissions.
.png)
- Go to Administration -> Users. Click Create User. Create a new user and select the role you just created. Select DefaultAccessCollection.
.png)
Updated 4 months ago
