
Miro
Miro is a digital collaboration platform designed to facilitate remote and distributed team communication and project management.
NOTE
This adapter is only for the Miro Enterprise plan.
Asset Types Fetched
This adapter fetches the following types of assets:
- Users, Roles, Groups, Licenses, Application Settings, SaaS Applications
Before You Begin
Authentication Methods
- For all asset types except for Application Settings: Client ID and Secret, One Time OAuth Access Code
- For Application Settings only: User Name, Password, and 2FA Secret Key (if required by your Miro environment)
APIs
Axonius uses the Miro REST API In Miro's Enterprise plan.
Required Permissions
The following permissions are required:
- identity:read
- team:read
- organizations:read
- organizations:teams:read
- To fetch Account Settings: boards:read
- To fetch Entity Settings boards:read
- To fetch SaaS data: When authentication with Client ID and Client Secret, the provided credentials must be associated with the appropriate Miro scopes.
Adapter Integration Setup
NOTE
These instructions are relevant for users with either or both Axonius Cyber Assets and Axonius SaaS Applications.
Create an App in Miro
-
Ensure that your Miro user has a Developer team.
-
From within a Miro account, click the account avatar to open the profile menu.
-
Select Settings.
-
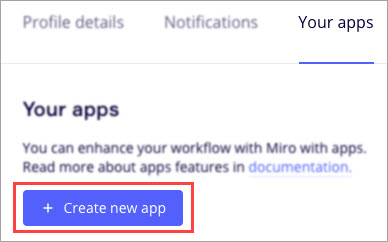
Click the Your apps tab.
-
Click + Create new app.
-
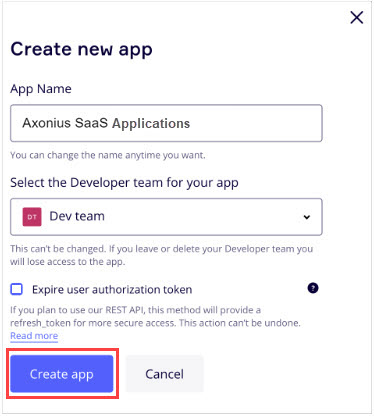
Enter an app name (for example: Axonius SaaS Applications).
-
Click Create App.
Add Redirect URI for OAuth2.0
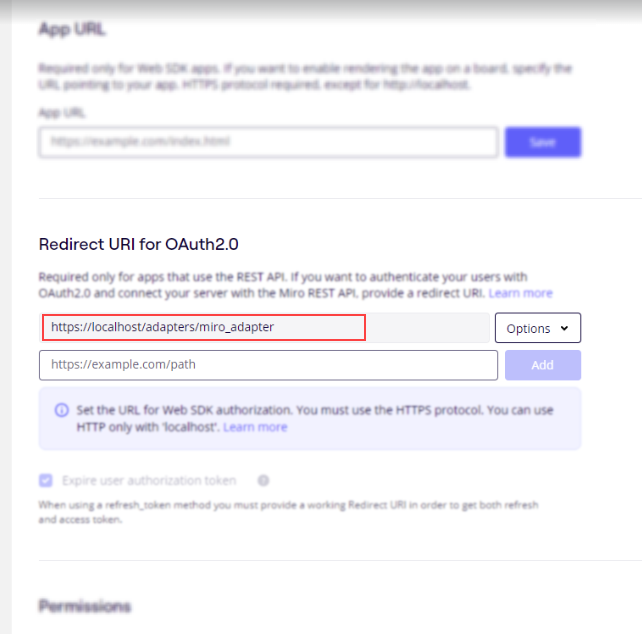
- On the App Settings page, locate the Redirect URI for OAuth2.0 section
- Enter the following redirect URI:
https://localhost/adapters/miro_adapter - Click Add.
Set App Permissions
- On the App Settings page, locate the App URL section.
- In the Permissions area, select the following permissions:
- identity:read
- team:read
- organizations:read
- organizations:teams:read
- boards:read (to fetch Account Settings)
- Click Install app and get OAuth token.
Generate the One Time OAuth Access Code
-
Navigate to the following URL (make sure you add in your client ID to the URL):
https://miro.com/oauth/authorize?response_type=code&client_id=**Your_Client_ID**&redirect_uri=https://localhost/adapters/miro_adapter -
On the dialog that opens, from the team drop-down list, select the relevant team.
-
Click Add.The browser redirects to Axonius.
-
Copy the
codeparameter from the browser's address bar.

-
Paste the copied parameter into the One Time OAuth Access Code field in the Axonius configuration.
Connecting the Adapter in Axonius
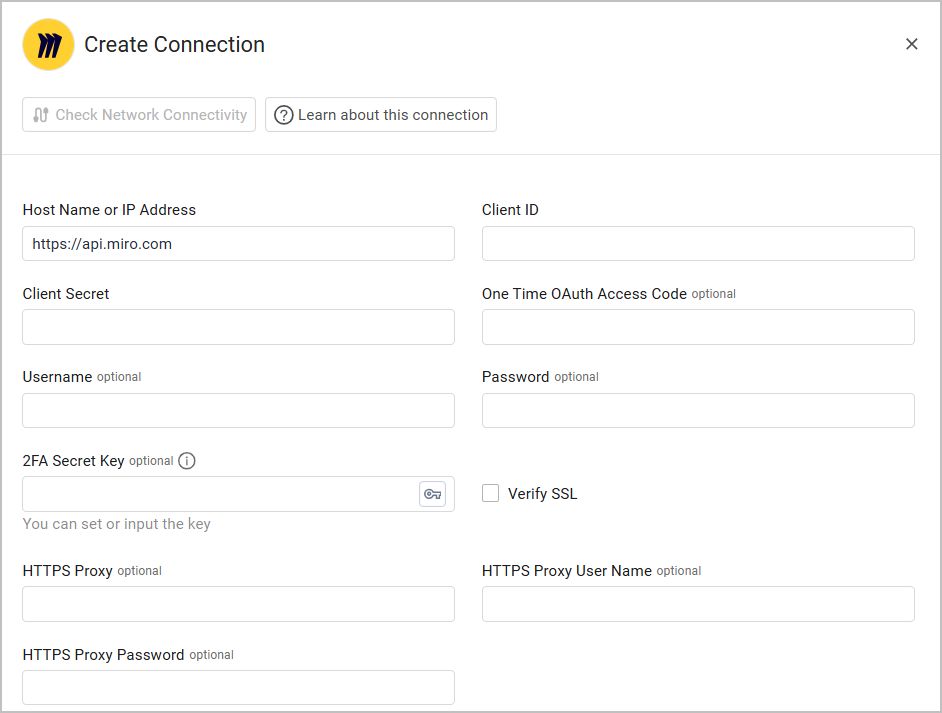
Required Parameters - all asset types
- Host Name or IP Address - The hostname or IP address of the Miro server. If Miro is not self-hosted, the Host Name must be
https://api.miro.com.
Required Parameters - all asset types except for Application Settings
-
Client ID and Client Secret - Miro Authentication credentials. Refer to Get started with OAuth2.0 and Miro.
-
One Time OAuth Access Code - The one-time authentication code to get the refresh token. Refer to Generate the One Time OAuth Access Code below.
Required Parameters - Application Settings
- User Name and Password - The credentials for a user account that has the permissions to fetch assets.
- 2FA Secret Key- If you access Miro through an SSO solution that requires multi-factor authentication, you need to generate a secret key in that solution and paste it here. See Set Up Google Authenticator in the Okta adapter, for an example.
Optional Parameters
- Verify SSL - Select whether to verify the SSL certificate of the server against the CA database inside of Axonius. For more details, see SSL Trust & CA Settings.
- HTTPS Proxy - Connect the adapter to a proxy instead of directly connecting it to the domain.
- HTTPS Proxy User Name - The user name to use when connecting to the value supplied in Host Name or IP Address via the value supplied in HTTPS Proxy.
- HTTPS Proxy Password - The password to use when connecting to the server using the HTTPS Proxy.
To learn more about common adapter connection parameters and buttons, see Adding a New Adapter Connection.
Advanced Settings
Note
Advanced settings can either apply to all connections for this adapter, or to a specific connection. Refer to Advanced Configuration for Adapters.
- Fetch Account-Level Settings - Select to fetch account settings. For this to work, you must have the boards:read permission.
- Fetch Entity-Level Settings - Select to fetch entry-level settings. For this to work, you must have the boards:read permission.
Note
To learn more about Adapter Configuration tab advanced settings, see Adapter Advanced Settings.
Supported From Version
Supported from Axonius version 5.0
Updated 6 months ago