
Zoom_new
DO NOT DELETE THIS PAGE
THIS IS A DRAFT IN PROGRESS
Zoom is a remote conferencing service that provides video conferencing, online meetings, chat, and mobile collaboration.
Asset Types Fetched
- Devices, Users, Licenses, Application Settings, Activities, SaaS Applications, Accounts/Tenants
Resources Required by Asset Type
The following connection parameters, advanced settings, permissions, and configurations are required to fetch each asset type.
Search by Asset Type to find the resources required for your specific needs.
| Asset Type | Connection Parameters | Advanced Settings | Permissions | Additional Configuration |
|---|---|---|---|---|
| Devices | Zoom Domain Account IDOAuth Client IDOAuth Client Secret | Fetch Devices | Not required | |
| Users | Zoom Domain Account IDOAuth Client IDOAuth Client Secret | No specific advanced settings is required | Not required | |
| SaaS Applications | Zoom Domain Account IDOAuth Client IDOAuth Client Secret | No specific advanced settings is required | Not required | |
| Accounts/Tenants | Zoom Domain Account IDOAuth Client IDOAuth Client Secret | No specific advanced settings is required | Not required | |
| Activities | Zoom Domain Account IDOAuth Client IDOAuth Client Secret | Settings to enable to fetch Zoom assets as Activities:Activity logsFetch recordings download activities | The connected Zoom account must have the Pro plan or higher report:read:admin permission scope | Creating a New User Account |
| Application Settings | Zoom Domain Account IDOAuth Client IDOAuth Client SecretZoom Account IDUsernamePassword2FA Secret Key | Fetch Application Settings and Licenses | Creating a New User AccountEnabling 2-Factor Authentication (2FA) With Google Authenticator | |
| Licenses | Zoom Domain Account IDOAuth Client IDOAuth Client SecretZoom Account IDUsernamePassword2FA Secret Key | Fetch Application Settings and Licenses | Creating a New User AccountEnabling 2-Factor Authentication (2FA) With Google Authenticator |
Before You Begin
APIs
Axonius uses the following APIs:
Note
Zoom has an API limit per day. See Rate limits by account type.
Permissions
TBD
Setting Up Zoom to Work with Axonius
Creating a User Account
Note
This procedure is only required to fetch Activities, Application Settings and Licenses.
In the Admin menu in Zoom:
-
Navigate to User Management
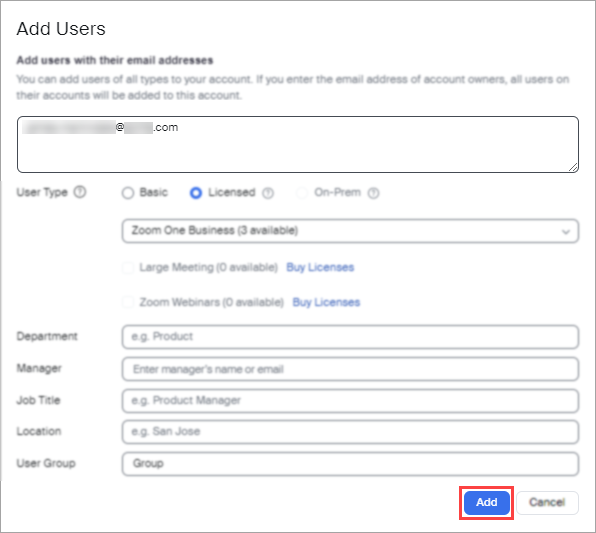
>Users and click Add Users.
-
Enter the email address for the new account and click Add.
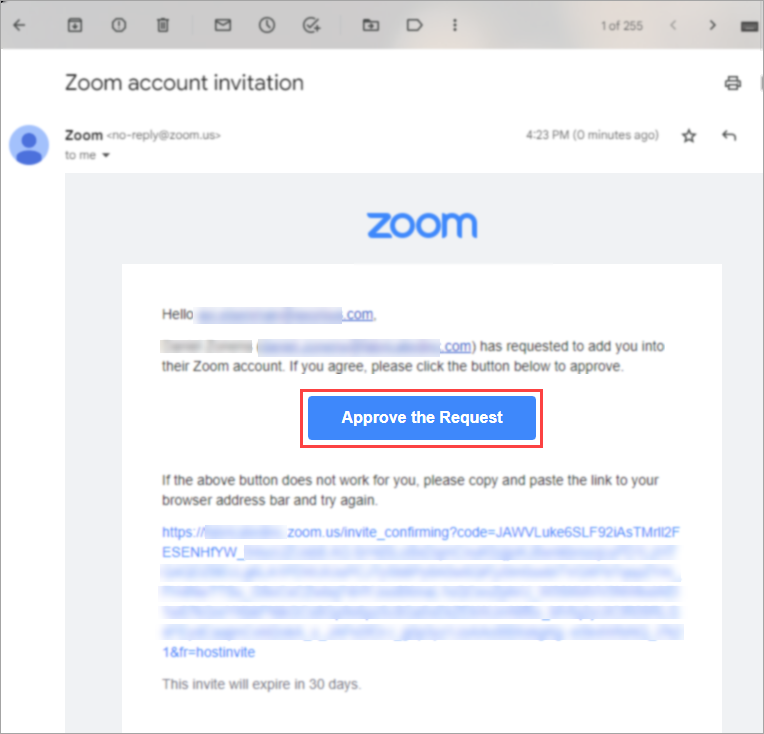
-
Approve the account invitation request from the new email inbox you created.
-
Define a password for the new user with at least 32 characters.
-
In the Admin menu, navigate to User Management
>Roles. -
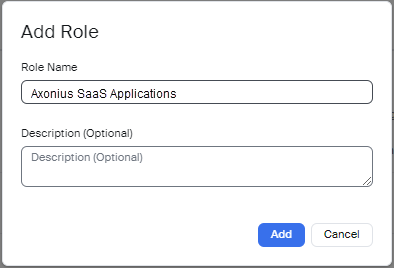
Click Add Role.
-
Enter a name for the role and click Add.
-
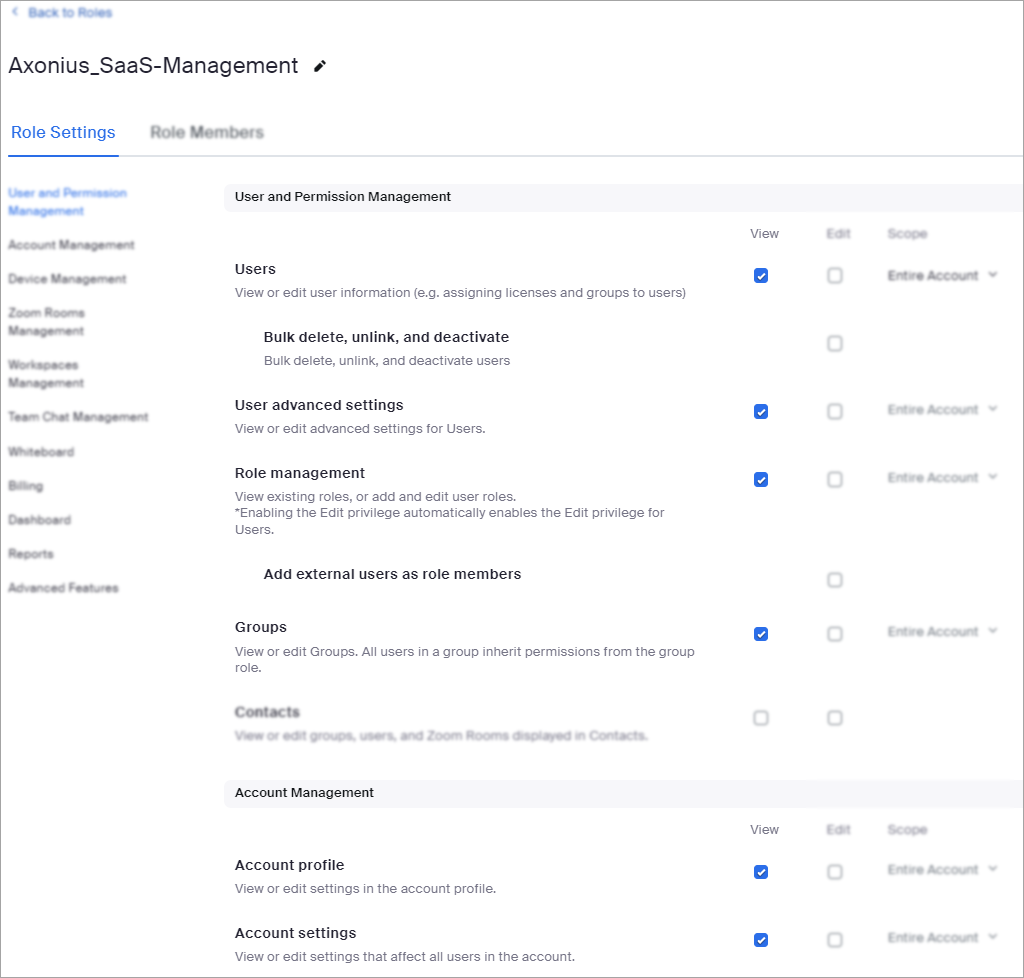
Under Role Settings, in User and Permission Management, check View for the following permissions:
- Users
- User advanced settings
- Role management
- Groups
- Account profile
- Account settings
- Single sign-on
- Integration
-
From the left menu, select Billing and then check View for the following permissions:
- Subscription
- Billing information
-
Save your changes.
-
From the the Role Members tab, Click Add Members.
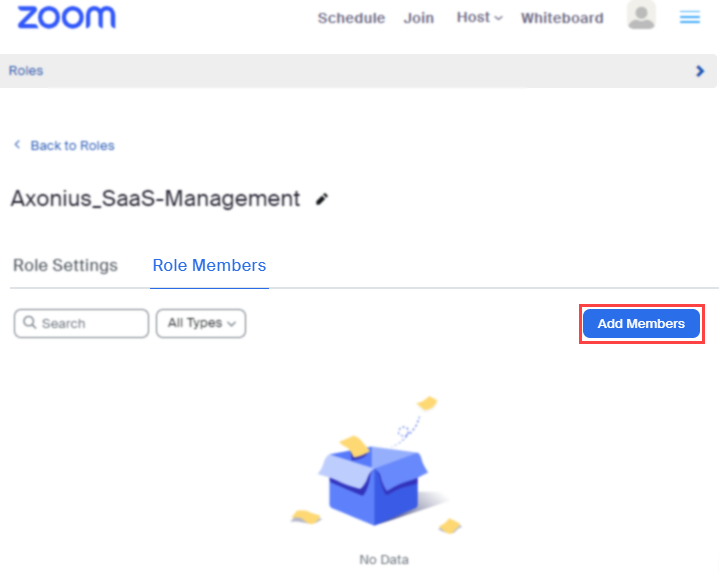
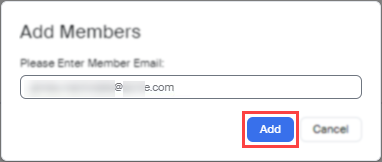
-
Enter the email address that you created and click Add.
Enabling 2-Factor Authentication (2FA) With Google Authenticator
Note
This procedure is only required to fetch Application Settings and Licenses.
Log into the Zoom web portal as an admin (not the newly created user account). Then, Follow these steps:
If 2FA is not yet enabled for the account/group:
- Navigate to Advanced
>Security. - Enable Sign in with Two-Factor Authentication.
- A verification dialog appears. Click Enable to verify the change.
- Select Enable 2FA for users that are in the specified groups, then click the pencil icon and select the group of the newly created user account.
- Click OK.
- Log into the Zoom web portal with the newly created user account.
- Install Google Authenticator on your mobile phone or add a Chrome extension.
- Select your device type and then click Next. A QR code is displayed.
- Click** Can't scan QR Code?** and copy the**** secret key.
- Back in Axonius, paste the copied secret key in the** 2FA Secret Key** field.
- In Zoom, in the wizard, click Back.
- Open the Google authenticator app on your mobile device.
- Tap the option to scan a QR code. Look for a camera or QR code icon.
- Scan the QR code on the Zoom web portal. The 2FA app will generate a 6-digit, one-time code.
- Click Next.
**If 2FA is already enabled for the account/group:**Skip steps 1-5 described above and start from step 6 (Log into the Zoom web portal with the newly created user account).
Connecting the Adapter in Axonius
To connect the adapter in Axonius, provide the following parameters:
Required Parameters - All Asset Types
- Zoom Domain (default:
https://api.zoom.us) - The hostname or IP address of the Zoom API. - Account ID - Zoom account ID.
- OAuth Client ID and OAuth Client Secret - Zoom uses Server-to-Server OAuth authentication method. Enter the credentials to be used to authenticate the request. For more details, see Create a Server-to-Server OAuth App.
Required Parameters - Application Settings and Licenses
- Zoom Account ID - Enter the Zoom Subdomain using the following format: "https//[account].zoom.us".
- Username and Password - The credentials for the new Zoom user you created to allow Axonius to fetch Application Settings and Licenses.
- 2FA Secret Key - The secret generated in Zoom for setting up 2-factor authentication.
Notes
If some License or Application Settings data is missing, verify the Zoom Account ID, Username, Password, and/or 2FA Secret Key.
These fields are required for Interactive Login and are needed to fetch this data. This issue is not related to API permissions.

Optional Parameters
The following parameters are optional:
- Verify SSL - Select whether to verify the SSL certificate of the server against the CA database inside of Axonius. For more details, see SSL Trust & CA Settings.
- HTTPS Proxy - Connect the adapter to a proxy instead of directly connecting it to the domain.
To learn more about common adapter connection parameters and buttons, see Adding a New Adapter Connection.
Advanced Settings
Note:
Advanced settings can either apply to all connections for this adapter, or to a specific connection. Refer to Advanced Configuration for Adapters.
- Days of meetings data (default: 7) - Specify the number of days of meeting data for this adapter will fetch.
- Fetch devices only with hostname and MAC address (default: true) - Select to fetch devices that have both hostname and MAC address details.
- Fetch devices (default: true) - Select to fetch Devices as assets.
- Fetch inactive users (default: false) - By default, the Zoom API returns only users with an ‘active’ status. Enable this option to also fetch users with an ‘inactive’ status.
- Skip service accounts (default: false) - Select to not fetch devices whose account type is a service account (such as ‘Google Service Account’).
- Fetch asset types - Specify which Zoom asset types to fetch.
- Activity logs (default: false) - Select to fetch operation logs from Zoom and parse them as Activities.
- Enrich the user last logon from the last join to a meeting - Select to fetch the user’s last join to a meeting and update the user last logon accordingly. This setting works only if you have joined a meeting in the last 30 days.
- Fetch recordings download activities - Select to fetch downloads of recordings as Activities.
- Fetch Application Settings and Licenses - Select to fetch settings and licenses from Zoom.
- Exclude calendar room entries (default: false) - Select to not fetch information about rooms on the Zoom calendar.
Note:
To learn more about Adapter Configuration tab advanced settings, see Adapter Advanced Settings.
Related Enforcement Actions
Updated 3 months ago