
Google Security Operations SIEM
Google Security Operations SIEM is designed for enterprises to privately retain, analyze, and search security and network telemetry.
Asset Types Fetched
- Devices
Before You Begin
Ports
- TCP port 80/443
Authentication Method
- JSON Key
APIs
Axonius uses Chronicle Search API | Google Security Operations | Google Cloud for the Devices endpoint and Authentication.
Permissions
The value supplied in JSON Key pair must be associated with credentials that have Read permissions to fetch assets.
Supported From Version
Supported from Axonius version 5.0
Connecting the Adapter in Axonius
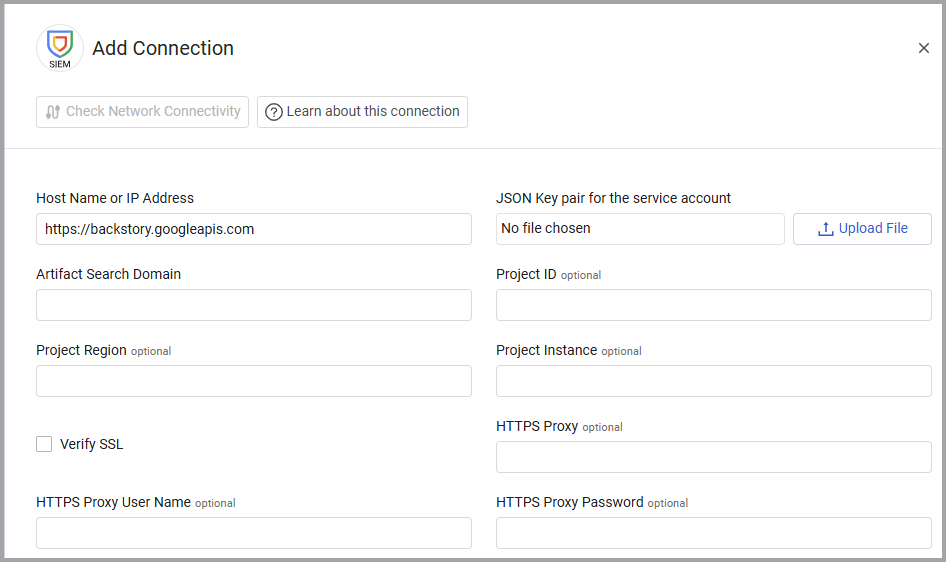
To connect the adapter in Axonius, provide the following parameters:
Required Parameters
- Host Name or IP Address (default:
https://backstory.googleapis.com) - The hostname or IP address of the Google Security Operations SIEM server. The format should be like the following example:https://{REGION}.backstory.googleapis.com. - JSON Key pair for the service account - Upload the JSON file you have created for your service account.
See Using OAuth 2.0 for Server to Server Applications | Authorization | Google for Developers for instructions on how to create a service account and the JSON key. In the OAuth scopes (comma-delimited) field, enter https://www.googleapis.com/auth/chronicle-backstory.
- Artifact Search Domain - Specify the artifact domain name associated with the assets. The format should be like the following example:
TENANT.backstory.chronicle.security.
Optional Parameters
-
Project ID, Project Region, and Project Instance - Optional details you can provide about the project you're working on.
-
Verify SSL - Select whether to verify the SSL certificate of the server against the CA database inside of Axonius. For more details, see SSL Trust & CA Settings.
-
HTTPS Proxy - Connect the adapter to a proxy instead of directly connecting it to the domain.
-
HTTPS Proxy User Name - The user name to use when connecting to the value supplied in Host Name or IP Address via the value supplied in HTTPS Proxy.
-
HTTPS Proxy Password - The password to use when connecting to the server using the HTTPS Proxy.
To learn more about common adapter connection parameters and buttons, see Adding a New Adapter Connection.
Advanced Settings
Note
Advanced settings can either apply to all connections for this adapter, or to a specific connection. Refer to Advanced Configuration for Adapters.
- Number of days to fetch - Define the number of last days to fetch from.
- Ignore bad responses in fetch devices process - Select this to ignore a bad response (such as 400 error) in the Devices fetch and still run through the number of days configured.
- Preformed UDM Search - Enable this to have the adapter perform Unified Data Model searches. When enabled, the following optional fields become available:
- Queries - An array of string queries to execute.
- Delimiter- Enter a character or string used to separate multiple UDM queries in the Queries field. Change the delimiter if your UDM queries contain commas (e.g., queries with comma-separated values). You can use any character or string as a delimiter (e.g., semicolon ;, pipe |, or custom strings)
- Fetch last X hours ago - Define the fetch's time window. The default is 1 hour.
- Fetch size - Define the result batch size. The default is 1000 records.
Note
To learn more about Adapter Configuration tab advanced settings, see Adapter Advanced Settings.
Updated about 1 month ago