
Adding a New Adapter Connection
You can add a new adapter connection either from the Adapters page or from the Adapter Connections page.
Note
The Axonius-hosted (SaaS) instance resides in the cloud and is not part of your organization's internal network. Axonius securely fetches data from the organization's data sources, known as adapters.
The Axonius Gateway enables establishing a link between an internal network or segregated network (for Customer-hosted (on-premises / private cloud)) and the primary Axonius instance.
Axonius Gateway is only required to connect adapters whose sources are only accessible by an internal network or segregated network (for Customer-hosted (on-premises / private cloud))
Axonius Gateway is not required to connect adapters whose sources are accessible from the internet or the primary Axonius instance.
Once a Gateway is successfully installed, you need to select the Gateway in the Adapter Configuration drawer under the Gateway field.
For details on configuring and installing the Axonius Gateway, see Installing the Axonius Gateway.
Adding a New Adapter Connection from the Adapters Page
To add an adapter connection, do the following:
-
In the left navigation panel, click the Adapters icon. The Adapters page opens.
-
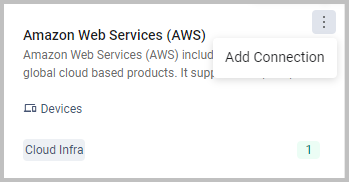
Hover over the adapter card and from the 3-dot menu choose Add Connection. The Add Connection drawer opens.
-
Or click on the adapter card, and the Adapter Profile page opens displaying the list of configured connections for that adapter (if connections are already configured).
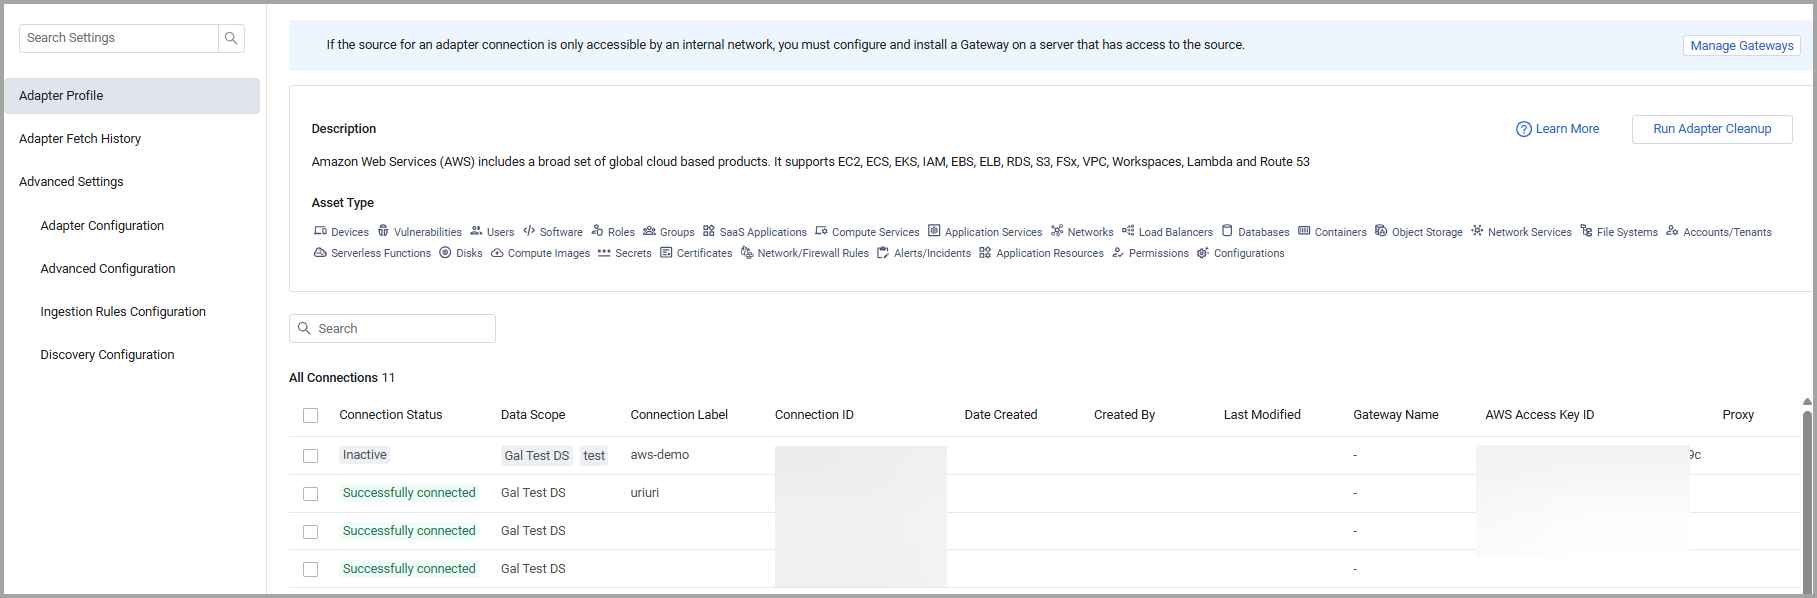
- Click Add Connection at the top of the page. The Add Connection drawer opens.
- See Setting Adapter Connection Parameters for more information, and refer to the specific adapter page for configuration details for each adapter.
Adding a New Adapter Connection From the Connections Page
In Axonius New Navigation Experience, access the Adapter Connections page from the Adapters menu.
- On the adapters page, click Adapter Connections. The Connections page opens.
- Click Add Connection
 to add a new adapter connection.
 - The Add Connection drop down box appears.
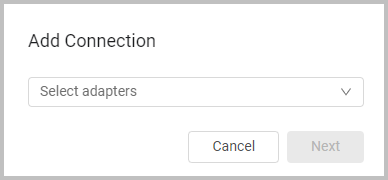
- Click the arrow to select an adapter.

- Click Next.
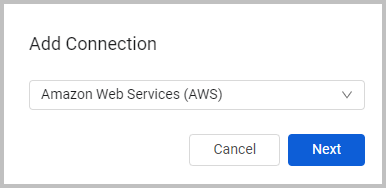
The Add Connection drawer for the adapter you chose opens.
- See Setting Adapter Connection Parameters for more information, and refer to the specific adapter page for configuration details for each adapter.
Duplicating an Adapter Connection
You can add a connection by duplicating an existing adapter connection. This creates a new connection with the same credentials. When the adapter connection includes an uploaded file, or a certificate these are also duplicated. When you duplicate an existing connection, you also duplicate any customized advanced settings, ,advanced configuration, custom scheduling or ingestion rules, if these are configured specifically for this adapter connection. You can either duplicate the connection from the Adapter Profile page, or from an adapter Edit Connection drawer.
Duplicating an Adapter Connection from the Adapter Profile Page
- On the Adapter Profile page hover over the connection you want to duplicate, and select the copy icon that is displayed.
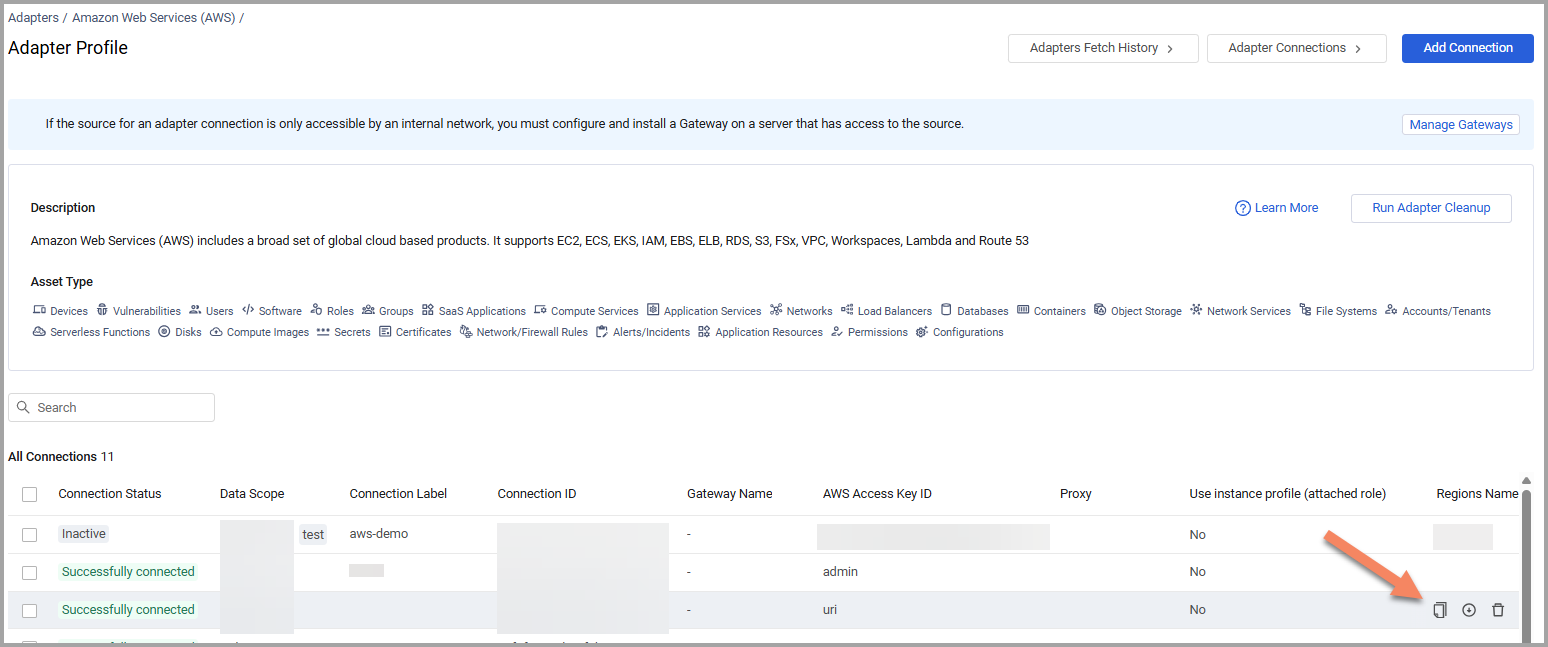
The Add Connection drawer opens..
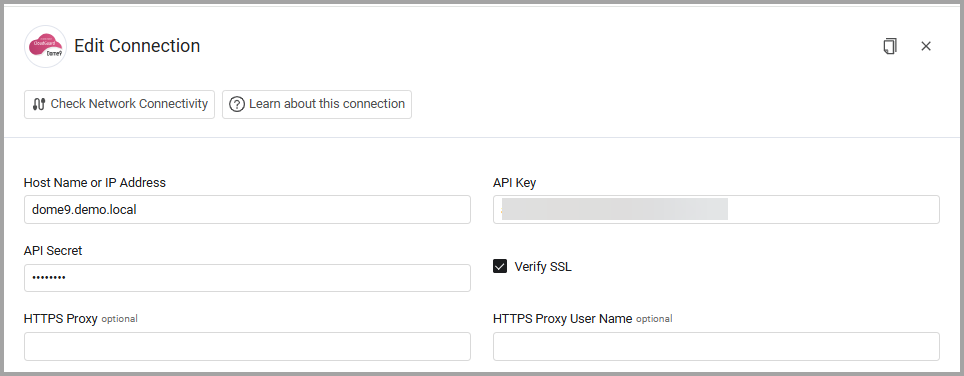
Duplicating an Adapter Connection from the Edit Connection Drawer
From the Adapter Profile page or from the Connectionspage, click on any existing connection. The Edit Connection drawer opens.
Configure Connection Parameters
- Review and edit the duplicated connection settings as needed.
- General Parameters: Update any connection parameters that must be changed for this new instance.
- Connection Label: This field is used to identify and distinguish the connection.
- System Requirement: If your system requires a label (or requires the label to be unique across connections), enter the necessary unique label now.
- User Preference: Even if optional, you can provide a descriptive label to identify this connection easily
- Select Save, or Save and Fetch to save the new adapter connection.
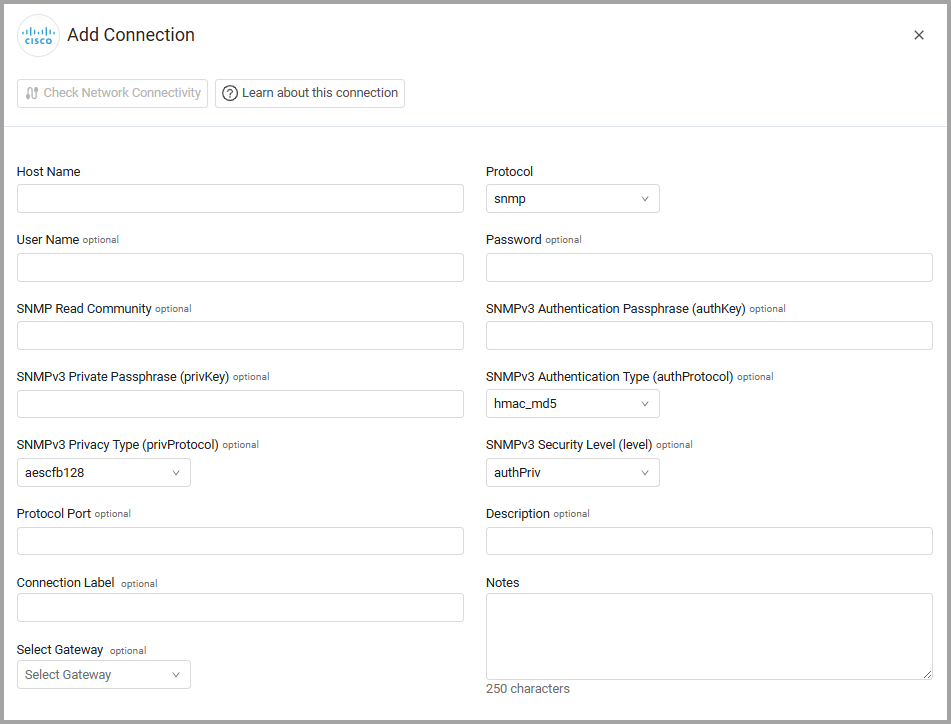
Setting Adapter Connection Parameters
The connections you set in the Adapter Connection parameters drawer are specific for the connection you are currently configuring. Configure the required settings for each adapter. Refer to the parameters in the documentation for each adapter for more details. In addition, you can configure the following:
- Connection Label - A label to help distinguish between multiple connections for the same adapter. Some systems require you to enter a connection label or require the label to be unique across connections. This label is concatenated to the relevant adapter name in the Asset Profile page, and the full text is visible when you hover over the Adapters column in the assets pages. It is also possible to query the connection label in the Query Wizard, otherwise only the adapter name is displayed.
Notes
If you change the connection label name, the change is not reflected in queries.
Some adapters require additional steps to gain the relevant connection details, such as generating API keys or other steps. To understand the required actions for connecting each adapter, open its connection documentation page. For more details, see the Adapters List in the product documentation and the Adapter list on the Axonius website.
-
Notes - Add a note of up to 250 characters for this adapter connection.
-
Select Gateway – Select the Axonius Gateway to use when connecting adapters whose sources are only accessible by an internal network and not from the primary Axonius instance, which may be an Axonius-hosted (SaaS) instance or Customer-hosted (on-premises / private cloud). To use this option, you need to set up an Axonius Gateway.
-
The Active Connection toggle button is set to on by default and, when switched on, the configured connection is considered as active.
- The connection can be saved and fetch data from its source. Therefore, after you fill in all the required parameters on the Connection Configuration drawer:
- The Check Network Connectivity button is enabled.
- The Save and Fetch button is enabled.
- During a discovery cycle, data is fetched from the source of this connection.
- The connection can be saved and fetch data from its source. Therefore, after you fill in all the required parameters on the Connection Configuration drawer:
-
To set the connection as inactive, switch off the Active Connection toggle. When switched off, the configured connection is considered as inactive
- The connection can be saved, but it will not fetch data from its source. Therefore:
- The Check Network Connectivity button is disabled.
- The Save and Fetch button is disabled.
- During a discovery cycle, this connection will be ignored and no data will be fetched from its source, but all your settings are saved.
-
Note:
Active for enrichment - When a CSV or SQL adapter is being used for Custom Enrichment and you switch off the Active Connection toggle, the connection can still be used for uploading a CSV/SQL file used for custom enrichment. When you clear the “Active connection” toggle, the system confirms that the adapter will still be used for enrichment and the connection is automatically shown as Active for enrichment on the connection tables.
- The connection can be saved, but it will not fetch data from its source. Therefore:
- To test the network connectivity to the supplied hostname or IP address, click Check Network Connectivity. This checks that the adapter connection can reach the source. No authentication or fetch is performed.
- To save the configuration changes and to initiate data fetch from the configured source, click Save and Fetch.
- To save the configuration changes without initiating data fetch, click Save.
Once you create a connection, the connection is added to the adapter's connection list and to the Connections page:
- If the adapter connection is connected successfully, a green icon is displayed on the adapter connection record.
- If the connection has an error, a red icon appears.
- If the connection is inactive, a dark gray icon appears.
Note
Axonius generates activity log events, and additional Syslog messages,HTTPs Log messages, and emails, if those are enabled. For details, see Managing External Integrations.
To see the connection error reason and to fix the configuration, on the Adapter page, click the connection record to open the Add Connection drawer. Or, on the Connection page, click any of the fields except for the adapter name, see Editing Connection Information.
.png)
In addition, you can set various Advanced Settings for each adapter. Refer to Advanced Settings.
Notes
Each adapter includes documented connection instructions. To view the instructions, click help ('?').
You can connect multiple connections. For example, to connect multiple Microsoft Active Directory (AD) domain controllers, configure a different connection for each domain controller.
When the Axonius VM connects to these connections, it must have connectivity to that address, i.e., it must be able to connect to that IP/URL on that port.
All fields not marked as 'optional' are mandatory and must be populated.
Configuring an Adapter API Gateway Connection (Optional)
Some adapters have the option to add a connection using API gateway parameters for authentication. In these adapters, the Add Connection drawer contains an API Gateway toggle, disabled by default.

When you enable API Gateway, the option to select an API Gateway Type becomes available. The API gateway parameters that appear depend on the type selected.
Note
When you use an API gateway connection, the other authentication parameters are not required. However, to add the connection successfully, you need to enter placeholder values in these fields.
Layer7 API Gateway Parameters
Layer7 API Gateway ensures secure communication by filtering requests, enforcing rate limits, and validating authentication tokens before forwarding them to the backend services.
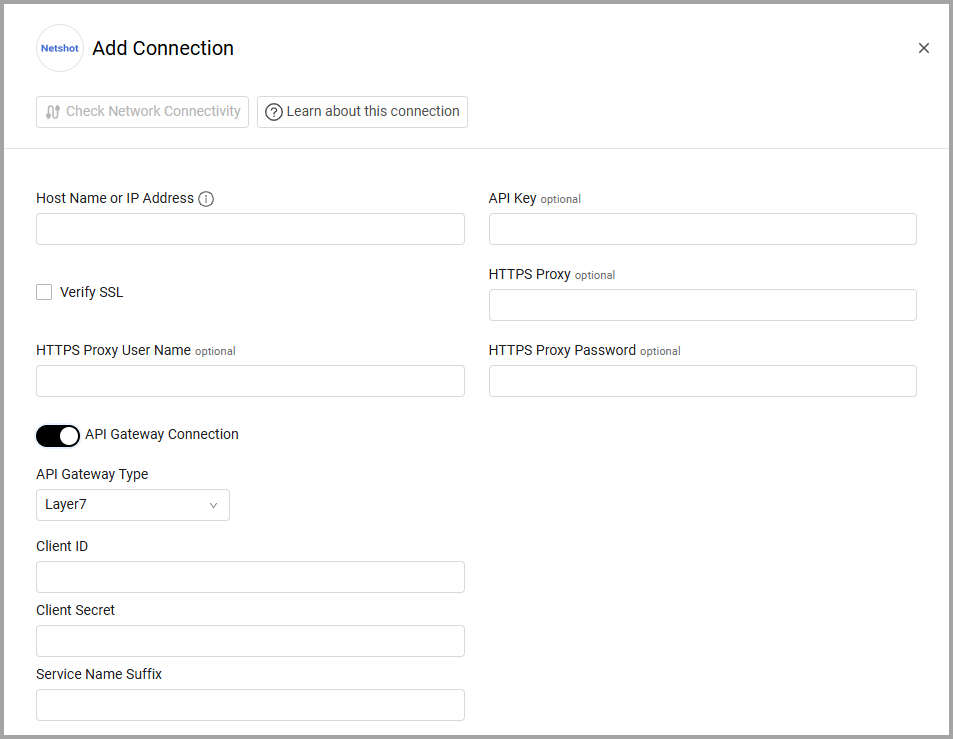
The fields required for authenticating Layer7 API Gateway are as follows:
- Client ID - The Client ID you set up in Layer 7.
- Client Secret - The Client Secret you set up in Layer 7.
- Service Name Suffix - The suffix appended to the API Gateway Host Name to construct the full endpoint of the target service.
- Host name or IP Address (from the adapter fields) - the API Gateway Host Name. While authentication requests are sent directly to the Host Name, i.e., the API Gateway domain, all other service requests are routed to the appropriate service by appending this suffix.
Connecting your SSO Solution Provider
Single Sign-On (SSO) solutions such as Okta, Microsoft Entra ID (Azure AD) and others, provide authentication and access management capabilities that enable organizations to ensure secure access to all corporate accounts, whilst providing visibility into this access at a granular per-user-level.
Axonius SaaS Management leverages the data fetched from an adapter that is configured as an 'SSO Provider' as part of its logic to determine managed and unmanaged applications and users.
When connecting an adapter that is used as your organization's SSO solution, the SSO provider option should be switched on.
Updated about 2 months ago