
Running a Campaign
Axonius supports the following capabilities to run a fully configured Campaign:
- Right after you create it.
- At any other time triggered manually.
- On a specific date scheduled automatically.
Running the Campaign
Trigger a fully configured Campaign right after you create the Campaign or at a later time.
To manually trigger the Campaign
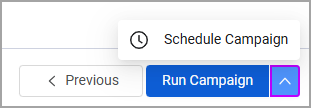
- Open Summary step 4 of the Campaign Wizard, and at the bottom right, select Run Campaign. The following occurs:
- The Run Campaign button becomes disabled and the Campaign starts running (this may take a few moments).
- The Campaigns page opens with an In Progress status and the date and time are displayed under the Start Date column.
- The Campaign sends a message to each Approver resulting from the Campaign query using the Message Method selected in Message and Response step 2 of the Campaign Wizard. The message includes the Message Content configured in this step and a link labeled Click here to approve or revoke each individually to the external approval form (one per Campaign). Learn more about the external approval form and how the Approver (manager) uses it to approve/revoke access to/from their users for each application.
- As the Approvers respond via the external approval form, the following occurs in Axonius:
- The Campaigns Approval custom field in each user's asset profile is updated with the Approver's response, meaning, application was approved or revoked. Learn more how to view the responses in the User Asset Profile. This occurs for all Approve and Revoke (whether configured as Update in Axonius or Revoke) responses.
- When the Revoke response is configured as Revoke, for each user whose access to application has been revoked by the Approver, a Revoke Enforcement Action is automatically selected according to the adapter connection selected in the query, and runs to remove the permissions to the applications from those users. For example, for a query with an Okta adapter connection, the Revoke action is Okta Suspend User.
- Responses for each user per application (Approved/Revoked) are logged in the Campaign's Run History. For Revoke actions configured to actually revoke the permissions from the user, the results of the Revoke Enforcement Action are also displayed in the Run History under Result.
Scheduling the Campaign
You can schedule a Campaign to run at a later date and time, provided that the date precedes the configured End Date of the Campaign.
When the Start Date arrives, the Campaign runs automatically, just like a manual run.
To schedule the Campaign
- In the Summary screen, click the Down arrow near the Run Campaign button to open the Schedule Campaign dialog.
- In the Schedule Campaign dialog, click Select Date, and in the calendar that opens, select a date to run the Campaign. The selected date appears in the dialog.
Note
Select a date that is later than the current date but precedes the configured End Date.
- Select Schedule Campaign. A pop-up notifies of the scheduled date for the Campaign. The Campaigns table opens with the Status of the Campaign Scheduled, and the Start Date, the selected date.
Viewing Responses in User Asset Profile
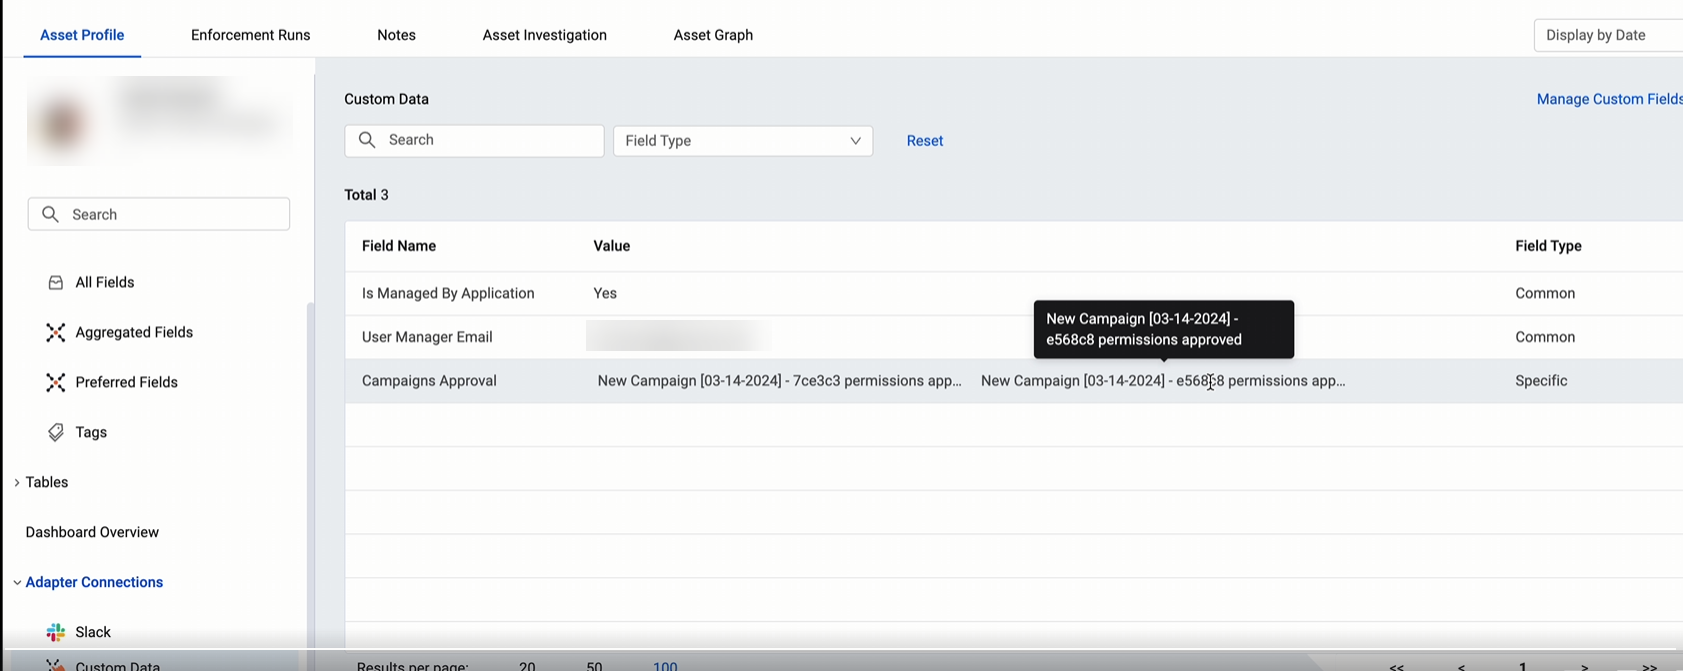
The Axonius - Add Custom Data to Assets enforcement action updates each Approver response in each user's Campaigns Approval Axonius custom field. You can view the response in the user's Asset Profile under Custom Data in the Campaigns Approval custom field.
For example:
You can view each user's approval status in the user's Asset Profile page under the Justifications table.
In the Asset Fields pane, type "justifications" into the search bar and click the Justifications field name.
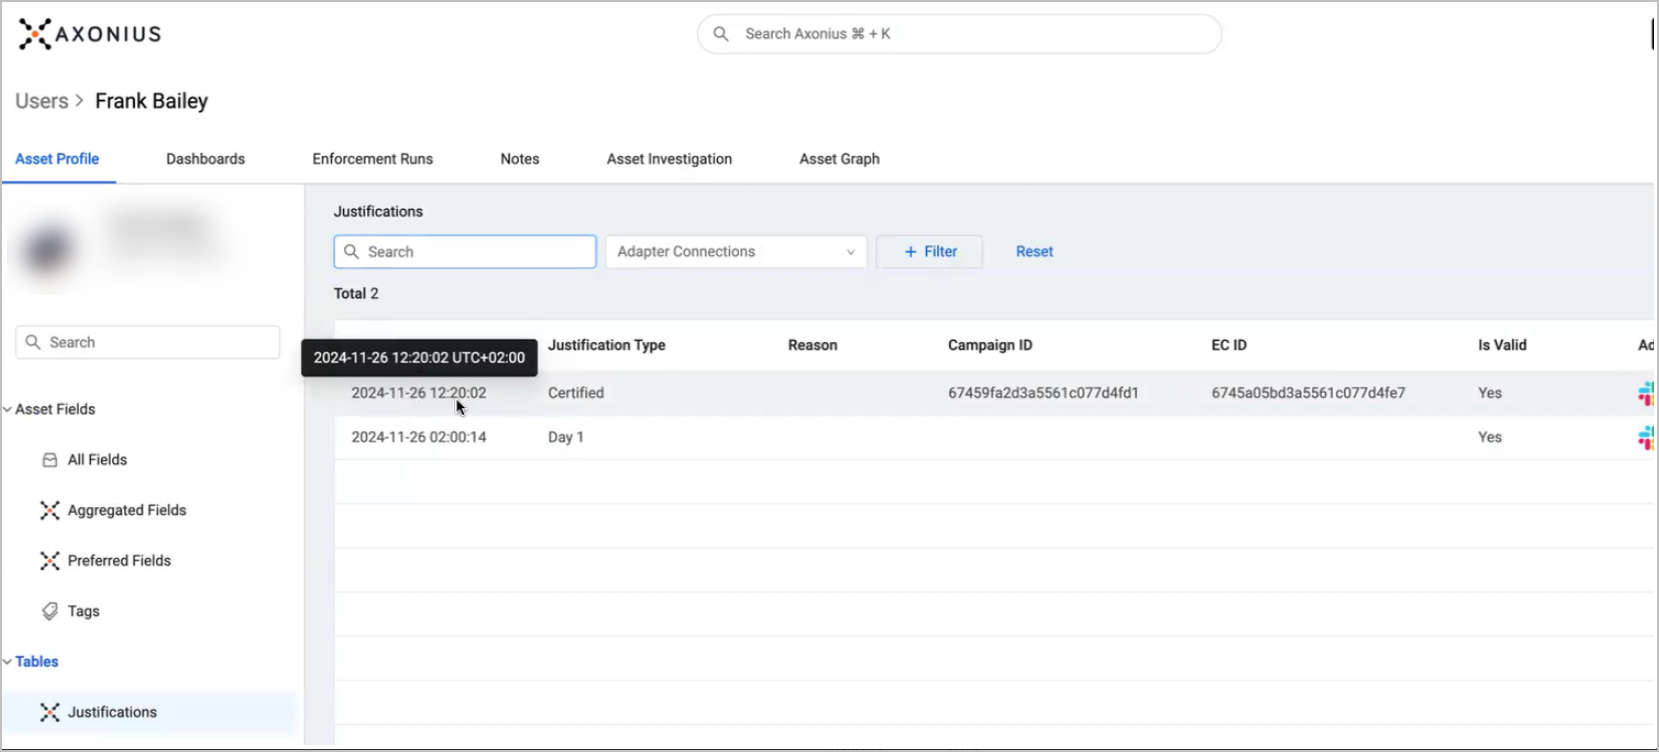
In the Justifications table, the user's approval status is listed under the Justification Type field. The possible Justification Types are as follows:
- Certified - The user's admin has approved the user's access.
- Uncertified - The user's admin has revoked the user's access, but it was only written into the Axonius Campaigns Approval custom field, and no actual action was taken.
- Uncertified with Revocation - The user's admin revoked the user's access, and also an actual revocation action was taken.
The specific Campaign in which the Justification Type was updated is listed under the Campaign ID column.
Updated 8 months ago