
Accounts/Tenants
The Account/Tenants page enables you to view all the application accounts that belong to users in your organization. You can view specific data as an application can have multiple accounts.
Click the Assets icon and from the left-pane, select Accounts.
Overview Charts
The Overview section contains three visual charts of the accounts in your organization. These charts adjust to reflect any query applied to the page.
You can click the Hide Charts icon  to hide the charts in the Overview section. Click it again to display the charts.
- Active vs Inactive Admins per Account - Shows the number active and inactive admins associated with each application account. Hover over the various bars to see the percentage of active and inactive users for each application account. Select the corresponding check boxes to display data for only active or inactive admins.
- Orphaned vs Unlinked Users per Application - Shows the number of Direct Not SSO and SSO Not Direct users for each detected SaaS application. Hover over the various bars to see the percentage of accounts for each application. Select the corresponding check boxes to display data for only Direct Not SSO, or Not Direct SSO users.
- Accounts per SaaS Application - Shows the number of accounts for each SaaS application in your organization. Hover over the various bars to see the percentage of accounts for each application.

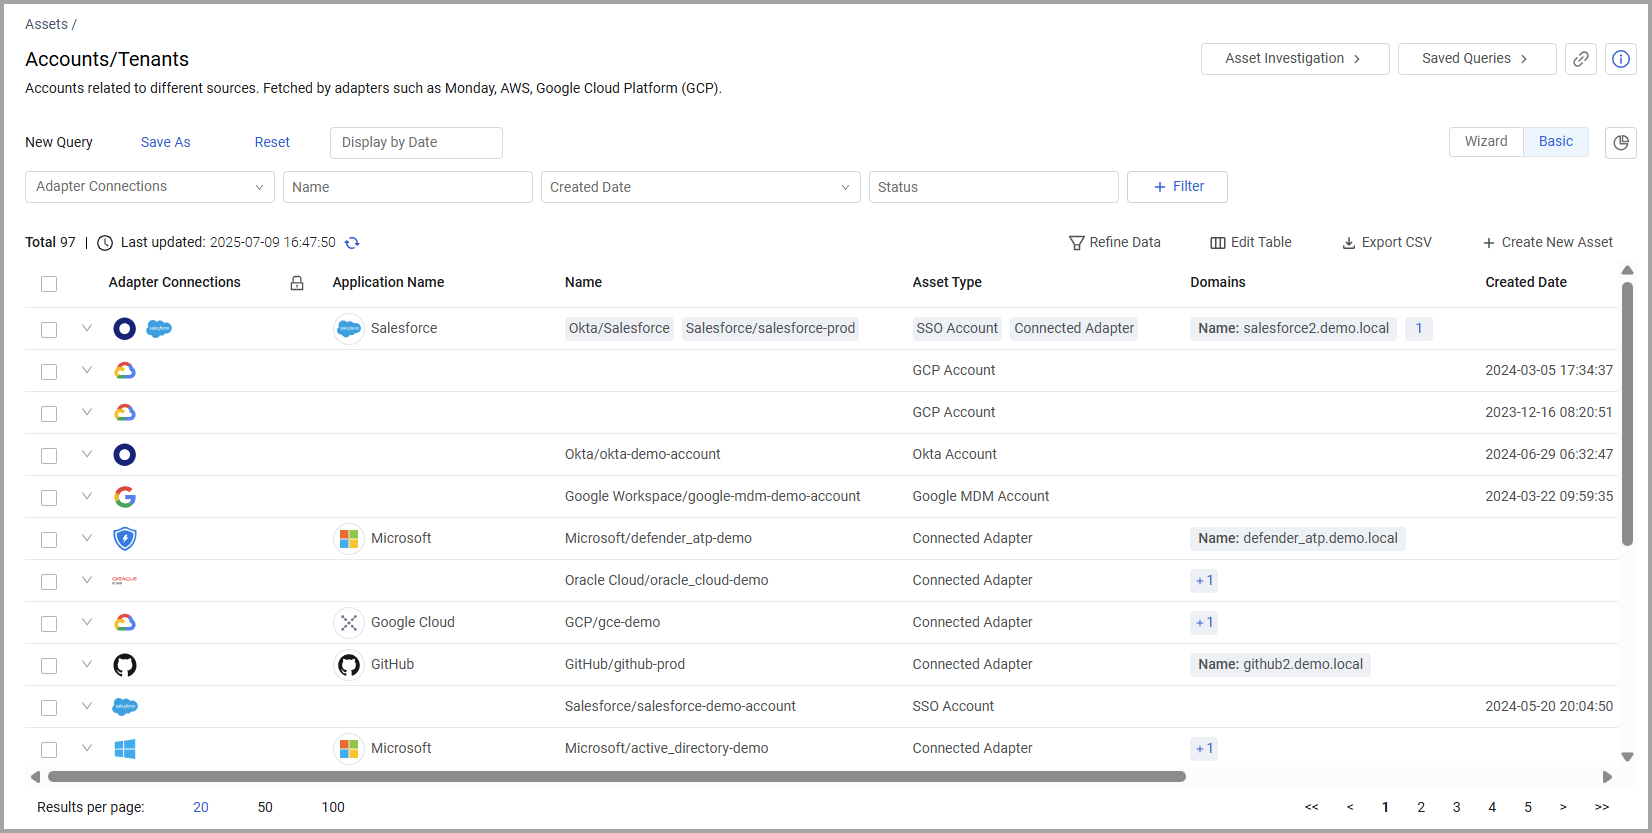
Accounts Table
The Accounts table opens displaying the default view. Not all of the fields are displayed by default. Use Edit Columns to add or remove columns. Each user can customize what fields appear in their own, personalized default view. For more information, see Setting Page Columns Displays.
Click the arrow next to any of the fields to see more details about that field.
Account Enrichment Fields
Account enrichment fields provide granular visibility into the security posture and management status of individual SaaS accounts. These fields are derived from data fetched directly from the application.
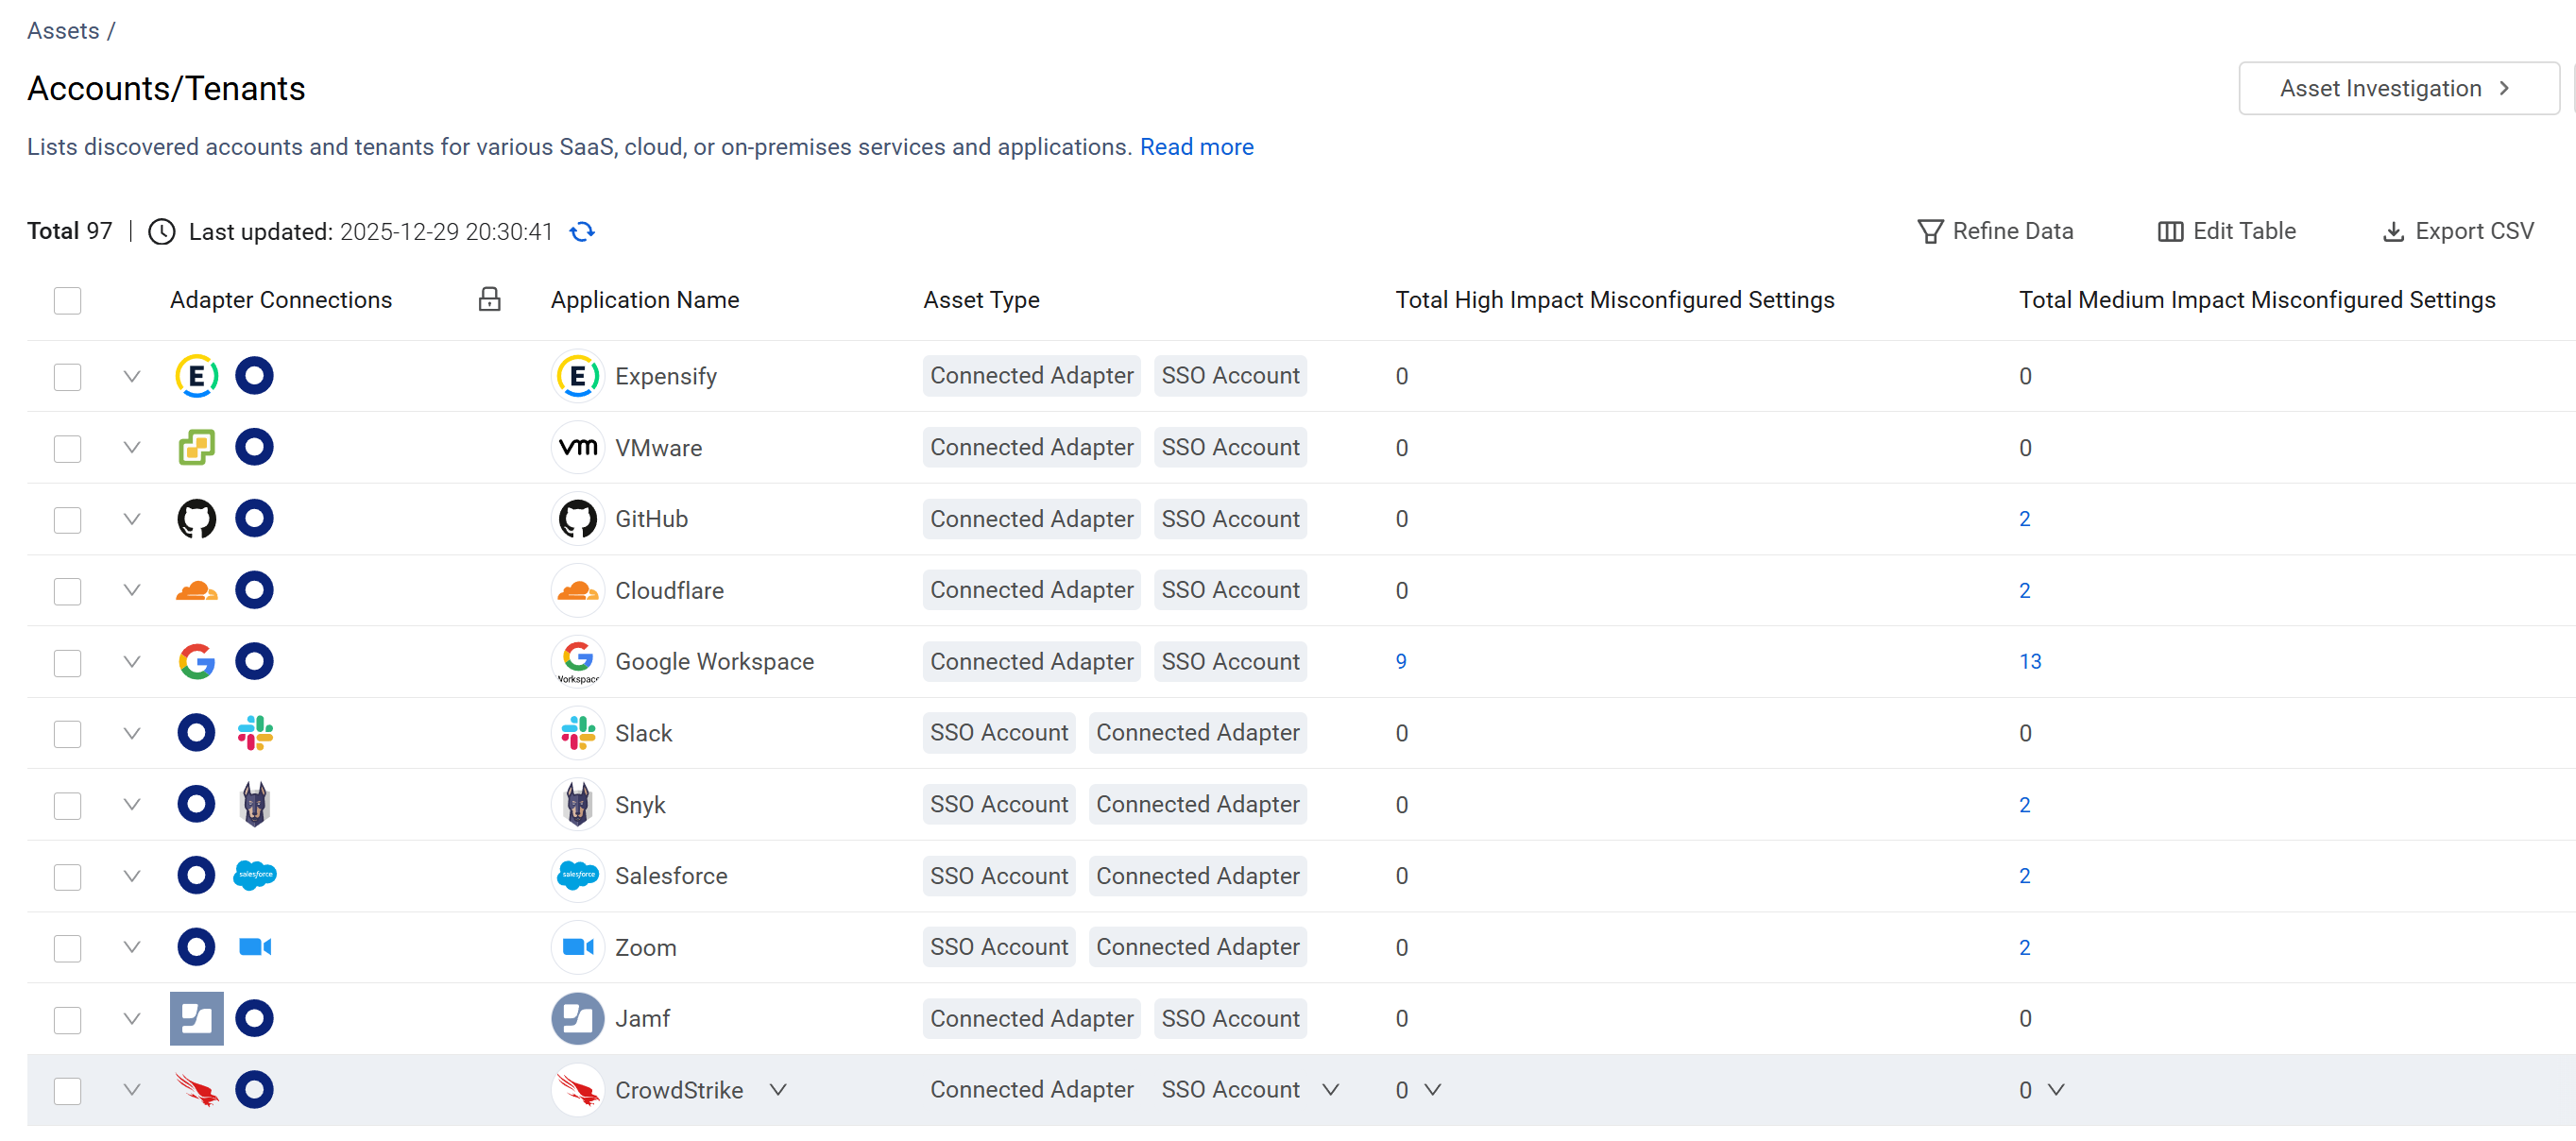
Security Posture Counters
The security posture counter fields display the number of security misconfigurations found within a specific account. Clicking a value redirects you to the Application Settings asset page, pre-filtered for that account's specific findings.
- Total Medium Impact Misconfigured Settings – Displays the number of security settings for an application or account that are currently misconfigured and categorized as having a Medium impact on security.
- Total High Impact Misconfigured Settings – Displays the number of security settings for an application or account that are currently misconfigured and categorized as having a High impact on security.
Additional Account Insights
To help manage account ownership and discovery, Axonius provides several dynamic enrichment fields at the account level. For a full description of these fields, see the Enrichment Fields section on the SaaS Applications Asset Page.
Key account-level fields include:
- Associated Owner - The Axonius user linked to the account owner.
- Is Discovered - Indicates if the specific account was found in the SaaS environment.
- Management Status - Fields including Is Managed, Is Managed by Connected App, and Is Managed by SSO to track how the account is governed.
Creating Queries on Accounts
Use the Queries to create granular queries to better understand accounts in your organization. You can define a wide variety of filters, from which you can easily drill down to the assets that match the required search criteria.
You can create queries on Devices using one of the following modes:
- Basic mode (default) - Create a query by selecting filters.
- Query Wizard - Create a query using the Query Wizard, or in the query bar, selecting a saved query or writing a query.
Use either of these modes to create a unique set of queries.
You can query fields such as the application, adapter connections, or amount. Refer to to learn more about creating queries.
For example, this query enables you to locates all accounts fetched with the AWS adapter in the past 6 months:
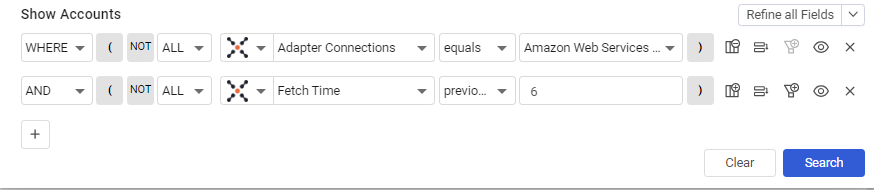
After running the query, the overview and table show the relevant accounts, filtered by the criteria you defined in your query.
Learn more about how to create Queries using the Query Wizard and how to create Queries in Basic mode.
Adding Custom Data to an Account
You can add custom fields to one or more accounts at the same time. You can use this to add additional details like a description or manually add an associated email address.
Select one or more accounts and from the Actions menu choose Add Custom Fields.
Refer to Working with Custom Data to learn about adding custom fields.
Add Tags to Accounts
Use tags to assign context to your assets for granular filters and queries. Apply new or existing tags to the selected accounts. The list of selected tags is applied to all selected accounts.
Refer to Working with Tags to learn about adding tags to application accounts.
View an Account Profile
You can click on an individual Account asset to see all the data for that particular asset. For more information, see Asset Profile Page.
For general information about working with tables, refer to Working with Tables.
Updated 7 months ago