
Hetzner
Hetzner is a hosting provider that offers dedicated servers and cloud solutions for various IT needs.
The Hetzner adapter enables Axonius to fetch and catalog compute instances, server metadata, and network configurations, ensuring comprehensive visibility into your cloud infrastructure resources.
Asset Types Fetched
- Devices
Data Retrieved through the Adapter
- Devices - Server status, IP addresses (public/private), MAC addresses, server type details (cores, memory, disk), architecture, and OS details (flavor, version).
Before You Begin
Required Ports
- TCP port 443
Authentication Methods
- API Key (API token)
Required Permissions
The API Key used for the connection must be associated with an account that has permissions to fetch assets via the Hetzner Cloud API.
- Server Access - The API Key must have permissions to discover servers (
GET /servers) and retrieve server metadata. - Network and Storage - The permissions must allow access to associated network configurations and storage metadata to ensure complete asset details are fetched.
APIs
Axonius uses the Hetzner Cloud API to retrieve asset data.
Generating the API Key (Token)
- Log in to the Hetzner Cloud Console.
- Select the Project you want to connect to Axonius.
- In the left navigation menu, click Security.
- Select the API Tokens tab.
- Click Generate API Token.
- Enter a description for the token (for example: "Axonius Adapter").
- Select Read permissions.
- Click Generate API Token.
- Copy the token and save it in a secure location.
Supported from Version
This adapter is supported from Axonius version 8.0.7.
Connection Parameters
To connect the adapter in Axonius, provide the following parameters.
Required Parameters
- Host Name or IP Address - Enter the hostname or IP address of the Hetzner Cloud API (for example:
https://api.hetzner.cloud/v1). - API Key - Enter the API token generated from the Hetzner Cloud Console.
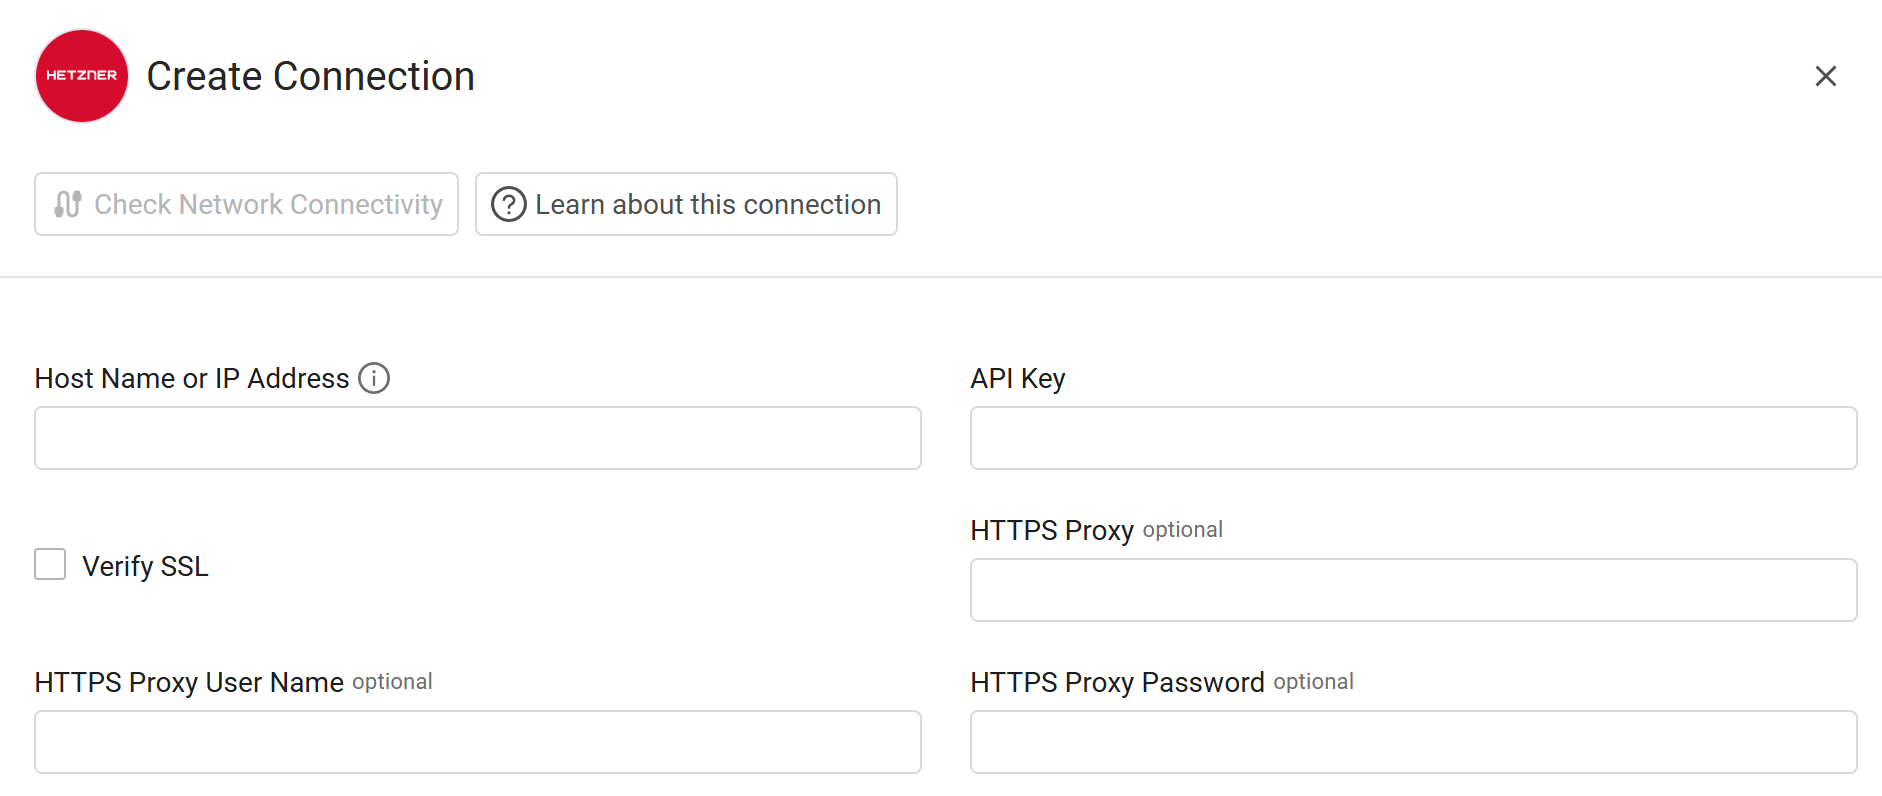
Optional Parameters
-
Verify SSL - Select whether to verify the SSL certificate of the server against the CA database inside of Axonius. For more details, see SSL Trust & CA Settings.
-
HTTPS Proxy - Enter an HTTPS proxy address to connect the adapter to a proxy instead of directly connecting it to the domain.
-
HTTPS Proxy User Name - Enter the user name to use when connecting to the value supplied in Host Name or IP Address via the value supplied in HTTPS Proxy.
-
HTTPS Proxy Password - Enter the password to use when connecting to the server using the HTTPS Proxy.
To learn about additional optional/common adapter connection parameters, see Adding a New Adapter Connection.