
Managing Security Finding Rules
To access the Security Findings Rules page:
- In the Security Findings page, expand the Exposures Tools menu.
- Select Security Finding Rules.
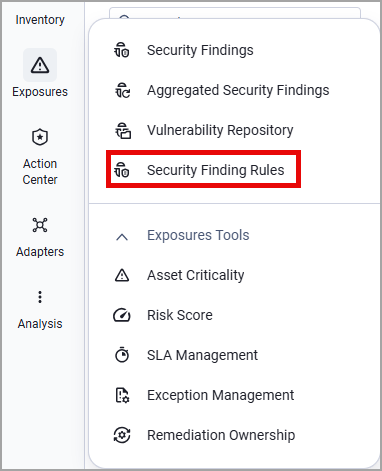
In Axonius New Navigation Experience:
- Select Exposures from the left navigation menu, then select Security Findings Rules.
Exposure Categories
Security Findings in Axonius are mapped into one of the following pre-defined Exposure categories:
- Asset Integrity - Target "environmental rot" and configuration vulnerabilities within the asset itself, such as end-of-life (EOL) software, legacy protocols (SMBv1), and disabled OS security features.
- Identity & Access Management - Identify risks associated with user accounts, authentication weaknesses, and over-privileged access across all connected systems (MFA status, orphaned accounts, or inactive admins).
- Cloud Infrastructure - Detect misconfigurations in cloud service providers (AWS, Azure, GCP) such as unencrypted storage buckets, open VPCs, and insecure snapshots.
- SaaS Governance - Highlight risky settings and data-sharing vulnerabilities within SaaS platforms like M365, Salesforce, Slack, and GitHub (for example, external file sharing or unmanaged app integrations).
- External Exposure and Perimeter - Identify risks at the edge of the network where internal assets interact with the public internet. This includes assets reachable from the outside (inbound) and assets allowed to communicate with the entire internet over high-risk protocols (outbound/Egress).
- Defense in Depth - Identify "blind spots" where critical security tools (EDR agents, vulnerability scanners, or backup solutions) are missing, stopped, or failing to report.
- Custom - A custom category you can populate with Security Findings of your choice.
Select a category from the left-hand menu to display only the Security Findings associated with this category.
You can also display All Categories - A consolidated view of your entire security posture.
Security Findings Rules Table
The Security Finding Rules table provides the following details for each rule:
- Security Finding Rule Name
- Asset Count - The number of assets affected by this rule. This is a clickable field that redirects you to:
- For Exposures customers: The Security Findings page filtered by the relevant assets.
- For Axonius Cyber Assets customers: The relevant Assets page filtered by these assets.
- The Associated Asset Type this rule applies to
- The Security Finding Category this rule belongs to
- Security Finding ID - The Rule ID, which is the ID of the Axonius-generated Security Finding asset detected on a specific group of assets. For example, a mandatory agent that was found missing on a certain number of devices.
- Security Finding IDs starting with AX (e.g., AX-2026-0001) represent rules pre-defined by Axonius. You can leave them as they are or edit them.
- Security Finding IDs starting with AXC (e.g., AXC-2026-0001) represent custom rules.
- Rule Status - Active/Inactive
- When this rule was created and by whom
Creating a Security Finding Rule
-
Click Create Rule from the top right corner of the page. The Create Security Finding Rule drawer opens.
-
Select the Security Finding Category this rule belongs to.
-
Give the rule a name (required) and add a description (optional).
-
Under Query Details, select a query containing the assets you want to apply the rule on. Use the buttons at the right corner of the query dropdown to duplicate or edit the query, or click +Add Query to create a query from scratch.
Notes
When editing a query that is used in a Security Finding rule:
- Only the user who created the query can edit it, based on their system permissions.
- Deleting or editing such a query from the Queries folder triggers an alert message asking you to approve this change. If you approve, the rule based on this query becomes inactive.
- When a rule becomes inactive, you can go back and activate it, but you must add a new query to it.
- Queries used in Axonius pre-defined rules cannot be edited. To edit such a query, you must duplicate the pre-defined rule and edit the duplicated version.
-
Click Create Rule.
The new rule is added to the table. Its status is Active by default.
You can also duplicate an existing rule and modify it to match your needs. Hover over the rule's row and click the Duplicate Rule icon from the right edge of the row.
Deactivating or Deleting Rules
waiting for the final copy of the popups about deleting/undeleting assets
Deactivating a Rule
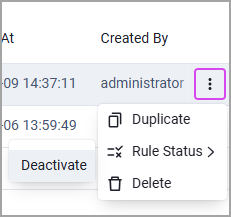
Each rule added to the table is Active by default. To deactivate a rule, click the 3-dot menu at the right corner of the relevant row, hover over Rule Status, and click Deactivate.
You can re-activate this rule later by repeating those steps and clicking Activate.
Deleting a Rule
To delete a rule, click the 3-dot menu at the right corner of the relevant row, and select Delete.
Updated about 1 month ago