
Exporting Asset Data to CSV
Use the Export CSV function to export the query results table data and its view (displayed columns), from any Assets page to a CSV file. Either export all the query results on an asset inventory page, or export specific rows.
Prerequisites
To export data to CSV and access the CSV files:
- You must have the Export CSV permission.
- You must have at least 15GB of available disk space. Otherwise, the export fails.
Selecting Data to Export
To export query results to a CSV file, in the relevant Assets page, do either of the following:
- Click Export CSV on the right side of the page just above the table (exports all data).
- Select the rows you want to export, and then click Export CSV.
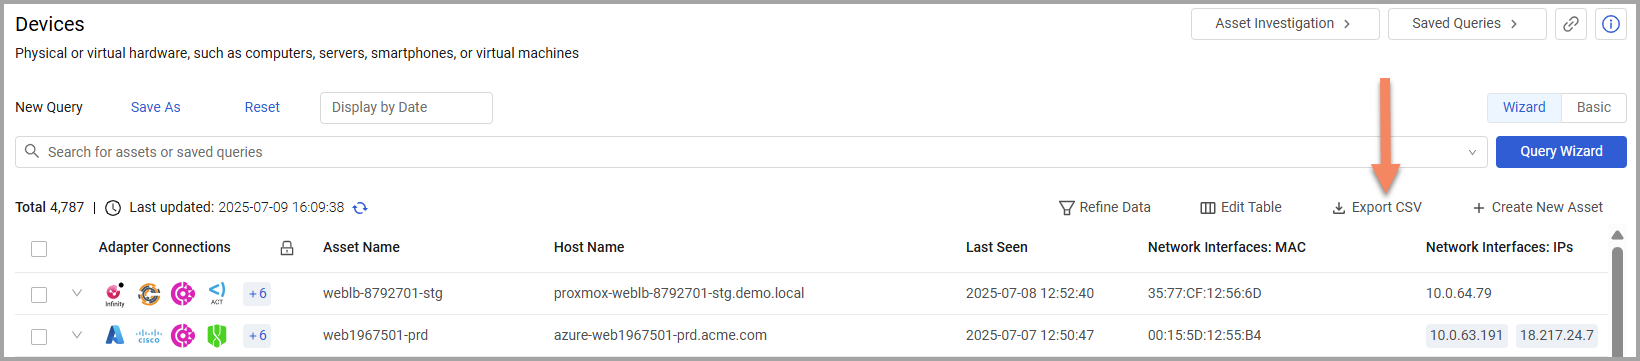
The Export Data dialog opens. When you select specific assets, the number of assets to export is specified in the title.
Configuring CSV Settings
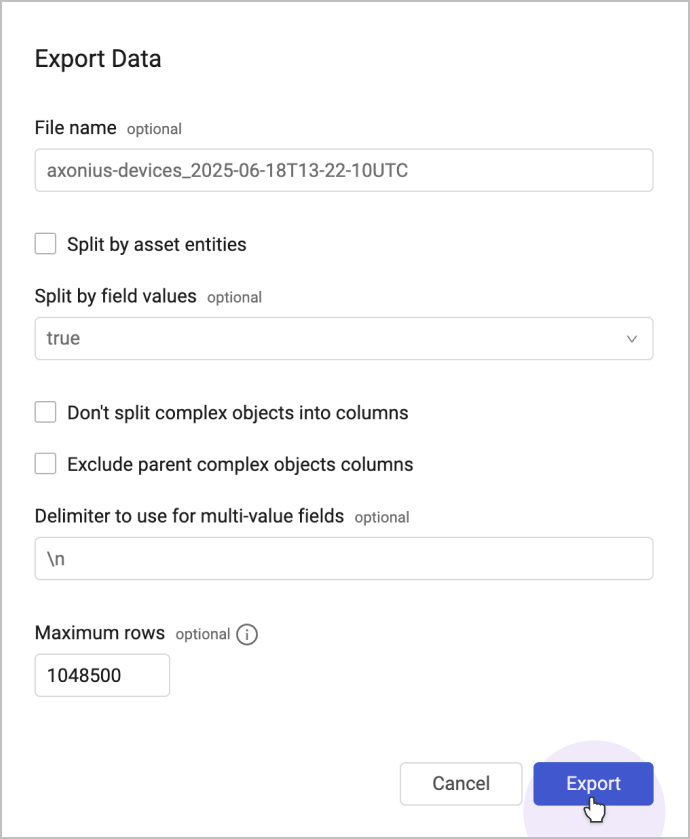
In the Export Data dialog, provide the following:
-
File name (optional, default: automatic name from date) - Set a name for the CSV file. A default name appears for the CSV file, with the format axonius-data< date >T< time >UTC.csv_. For example: axonius-data_2020-04-13T07-18-41UTC.csv. You can click and type to change the name.
-
Split by asset entities (required, default: false) - Select to create a CSV file where each entity on an asset is shown as a separate row. This separates each asset as the 'expand' option in the application. It separates each asset by its entity. For example, you will be able to know which values were fetched from each adapter connection.
- If supplied, each value on an asset is shown as a separate row.
- If not supplied all values on an asset are in the same cell on the CSV file.
-
Split by field values (optional, default empty) - Choose field value - For complex fields and lists you can create a CSV file where the values of complex fields and lists are represented as separate rows in the file. From the drop-down box select the value that you want to display in the file, 'Tags' for instance. Only fields that have been discovered are available. For example, if you export by Installed Software, you will be able to see each installed Software name and its version.
-
Don't split complex objects into columns (optional, default: false) - When selected, complex objects appear in a single column in JSON format. By default, each field in a complex object is split into a separate column in the CSV file.
-
Exclude parent complex objects columns - Select to hide the parent field of complex fields in exported files.
-
Delimiter to use for multi-value fields (optional, default: Export CSV delimiter to use for multi-value fields field under the System Settings section in the GUI Settings) - Specify a delimiter to separate between values within the same field of an exported CSV file.
- If supplied, values within the same field will be separated by the specified delimiter once the CSV file has been generated.
- If not supplied, values within the same field will be separated by the value defined in the Export CSV delimiter to use for multi-value fields field under the UI Settings section in the System Settings. The default value is "\n" (new line).
-
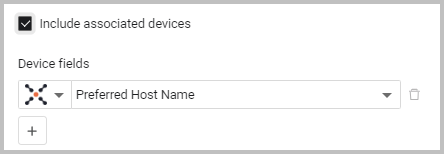
Include associated devices - This option is available for Software and Aggregated Security Findings. Enable this to include the associated devices for each software or vulnerability.
-
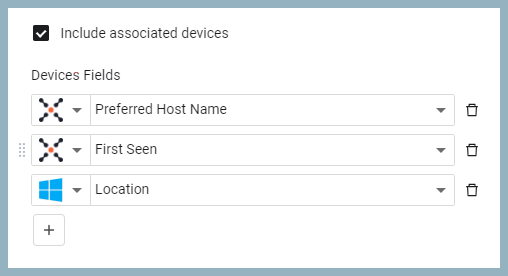
When enabling Include associated devices, a selection of Device fields appears. To manage the number of rows in the CSV file, you can select the Device fields to include in the CSV file. By default Preferred host name is selected.
- Select an adapter, and the required fields.
- Click + to select more fields. At least one field must be selected. You can add as many fields as required and only those fields will be included in the exported file.
- Once you select fields, you can move the fields up and down to set the order that they will appear in the exported file.
- Click the bin icon to remove a device field.
- Note: Fields that are part of the Installed Software and Vulnerable Software complex fields can't be selected.
- Maximum rows (optional, default: 1048500) - Specify the maximum number of rows to be included in the CSV file. When you enter a value the generated CSV file includes the top x rows, based on the specified values. This option can be useful to export only the top results and to improve the CSV file generation time, otherwise the generated CSV file includes the default maximum rows, set as 1048500 (note that this value is the maximum value supported by Excel, setting a higher value generates a file that can't be displayed fully or correctly in Excel).
- When you create a CSV file with associated devices (for Vulnerabilities or Software), if the exported query results are larger than the value set here (or the default value of 1048500), an appropriate notice is displayed at the end of the CSV file.
Tracking the Export Progress
When you initiate an export process, a snackbar appears at the bottom left corner of the page, indicating that the system is generating your file.
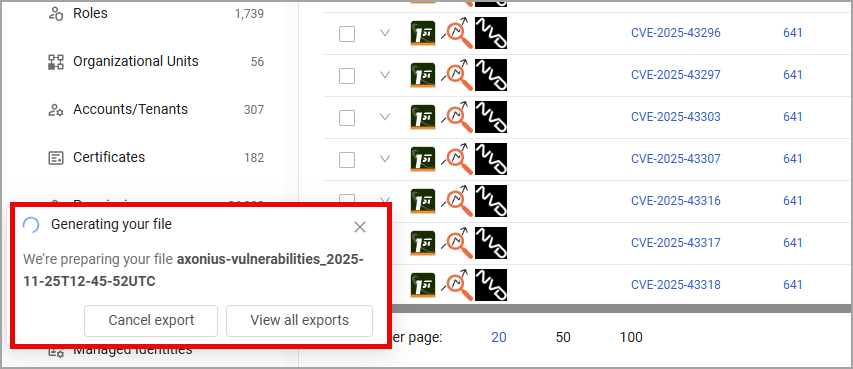
To cancel the export, click Cancel export. You can only do it while the export is still in progress and isn't complete yet.
Viewing Export Results
When the export is successful:
When the export is complete, the tracking export snackbar displays a "Your file is ready" message. Click View all exports to view it (and all other Assets page exports) in the Exports Page.
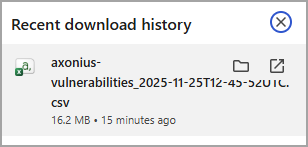
In addition, the generated CSV file is automatically downloaded to your machine. The download action is automatically triggered on your browser to allow for immediate file access.
Note
The file is only downloaded if the session remains open until export is complete. If the session was closed mid-export - due to a lack of internet connection or any other reason - the file is not automatically downloaded. However, even if the session was closed, the file is still saved in your environment, and on the next session, you can go back and download it from the Exports Page within the available time frame.
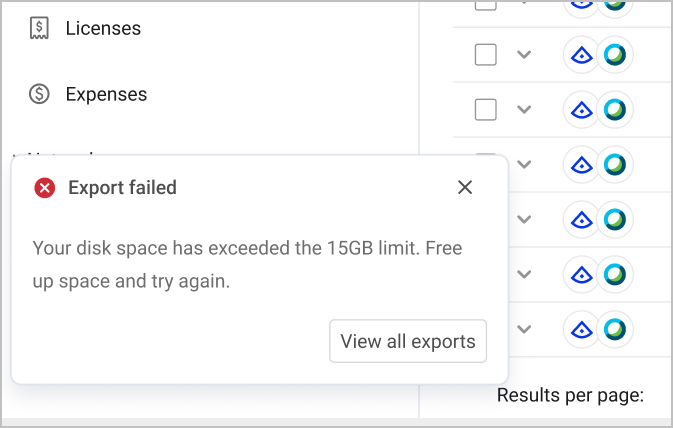
When the export fails:
To export CSV files, you must maintain a minimum of 15GB of available disk space on your machine. If you have less than 15GB available, the export fails, and the system prompts you to free up space and try again.
If the export fails for any other reason, contact Axonius support.
To manage and view all the exports in the system, navigate to the Exports Page.
Updated 5 months ago