
HashiCorp Vault Integration
The HashiCorp integration enables Axonius to securely pull privileged credentials from the HashiCorp Vault. The integration helps to ensure that privileged credentials are secured in the HashiCorp Vault, rotated to meet company guidelines, and meet complexity requirements.
Description of Product Integration
Axonius uses the HashiCorp Vault HTTP API 1 to fetch credentials from the Vault.
Axonius authenticates to the HashiCorp Vault Server token authentication.
The credentials are only fetched by Axonius when:
- Creating a new adapter connection
- Updating an existing adapter connection
- Running an enforcement set
- Fetching asset information for adapters during discovery cycles
Axonius does not store the credentials anywhere and deletes any trace of credentials.
To enable fetching credentials from your HashiCorp Vault Server, you need to:
- Install and configure HashiCorp Vault
- Enable and configure the External Password Managers - Enterprise Password Management Settings.
- Configure adapter connection credential to fetch passwords from HashiCorp Vault Server.
Enable HashiCorp Vault Integration
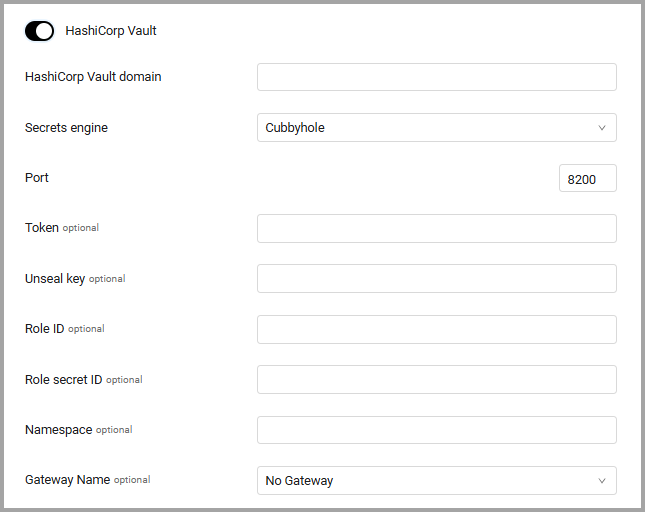
- Toggle on HashiCorp Vault.
- Specify the following parameters:
- HashiCorp Vault Domain (required) - The URL or IP address of the HashiCorp Vault server.
- Secrets Engine (required, default Cubbyhole) - Set the secrets engine, either KV Version 1, KV Version 2, Cubbyhole, or Active Directory.
- Port (required, default 8200) - The port the HashiCorp Vault listens to.
- Token (optional) - The token for authentication.
- Unseal key (optional) - The key used to unseal the vault.
- Role ID and Role secret ID (optional) - Use these settings to authenticate using AppRole.
- Refer to Get RoleID and SecretID for information on retrieving the Role ID.
- Enter the parameters as defined in the AppRole the user defined. Refer to Step 1 and Step 2 in AppRole Pull Authentication. Modify policies according to the secrets you want this AppRole to access.
- Namespace (optional) - Enter a customized namespace to fetch secrets from, if it is configured.
- Gateway Name (optional) - Select the gateway through which to connect to the HashiCorp Vault if required.
Working with HashiCorp Vault
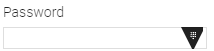
Once the HashiCorp Vault integration is enabled in Axonius, a new HashiCorp Vault icon will appear in all password fields when configuring adapters or configuring Enforcement sets, allowing you to enter a password manually or to fetch the secret from HashiCorp Vault Server.
To fetch the password from HashiCorp Vault:
- In a password field, click the HashiCorp Vault icon. If you have configured more than one password manager, click the vault icon
 and select HashiCorp Vault from the drop-down. A HashiCorp Vault dialog opens.
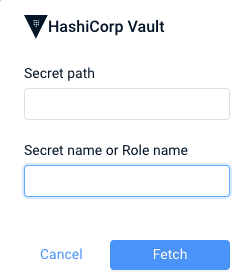
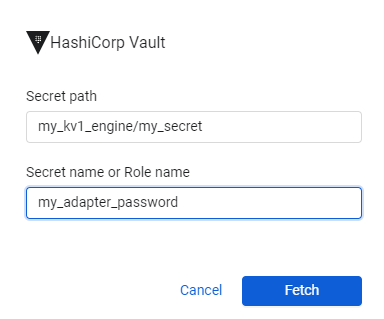
- In the dialog, specify the following parameters:
- Secret path (required) - The path to the stored secret or the password in the vault.
- Secret Name or Role name (required) - The name of the secret key that you saved for the vault.
- For example, if you choose the Kv1 secrets engine on your system,
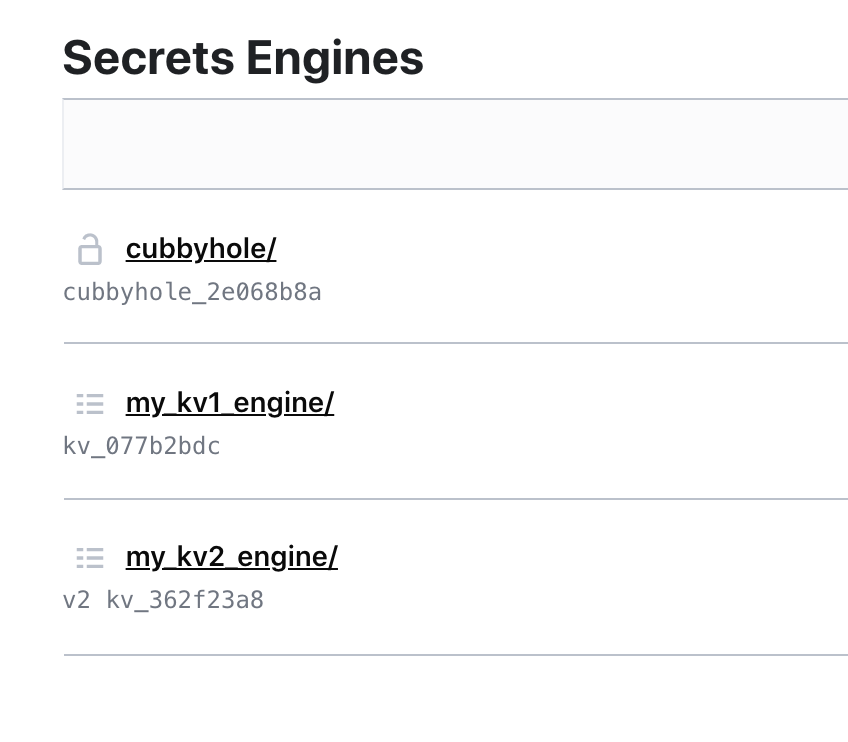
The secret path will be the path to the secret, as shown in the screen below; and the Secret Name, is the value configured in the HashiCorp vault key field.
When working with Active Directory, the Secret path is the secret path for the “Active Directory” secret engine and Role name is the Role name for which you need credentials.
.png)
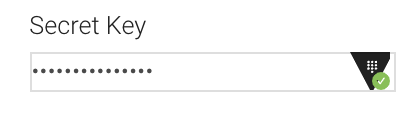
When you fill in the credentials, they should look something like this.
-
Click Fetch.
- If the fetch is successful, a green indication is displayed next to the HashiCorp Vault icon. Hovering over the HashiCorp Vault icon shows the secret path and secret name or Role name that you input.
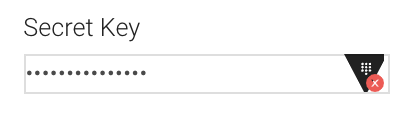
- If the fetch is unsuccessful, a red indication is displayed next to the HashiCorp icon. Hovering over the HashiCorp Vault icon shows the error.
Note
Typing or deleting any character in the textbox will change the password field back to a manual password input.
Updated 1 day ago