
Connecting Cisco ISE in Axonius
To connect the adapter in Axonius, provide the following parameters.
Required Parameters
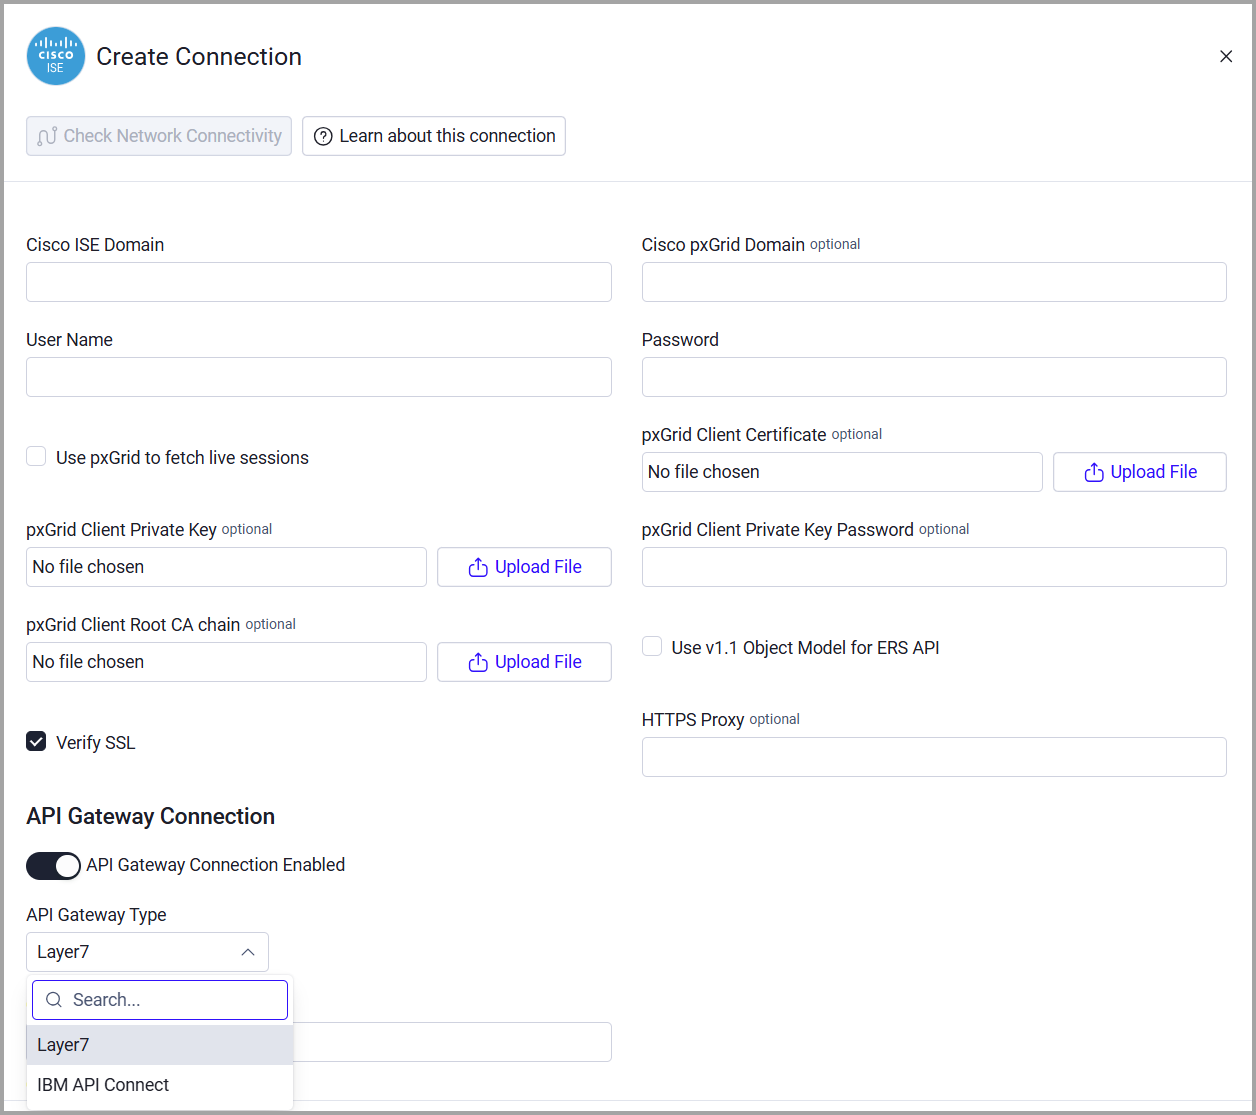
- Cisco ISE Domain - Enter the hostname or IP address of the Cisco ISE server that Axonius can communicate with via the required ports. To use a different port (rather than 9060) to connect to Cisco ISE ERS API, you need to provide a domain with the port, for example to use port 3000, this field should be
ciscoise.node.local:3000
Optional Parameters
-
Cisco pxGrid Domain - Set this parameter to connect to a pxgrid domain instead of the regular domain used for ERS. When this parameter is not set, the same ISE domain is used for both pxgrid and ERS APIs.
-
User Name and Password - Enter the credentials for a user account that has the required permissions to fetch assets. When provided, the adapter includes ERS-sourced devices in the fetch; when not provided, the adapter collects pxGrid data, including live sessions and pxGrid endpoints, without ERS credentials.
-
Use pxGrid to Fetch Live Sessions -
- If enabled, Axonius will enrich the data collected from Cisco ISE by enabling pxGrid. Using pxGrid requires a plus licence and requires an additional authentication step from pxGrid Services on your Cisco ISE domain. For more details, see Cisco ISE Initial Setup.
- If disabled, Axonius will not enable pxGrid.
-
pxGrid Client Certificate / pxGrid Client Private Key / pxGrid Client Private Key Password / pxGrid Client Root CA chain - Those settings are required for xmpp client with pxgrid 1.0. For details, contact Axonius Support.
Note
The xmpp client has been deprecated by Cisco. Axonius will continue supporting it, but it is advised to transition to the REST client to fetch pxGrid data.
-
Use v1.1 Object Model for ERS API - Select when using either Cisco ISE versions 2.4 or 2.7, or if you receive a “Connection Fails” HTTP 400 error.
Note
This parameter is only used with the ERS API. It has no effect when using the pxGrid API.
-
Verify SSL - Select whether to verify the SSL certificate of the server against the CA database inside of Axonius. For more details, see SSL Trust & CA Settings.
-
HTTPS Proxy - Enter an HTTPS proxy address to connect the adapter to a proxy instead of directly connecting it to the domain.
-
API Gateway Connection - Enable this to use API gateway parameters for authentication. After enabling this option, select the API Gateway Type: Layer7 or IBM. Learn more about Configuring an Adapter API Gateway Connection and the parameters required for each gateway type.
To learn about additional optional/common adapter connection parameters, see Adding a New Adapter Connection.
Updated 12 days ago