
Creating Tickets from Recommended Actions
Create tickets in a third-party ticketing system from your recommended actions, so that they will automatically be included in the relevant Remediation Owner's workflow.
Prerequisites
Required Permissions
- Recommended Actions → View
- Enforcements → Run
- Enforcements → Add
Admin users have all 3 permissions by default.
In addition, ensure you have the permissions required for the Enforcement Action you're using to create tickets.
Adapters
To create tickets, you must connect either of the following adapters:
Atlassian (Formerly Atlassian Jira Software)
Initial Setup
To create a ticket for a recommended action, click Create Ticket directly from the Action Drawer.
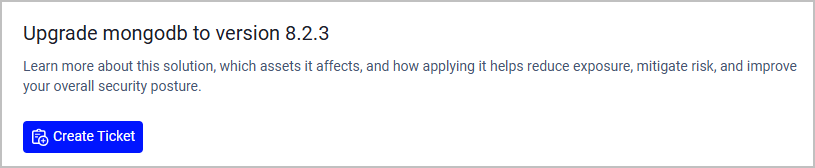
The first screen displayed in the Create Ticket drawer shows previews for each ticket type that will be created. Each remediation owner is assigned their own ticket, and there can be more than one.
Example Scenario: The recommended action selected (e.g., "Upgrade mongodb to version X") is associated with 100 Security Findings. 70 Security Findings are owned by the IT Team and 30 Security Findings are owned by the Data Analysis team.
Result: two ticket types are previewed - one for the IT Team and the other for the Data Analysis team.
- If the ticket type includes Security Findings that don't have remediation owners, they are marked as Missing ownership data.
- Each ticket type shows the number of Security Findings that will be included in it.
- Some ticket types are marked with a Destination required tag. This means that tickets created for these Security Findings don't have a ticketing system (destination endpoint) defined. This happens when the Security Findings associated with this ticket:
-
Don't have a remediation owner defined for them. In this case, they are also marked as Missing ownership data.
OR
-
Have a remediation owner defined without a destination endpoint. This happens, for example, when the destination defined for this owner is an email instead of ticketing system. For more information on ownership destinations, refer to step 5 in Creating an Ownership.
-
Security Findings without ownership data and destination are skipped in the ticket creation process by default. To change that, you need to manually include them by customizing the ticket distribution setting.
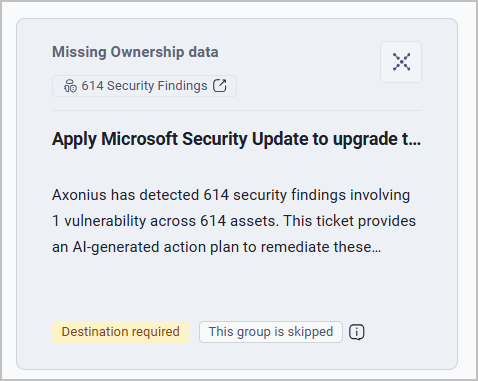
- Click Customize at the bottom of the screen. The Distribution section of the Create Ticket wizard opens.
- Under Distribution Summary, select for each group of Security Findings whether to skip or include it in the ticket creation process.
Note
You still have to configure destination endpoints for the Security Finding groups you included manually. This happens in the next section of the wizard.
The ticket count displayed at the top of the drawer updates according to your selection to include or skip groups.
In the following example, the group of Security Findings that are Missing Ownership data is skipped and only the IT team group is included, so the ticket count is 1:

If we click Include this group for Missing Ownership data, the ticket count updates to 2:

The ticket count continues to update according to the next settings:
- Distribution - Control how many tickets are created and how they are split
- Configuration - Define ticket details
Grouping Tickets
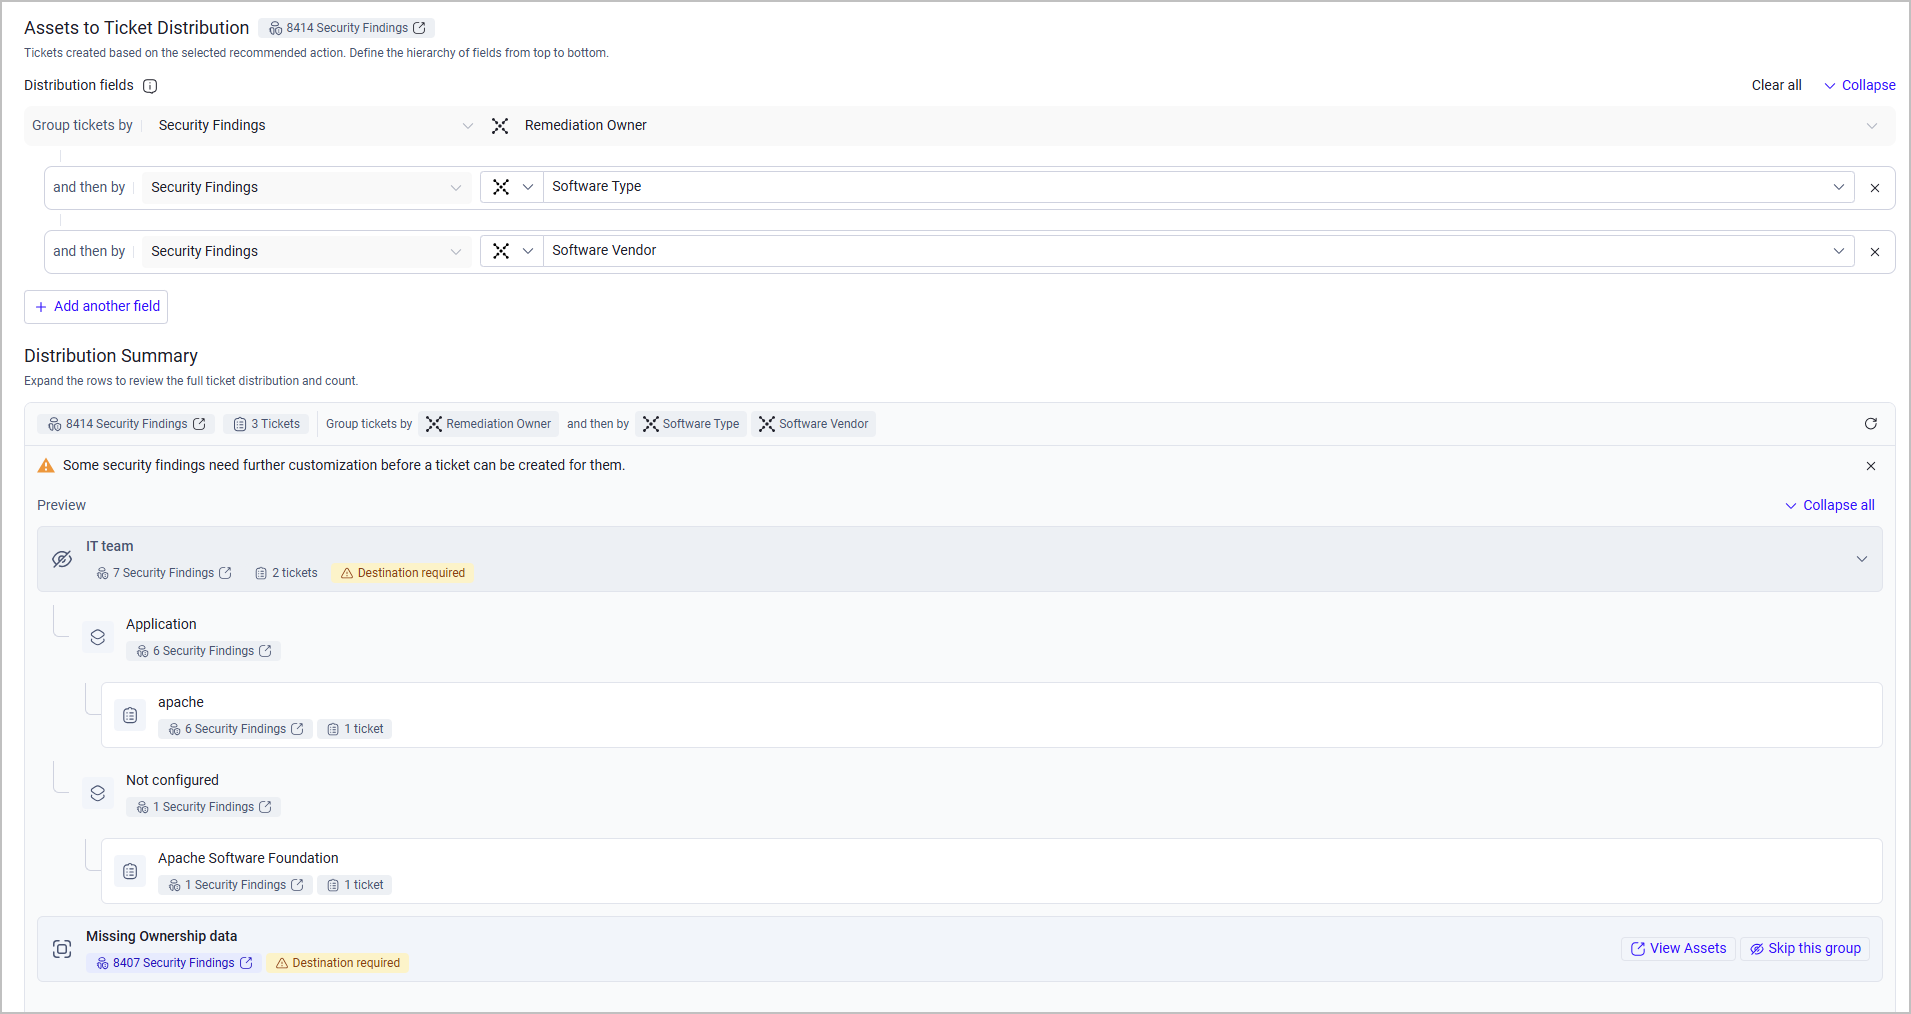
While the initial setup determines the remediation ownerships to which each ticket is sent, additional grouping settings control the distribution and final number of tickets. Grouping is set by selecting an asset type + field to split tickets by. For tickets created from recommended actions, by default, all tickets are grouped by Security Findings asset type and the Remediation Owner field. That is the first grouping level and it is not editable. It is the first row that appears under Distribution fields:

Add one or more distributions field to split Security Findings into separate tickets based on field values.
- Click + Add another field.
- Select the field to group by. Upon selection, The first row reads: "Group tickets by [Security Findings] [Remediation Owner]", and each subsequent row reads: "and then by [Security Findings] [field name]".
To remove a grouping level, select × on that row.
Note
If a Security Finding has no value for a grouping field, Axonius places it in a Not Configured group.
Grouping Example 1A ticket is assigned to the IT Team ownership group. By default, all relevant Security Findings are included in a single ticket that is sent to the IT Team Jira board. There are two different asset types associated with Security Findings in the environment (e.g., Devices and Databases).
If we click + Add another field and select the Associated Asset Type field, the single ticket will be split into two separate tickets: one for Security Findings associated with asset type A, and one for Security Findings associated with asset type B. We can continue to add fields for a wider ticket distribution - for example, split tickets by Host Names.
Axonius adds a new row to the distribution field list and updates the ticket count in the Distribution Summary bar. Expand the rows to review the full ticket distribution and count.
Grouping Example 2We want to group tickets by the following Security Findings field hierarchy: Remediation Owner (default) > Software Type > Software Vendor.
Under Distribution Summary, we can see that:
- 3 tickets are created in total for 8,144 Security Findings in total
- 2 tickets out of the three are created for the IT team, which owns 7 Security Findings
- Inside the IT team group:
- One ticket is created for 6 Security Findings whose Software Type = Application and Software Vendor = apache
- Another ticket is created for one Security Finding whose Software Type = Not Configured and Software Vendor = Apache Software Foundation
- 1 ticket out of the three is created for the 8,407 Security Findings that are missing Ownership data

Click Next to proceed to the Configuration stage - defining ticket details.
Ticket Configuration
In this section, configure ticket details for each remediation owner. Navigate between them from the Owners left sidebar.
Note
You can choose to skip or include groups in this stage as well. The ticket count in the Create N Tickets button will change accordingly.
For full configuration instructions, see the following sections in the Creating a Ticket general documentation:
When you're done with all configurations, click Create N Tickets (or Back if you want to edit previous settings).
Managing Tickets
To view, track and manage the tickets created from Recommended Actions, navigate to the Tickets page.
Updated 21 days ago