
Using the System Settings Page
The System Settings page groups all system settings into categories and subcategories, and allows you to enable, view, modify, and disable these settings.
System Settings is composed of the following categories:
- Lifecycle
- GUI
- Access Management
- User and Role Management
- External Integrations
- Privacy and Security
- Enrichment
- Data
- API
- System
- About
Note
Appropriate permissions are required to view the System Settings.
To open the System Settings
- On the top right corner of any page, click the System Settings
 icon. The first subcategory page opens.
You can click any category or subcategory to open its page. After you change the settings in any category or subcategory, click Save to save the changes.

The System Settings page consists of the following main elements:
- Categories/Subcategories pane
- Search bar
- Main pane
Categories/Subcategories Pane
In the left pane, the system settings are grouped into categories/subcategories. A meaningful icon appears to the left of each category name. Selecting a category (with no subcategories) or a subcategory opens its page in the main pane.
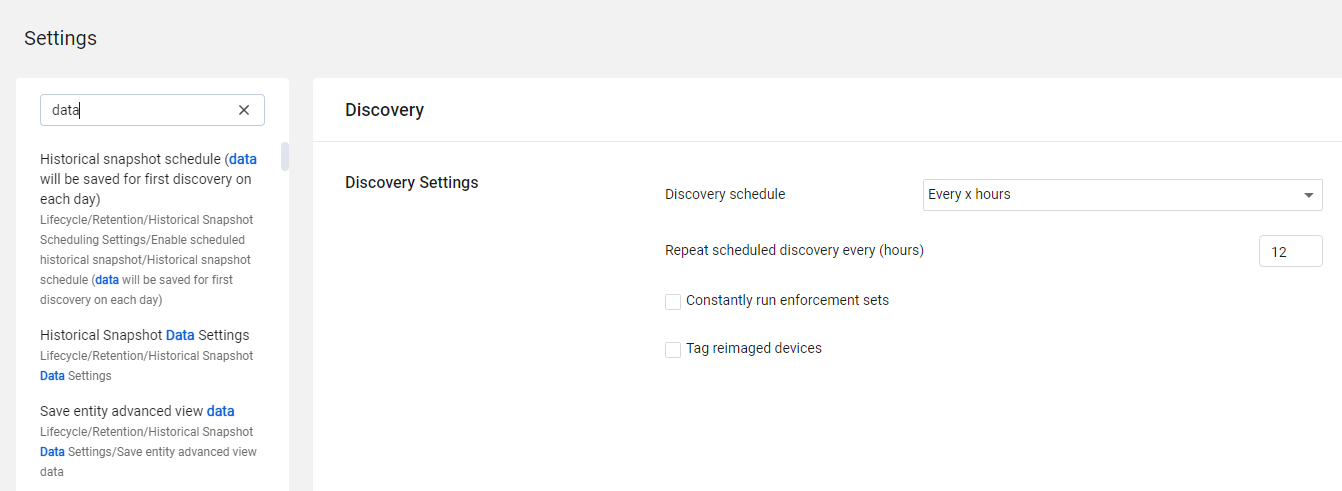
Search Bar
You can search the category and subcategory names, as well as the titles and field names in the system settings pages, for text, by entering the search text in the Search bar above the Categories/Subcategories pane.
The search works as follows:
- When you start writing in the search bar, the Categories view disappears and instead a list of options containing the search text appears, with the search text highlighted in blue. As the search text becomes longer, the list of options becomes smaller.
- If there are no search results, the left pane remains empty.
- When you click an option from the results, the list of options closes, the Categories view is once again displayed in the left pane, and the subcategory containing the selected option is opened.
- If you select the X on the right of the search bar, the list of options closes, the Categories view is once again displayed in the left pane, and the subcategory page selected before the search is displayed.
- If you enter search text and then erase it, the list of options closes, the Categories view is once again displayed in the left pane, and the subcategory page selected before the search is displayed.
Main Pane
The main pane displays the selected subcategory page. Some subcategory pages display a single section, some multiple sections, and some show a table.
Tables
The following subcategories are presented in tabular format: Users, Roles, Service Accounts, Data Scopes, Custom Data and Tags, and Gateways. Each row in the table lists one item.
For general information about working with tables, refer to Working with Tables.
Updated 7 months ago