
Cisco AppDynamics
Cisco AppDynamics is an application performance monitoring tool.
Use Cases the Adapter Solves
- Detecting Unmanaged Assets: Identify devices and application components monitored by AppDynamics that may not be present in your inventory.
- Verifying Coverage: Ensure that all critical business applications are being actively monitored by cross-referencing AppDynamics data with other infrastructure sources.
- Analyzing Access: Gain visibility into user accounts and their associated permissions within the AppDynamics environment to maintain security hygiene.
Asset Types Fetched
Devices
Before You Begin
Ports
- TCP port 80/443
Authentication Method
The AppDynamics adapter uses OAuth 2.0 authentication with Client Credentials Grant.
APIs
Axonius uses the Cisco AppDynamics API.
The adapter uses the following REST API endpoints:
| Endpoint | Purpose |
|---|---|
/controller/api/oauth/access_token | OAuth 2.0 authentication (Client Credentials Grant) |
/controller/rest/applications | Lists all applications |
/controller/rest/applications/{id}/nodes | Lists nodes (devices) for each application |
/controller/sim/v2/user/machines/keys | Lists machine agent keys (optional) |
/controller/sim/v2/user/machines/{machineId} | Gets machine agent details (optional) |
Permissions
The API Client needs to be assigned roles with the following permissions:
To fetch devices and applications, the API Client needs to be assigned roles with the following permissions:
Minimum Required Permissions
- View Applications - To list and access application data
- View Nodes - To retrieve node (device) information from applications
- View Server Infrastructure Monitoring (SIM) - To access machine agent data (only required if the "Fetch Machine Agent Data" advanced setting is enabled)
Supported From Version
Supported from Axonius version 6.0
Setting Up Cisco AppDynamics to Work with Axonius
Setup Instructions
Step 1: Create an API Client
- Log in to the AppDynamics Controller UI as an Account Owner or Administrator
- Navigate to Settings > Administration > API Clients
- Click + Create
- Enter the following information:
- Client Name - A descriptive name for the API client
- Description - Purpose of this API client
- Click Generate Secret to create the Client Secret (this is a UUID)
- Set the Default API-generated Token Expiration (default is 5 minutes)
- Important: Copy and save the Client Secret immediately - it cannot be retrieved later
Step 2: Assign Roles with Required Permissions
- In the API Client creation screen, add roles that have the required permissions:
- View Applications
- View Nodes
- View Server Infrastructure Monitoring (if fetching machine agent data)
- You can use existing roles or create custom roles with these specific permissions
- See Manage Custom Roles for Splunk AppDynamics for details on creating custom roles
- Click Save
Connecting the Adapter in Axonius
Navigate to the Adapters page, search for Cisco AppDynamics, and click on the adapter tile.
Click Add Connection.
To connect the adapter in Axonius, provide the following parameters:
Required Parameters
- Host Name or IP Address - The hostname or IP address of the Cisco AppDynamics server.
- Client ID and Client Secret - The Client ID and Client Secret for an account that has read access to the API. The client ID should be in the format:
clientID@account. - Connection Label - A label to help you distinguish between multiple connections for the same adapter. See Connection label.
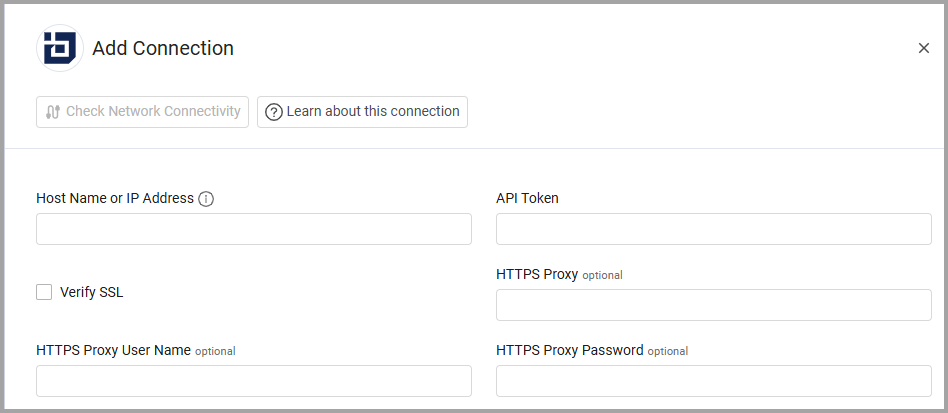
Optional Parameters
- Verify SSL - Select whether to verify the SSL certificate of the server against the CA database inside of Axonius. For more details, see SSL Trust & CA Settings.
- HTTPS Proxy - Connect the adapter to a proxy instead of directly connecting it to the domain.
- HTTPS Proxy User Name - The user name to use when connecting to the value supplied in Host Name or IP Address via the value supplied in HTTPS Proxy.
- HTTPS Proxy Password - The password to use when connecting to the server using the HTTPS Proxy.
-
Select Gateway – Select the Axonius Gateway to use when connecting adapters whose sources are only accessible by an internal network and not from the primary Axonius instance, which may be an Axonius-hosted (SaaS) instance or Customer-hosted (on-premises / private cloud). To use this option, you need to set up an Axonius Gateway.
To learn more about common adapter connection parameters and buttons, see Adding a New Adapter Connection.
Updated 5 months ago