Saving, Loading and Updating Asset Graphs
At any point in your investigation, you can save the current state of the Asset Graph and return to it later. Saved Asset Graphs can be loaded to continue working on them. New investigation steps performed on existing Asset Graphs can be added to the exising steps.
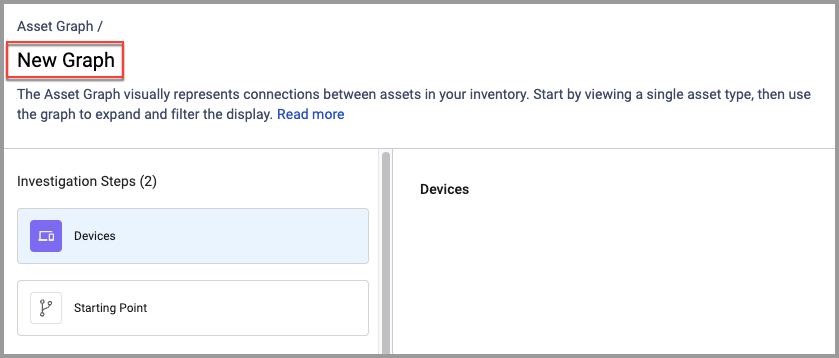
Before a graph is saved, it is called New Graph.

To save a new Asset Graph:
- Perform the investigation steps you want.
- Click Save As at the top right of the Asset Graph. The Save as New Asset Graph dialog opens.
- In the Graph name text box, give the Asset Graph a descriptive name.
- (Optional) Click Add description to enter a full description of the graph.
- Under Tags, add or search for tags to apply to the Asset Graph.
- In Who has access, configure the access privileges for the query.
- Under Folder name, select the location where you want to save the new Asset Graph.
- Click Save. The Asset Graph is saved and can be found on the Asset Graph Manager page.
To load a previously saved Asset Graph:
- Navigate to the Asset Graph Manager.
- Click on the Asset Graph you want to load.
- At the bottom of the drawer, click Load Graph.
Note
The access permissions of an asset graph that were configured when it was saved determine what changes you can make when it is subsequently loaded.
Saving Changes to an Existing Asset Graph
Once an Asset Graph is saved it can be loaded again for further investigation. If subsequent investigation steps are taken in addition to the existing steps, you can save the additional steps to the already saved steps. This is useful when an investigation needs to be continued at another time.
To save new steps to an existing Asset Graph:
- Save a new Asset Graph or load an existing Asset Graph.
- Perform the new investigation steps.
- From the Save As dropdown list, select Save. The new steps are added to the previously saved steps.
- To discard the changes and revert to how the graph was before the new steps, click Discard Changes. Then click Discard to verify the action.
Updating Asset Graph Details
You can update the details of saved Asset Graphs. The Asset Graph can be renamed, and the access permissions and folder location can be changed.
To update Asset Graph details:
- Save a new Asset Graph or load an existing Asset Graph.
- From the Save As dropdown list, select Update Details.
- In the Update Details dialog, make the changes you want and click Save.
Updated 4 months ago
